Kangaroo Cushion Tutorial
Dec 2, 2013 - 10:02pm

1

0
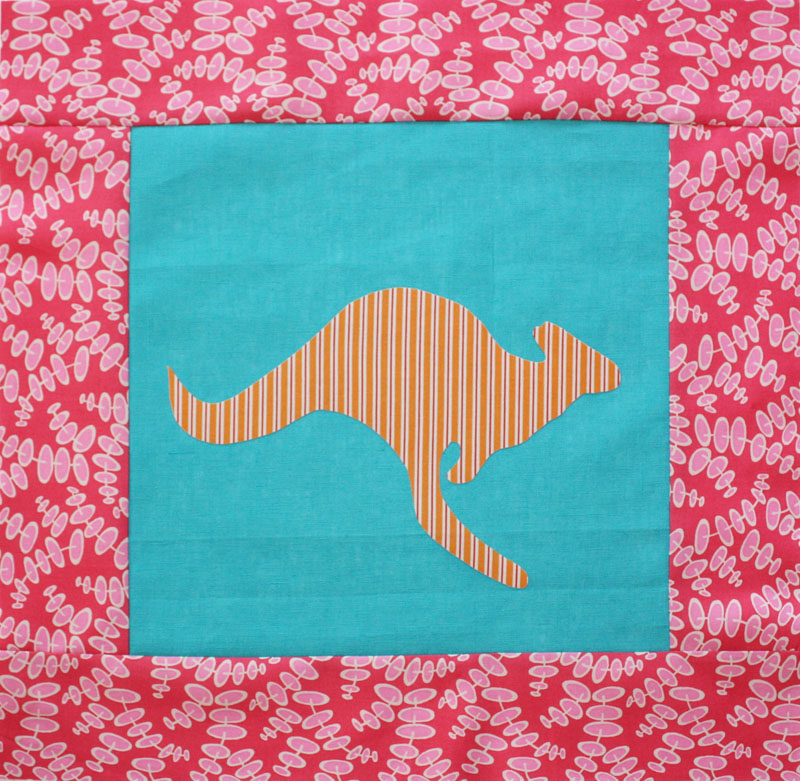
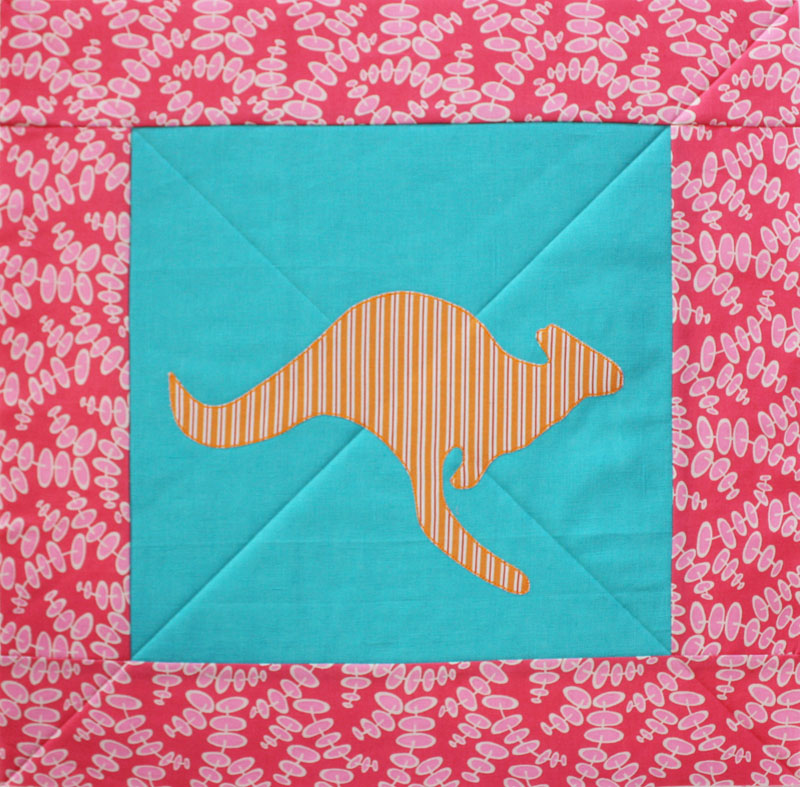
KANGAROO CUSHION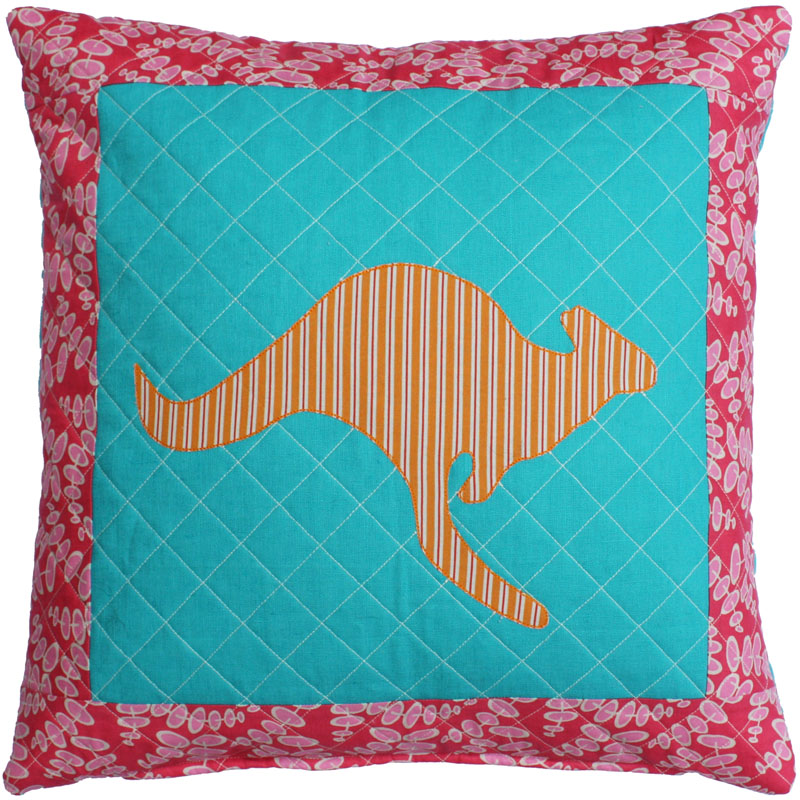
Finished size: The cross hatch quilting shrinks the cushion front and back in, to make a perfect fit for a 16” (40cm) cushion insert.
REQUIREMENTS:
30cm zipper (approx.)
Iron on Fusible web such as Vliesofix or Steam-a-seam.
Spray baste such as 505 Spray and Fix for basting.
Hera marker
16” (40cm) cushion insert
PDF pattern for Kangaroo, downloadable here - Download PDF 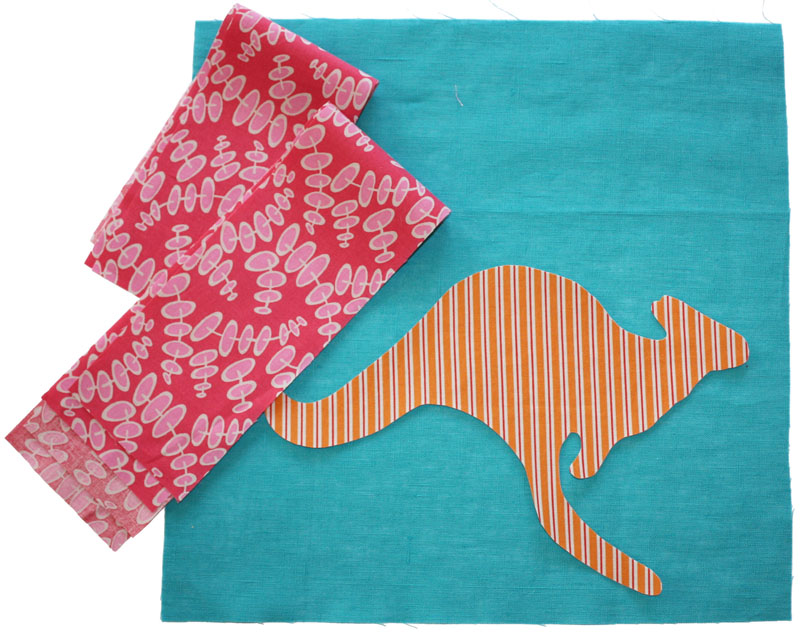
FABRIC REQUIREMENTS
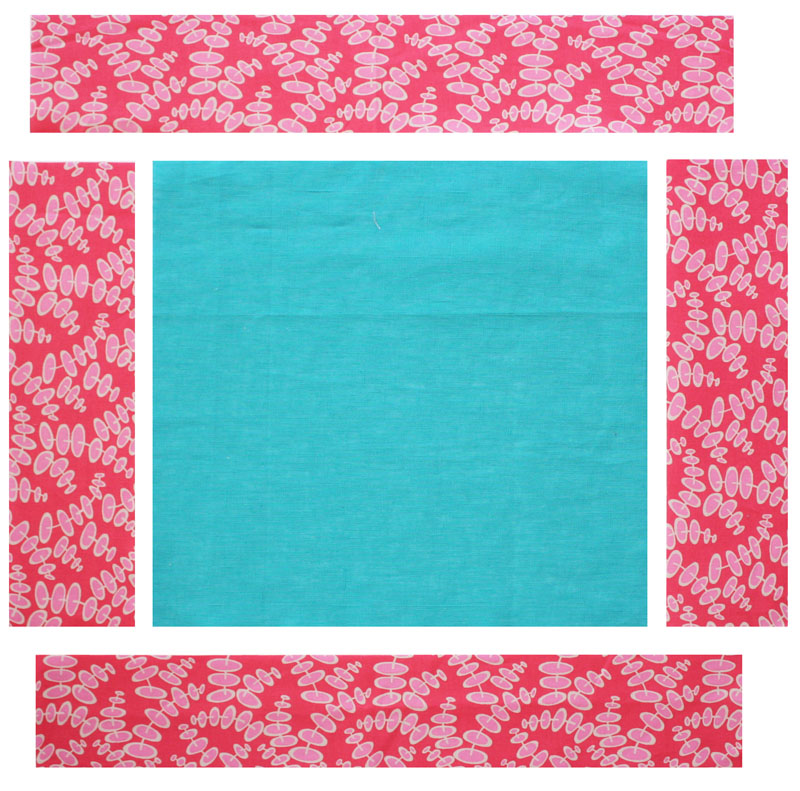
Cushion Front:
Cut 1 12½” x 12½” square Linen fabric for centre square
Cut 2 3¼” x 12½”strips fabric for side borders
Cut 2 3¼” x 18” strips fabric for top & bottom borders
Fabric piece at least 7½” x 11” for the kangaroo
Cushion Back:
Cut 1 18” x 18” square Linen fabric
Batting:
Cut 2 18” x 18” squares
CONSTRUCTION ¼” seam allowance except for outer seams which are ½”.
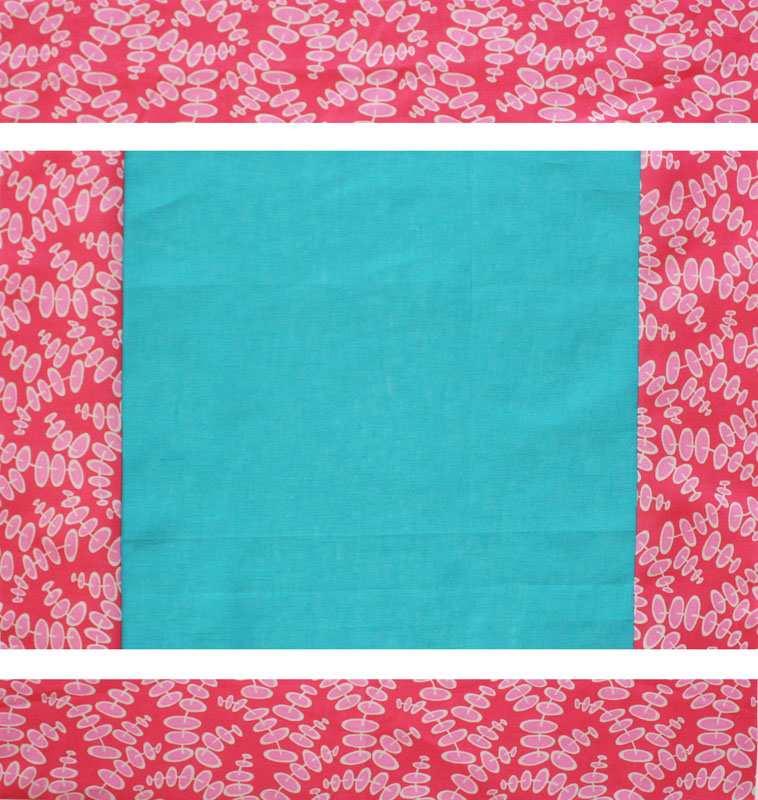
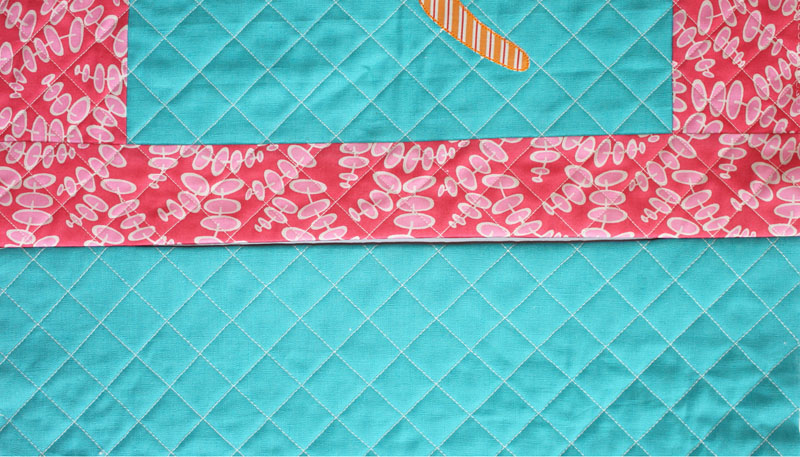
- Firstly position and sew the side borders in place, and then the top and bottom borders.
Press to the Border.
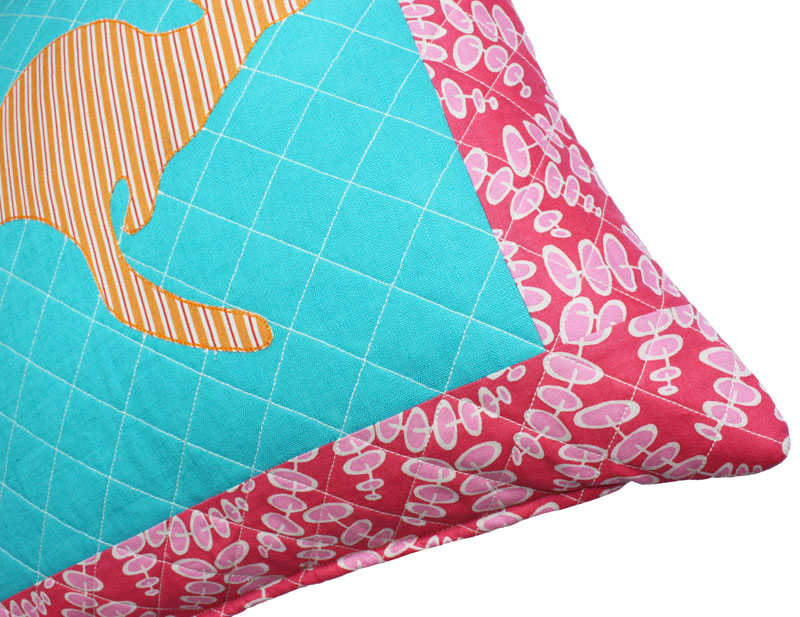
- Trace the kangaroo onto the fusible webbing (remember to reverse the image if you want the kangaroo to face the same way as the pattern). Roughly cut out the kangaroo shape and then fuse it onto the back of the fabric selected. Carefully trim around the kangaroo shape, remove the backing paper and position in the centre of the made cushion front. Iron to fuse in place.
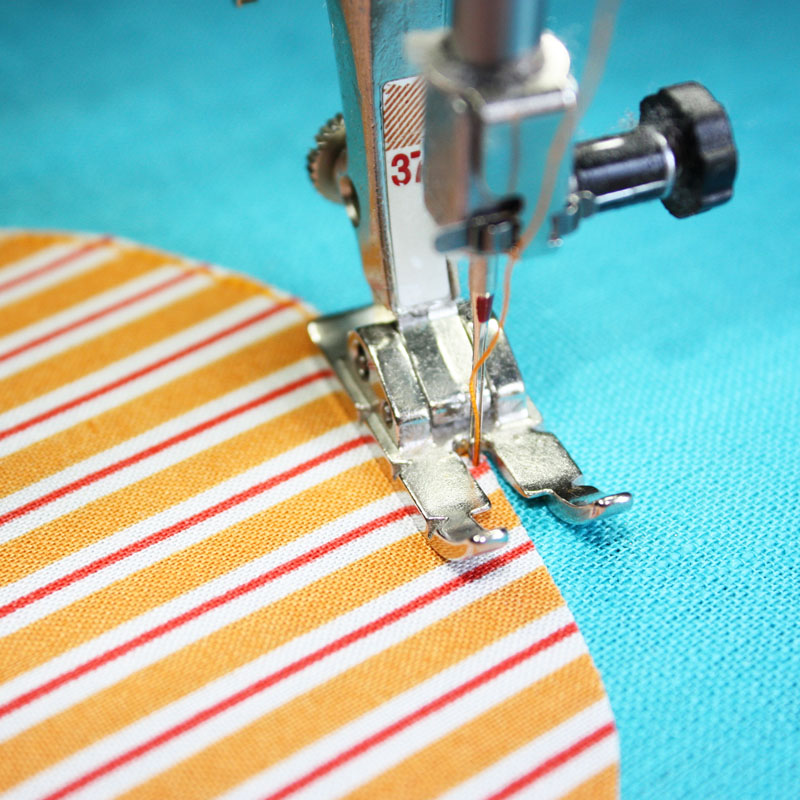
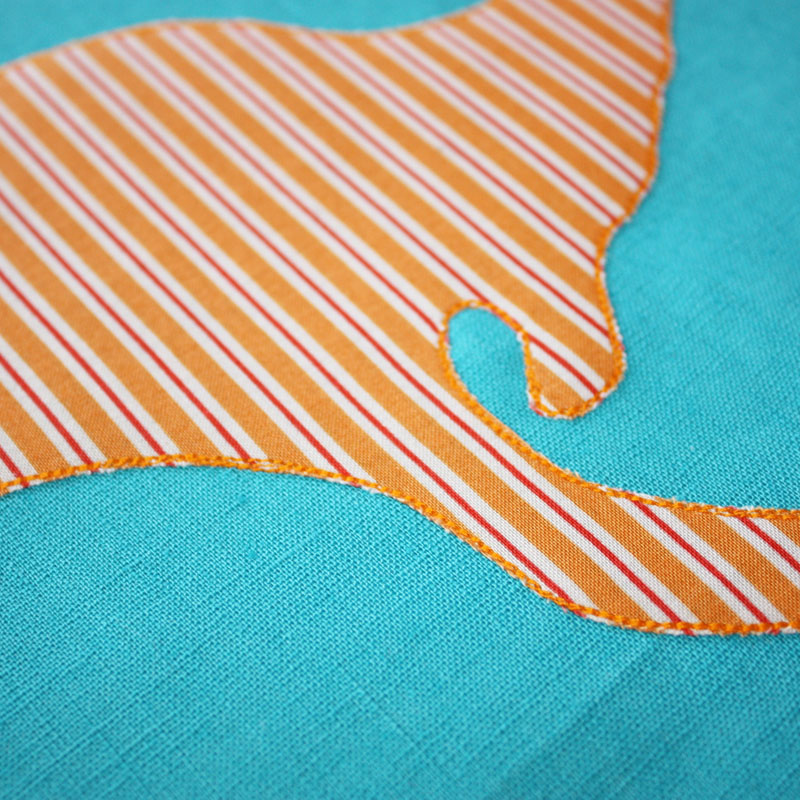
- Choose a thread to match the kangaroo fabric and raw edge applique (which means just using a normal sewing stitch), around the edges of the kangaroo shape. Sew as close to the raw edge as possible, and sew around three times.
- Baste the batting and the cushion top together with spray baste.
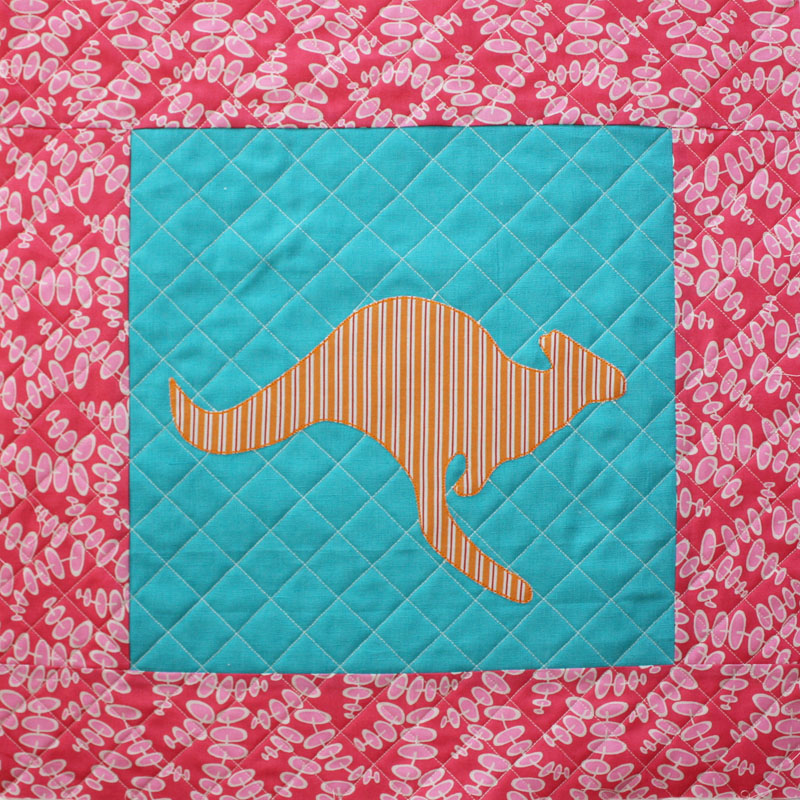
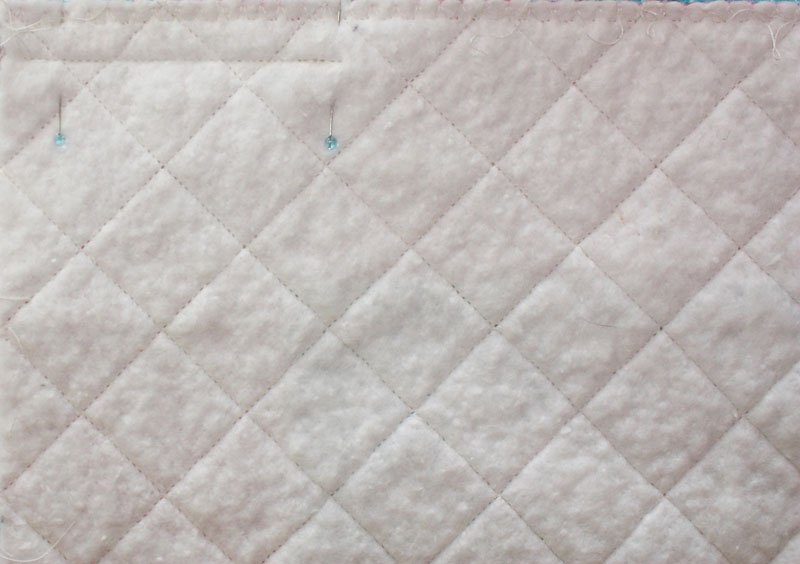
- Mark the first two diagonal quilting lines with a Hera marker.
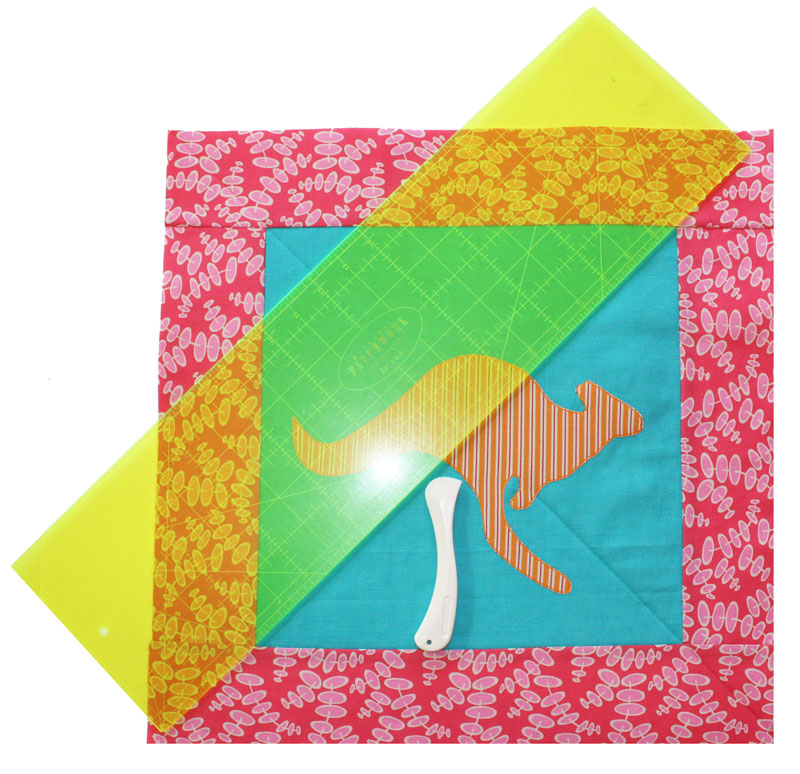
- Put your walking foot onto your sewing machine and sew the first diagonal quilting row. Stopping at the Kangaroo. Sew the second diagonal quilting row.

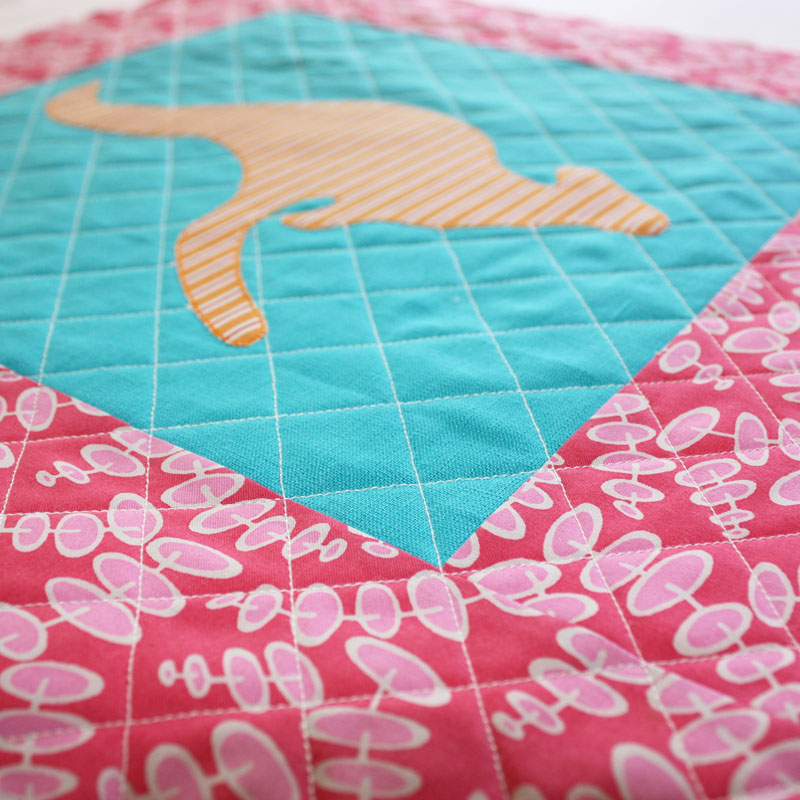
- Set your machine walking foot with a 1” seam guide preferably on the left side of the quilting foot, and sew rows 1” apart, working out from the first diagonal rows sewn. If you do not have a seam guide on you walking foot mark all the quilting lines 1” apart with the Hera marker. Cross hatch the entire cushion top.
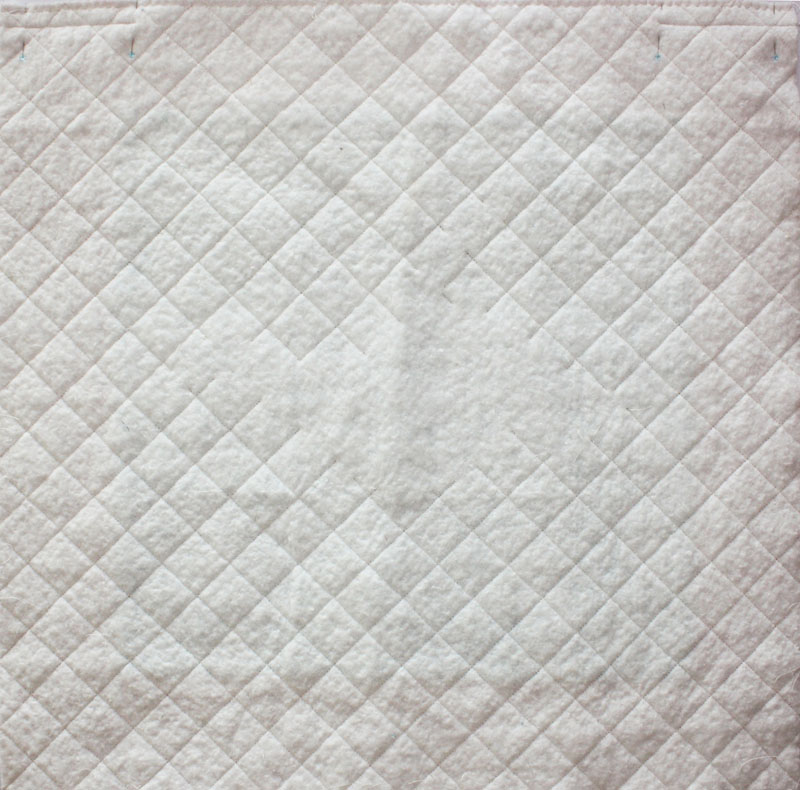
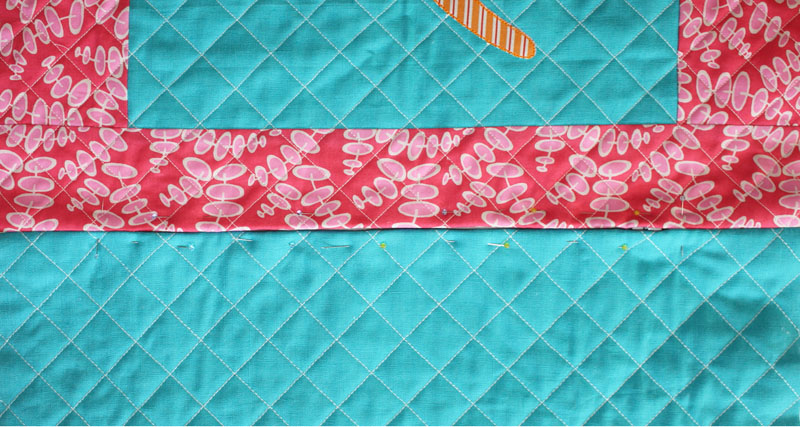
- Baste the Backing fabric and batting square together, mark the diagonal lines with your Hera marker as before, and then 1” cross hatch the entire back of the cushion.
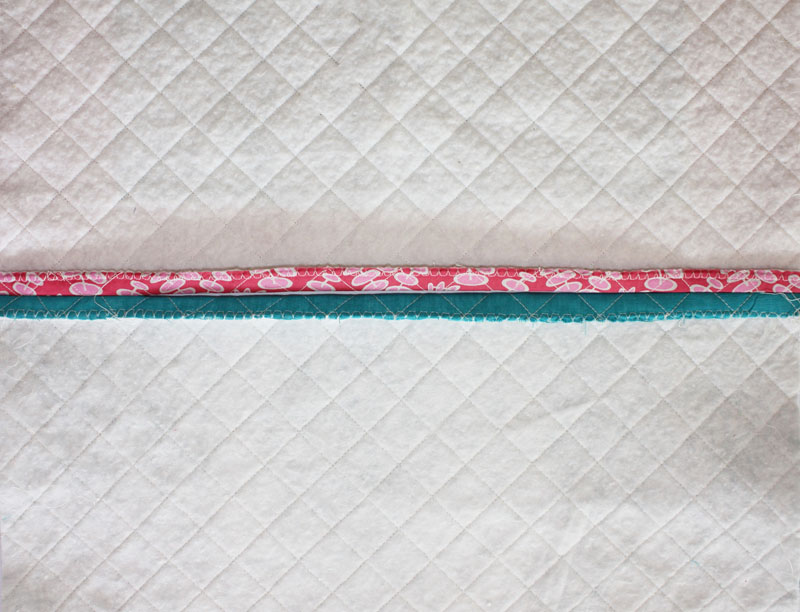
- Now the back and front are completed it is time to sew the cushion together. There is a ½” seam allowance around the entire cushion. Trim any excess batting, around both the cushion top and cushion back. Neaten the the edges (with a zig zag stitch or overlocker) of both the front and back pieces where the zipper will be placed. We placed the zipper at the bottom of the kangaroo.
- Pin the two neaten seams together and using a ½" seam allowance sew in 3" at both ends of the seam.
- Press the seam open along the entire length of the seam firstly from the wrong side to ensure the ½" seam allowance and then from the right side.
- With the zipper closed place it under the pressed seam and pin the zipper in place. Try to keep the zipper teeth directly under the center of the seam and the pins in the directions you will be sewing.
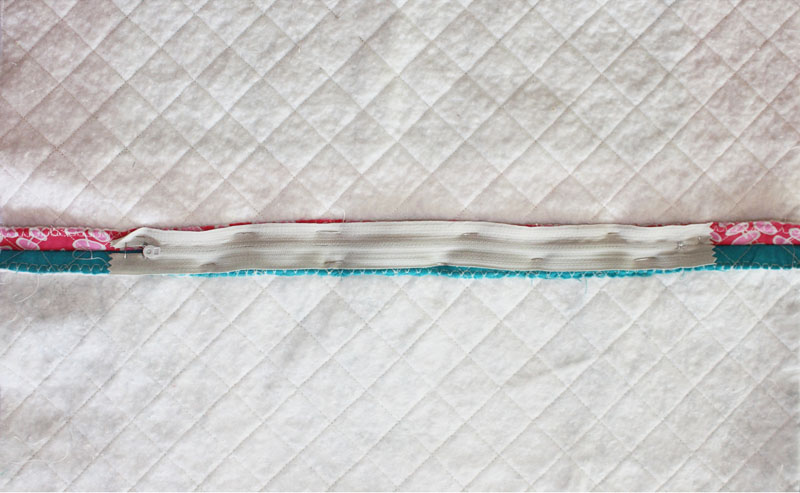
- Attach your machine zipper foot with thread to match cushion fabric and start to sew at one end. The idea is to use the zipper foot as a guide to keep the line of stitching about ¼” away from the zipper teeth. When you reach the zipper pull, stop sewing, leave the needle down in the fabric and lift the foot. Carefully pull the zipper open for a few inches sew along a while and then reclose the zipper. Sew across the end of the zipper taking care to catch the end of the zipper fabric but not the metal end, complete the other side and end.
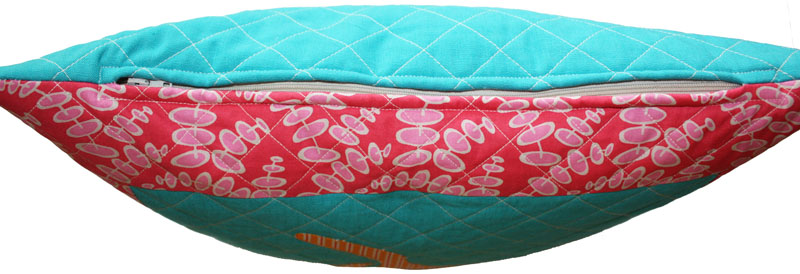
- Once the zipper is sewn in, leave it open, and pin the back and front of the cushion together. Sew around with ½” seam allowance. Trim the fabric bulk from the corners and pull the cushion to the right side. Place cushion insert inside cushion and admire your work.
Oct 30, 2016 - 8:51am
HEICKE KEEFE:Hi I can't download the Kangaroo, the link takes me back to your main page
I just checked the link and it should work now, thanks emma