Kiss Goodnight Quilt Sew Along
Week 6 - Kiss Goodnight Sew Along
Feb 7, 2022 - 8:27pm
Kiss Goodnight Quilt Sew Along
Week 6
Welcome to Week 6 of the Kiss Goodnight sew-along. It's the final week of the sew along and now we get to sew all those fabulous blocks together and make a quilt top!
My first tip for sewing a quilt with sashing is to firstly sew all the rows together with the sashing in-between. Then measure all your rows. If all things are equal they should measure what I state in the pattern, however if they aren't, take the average and this will be the length of your sashing.
Next up sew a sashing length to a row, by finding the centre of both pieces and pin together. Then pin at each end and evenly pin the rest.Sew together.
So my simple trick to get the vertical sashings to line up, is to do a visual check. Lay the row of blocks on top of a row with sashing. Fold back the top row of blocks and check that the vertical sashing lines up.
Then fold the row back and pin in place.
To make sure you have nice flat borders repeat the same method for the sashing. Measure your quilt top and make your borders the correct size to match. Once again find the centres of both and pin, then pin ends. Sew together and voila, lovely flat borders!
Thank you so much for joining me for this sew along. I have you have enjoyed it as much as I have and have finished up with a quilt that you love.Stay tuned for my next sew along and I hope you will join in the fun again.Happy Patching,
Emma
Week 5 - Kiss Goodnight Sew Along
Feb 7, 2022 - 8:15pm
Kiss Goodnight Quilt Sew Along
Week 5
Welcome to Week 5 of the Kiss Goodnight sew-along. This week we are making the last of the blocks, yay!Grab the pattern here.
SHARE ON INSTAGRAMDon’t forget to post a pic of your cut fabrics to IG and be sure to the use the #kissgoodnightquiltSAL and #kissgoodnightquilt hashtags to make it easier for others to find your photos.
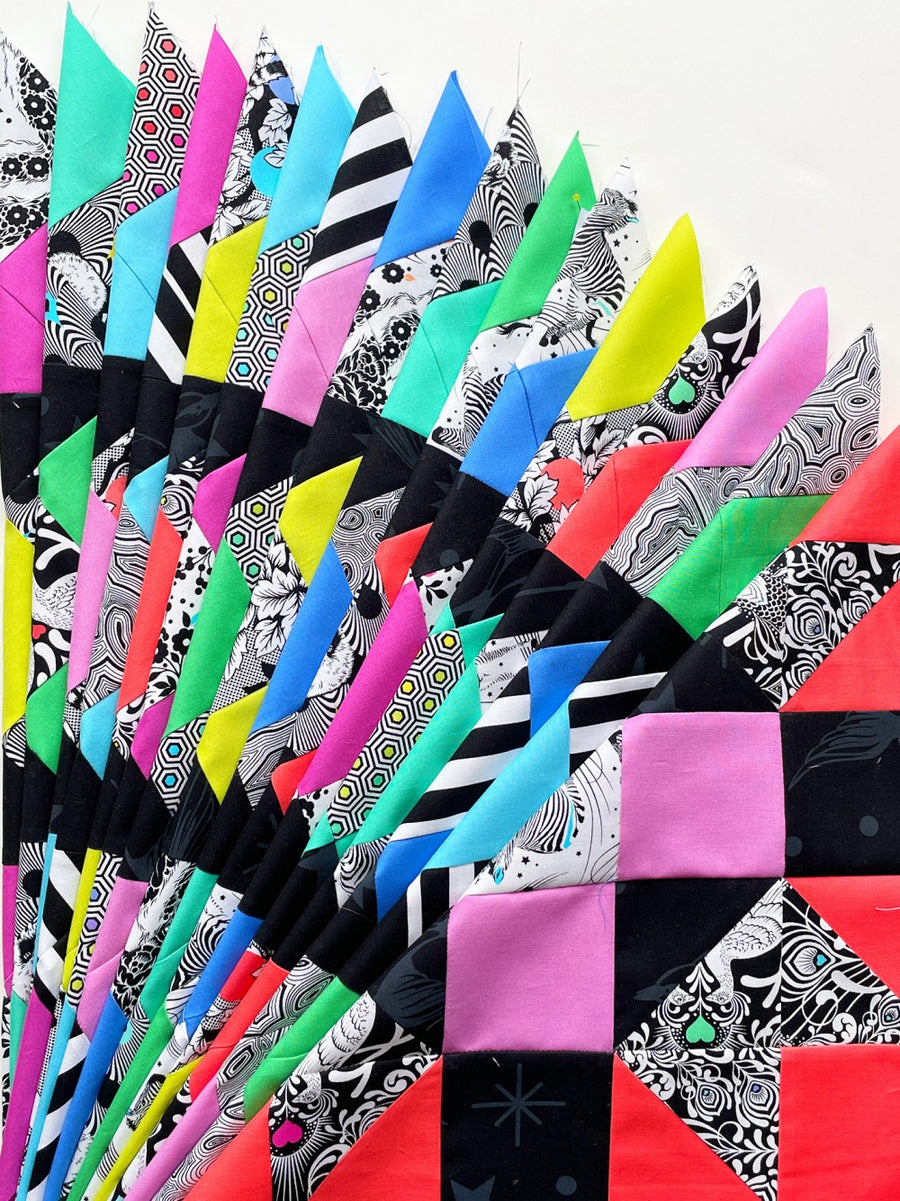
I don't have much to share with you this week because we are just finishing off the blocks but I did want to share something with you all. For those of you that don't know, I used to design fabrics so these blocks are pretty special to me. They are made from my 2nd range of fabrics called Terra Australis 2 and were made by Noeline. Eeeekk I love them so much!
PRIZES
Each week I will pick a winner from the posts using the hashtag #kissgoodnightquiltSAL to win a bundle of my patterns.That's three PDF's patterns, your choice!
See you all next week, I can't wait to see all your quilt tops come to life. I'll have some tips on piecing quilts with sashing and matching up those seams!
Emma x
Week 4 - Kiss Goodnight Sew Along
Feb 3, 2022 - 9:04pm
Kiss Goodnight Quilt Sew Along
Week 4
Welcome to Week 4 of the Kiss Goodnight sew-along. This week we are continuing to make blocks. I find that this is the easy part, all the decsions have been made so you just get to sew! If you have just joined the SAL, welcome! Be sure to grab the pattern, read up on all the details and choose your fabrics soon so you can catch up and join in the fun!
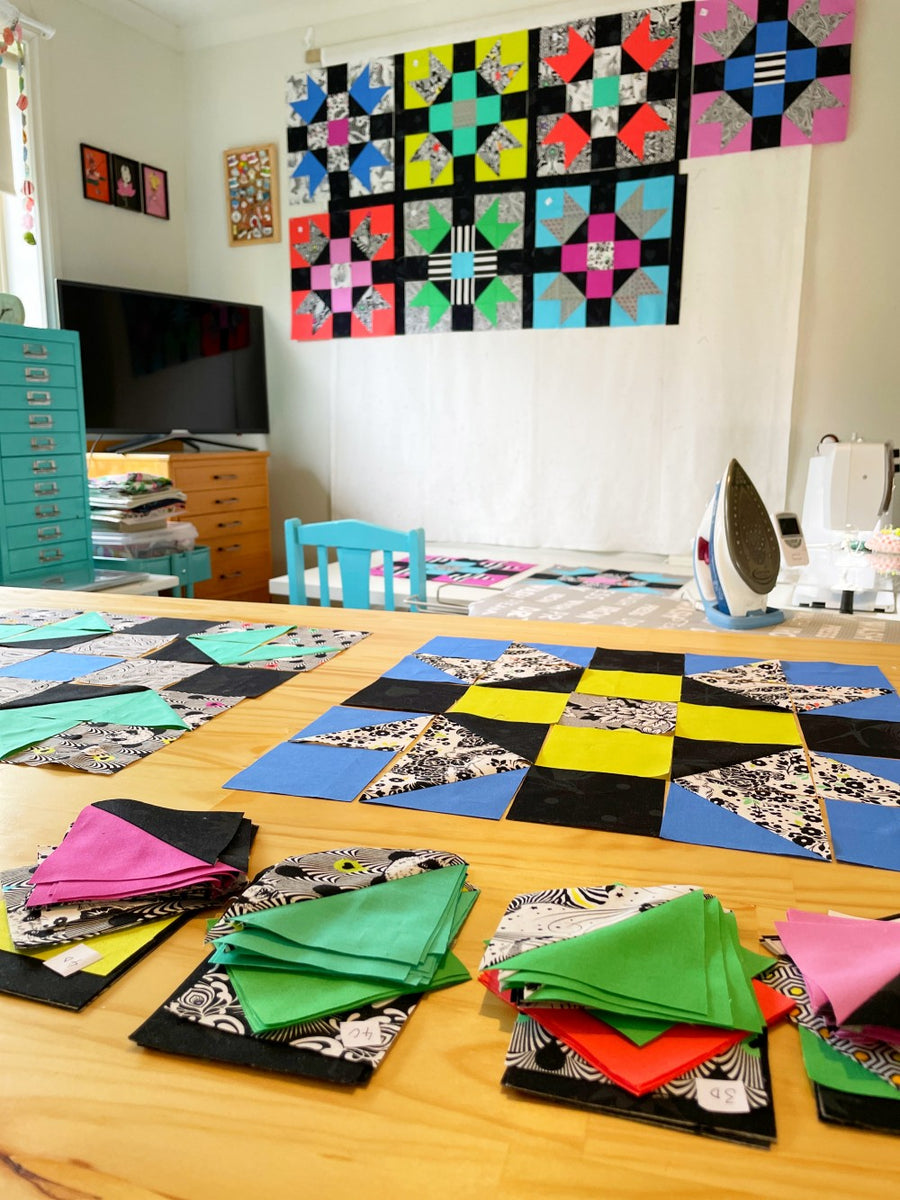
SHARE ON INSTAGRAMDon’t forget to post a pic of your cut fabrics to IG and be sure to the use the #kissgoodnightquiltSAL and #kissgoodnightquilt hashtags to make it easier for others to find your photos.The hashtags are also a great was to check all the other quilts that are being made. There are even some finished quilt tops popping up by the over achievers of the group. This black and white one with the sashing removed is particularly inspiring,Did you have a go at chain piecing? I would love to know if the tips from last weeks newsetter help you give it a try.
If you have been following me on IG you will have seen that I made another Kiss Goodnight quilt and I atually think it is my favourite so far. It has been made using fabrics from my stash, many that I have had for years. Lots of them are Cotton and Steel and there are some Ruby Star Society ones in there too. In this quilt I also used a different background fabric for each block. I think it adds a bit more interest, what do you think?
PRIZES
Each week I will pick a winner from the posts using the hashtag #kissgoodnightquiltSAL to win a bundle of my patterns.That's three PDF's patterns, your choice!
I hope you are enjoying making your blocks especially if you are in hard lockdown like we are. The extra time at home is great for sewing and I always become more productive. Just like the saying goes, quilting is my therapy in more ways than one.However having little ones, or trying to home school can be challenging so make sure you are kind to yourself.
Emma x
Week 3 - Kiss Goodnight Sew Along
Feb 3, 2022 - 8:47pm
Kiss Goodnight Quilt Sew Along
Week 3
Welcome to Week 3 of the Kiss Goodnight sew-along. I hope you guys had fun making your Half Square Triangles, getting your blocks organised and now you’re ready to get stuck into making these blocks!If you have just joined the SAL, welcome! Be sure to grab the pattern, read up on all the details and choose your fabrics soon so you can catch up and join in the fun!
SHARE ON INSTAGRAMDon’t forget to post a pic of your cut fabrics to IG and be sure to the use the #kissgoodnightquiltSAL and #kissgoodnightquilt hashtags to make it easier for others to find your photos. Check out these fabulous organised piles of fabrics that are ready to be made into blocks, aren't they inspiring!!
PIECING THE BLOCKSFor the next 3 weeks we are making blocks! Whatever size quilt you are making, just divide the amount of final blocks by 3 and you will know how many to make each week.A quick note on pressing your blocks. Some of you will decide to press your seams open, others will press to the side. Obviously, you should find what works best for you!
Check out Pages 6 & 7 of your Kiss Goodnight pattern for my pressing tips.To be honest though, it’s not the end of the world if you have to flip the seam as you’re sewing the blocks together to get them to nest!I like to work on one block at a time for this quilt, so the first thing I do is lay out all the squares in the correct position.
Next up, I stack the rows from left to right.
CHAIN PIECING
The Kiss Goodnight quilt blocks are perfect for chain piecing so if you have never tried it, now is the time. So the basic idea of chain piecing is sewing without cutting your threads, so the blocks are all linked and you save time. Start with row 1 and sew squares #1 and #2 together, then row 2 and do the same. Repeat for all 5 rows. Then start back at the beginning and sew square #3 onto each of the rows. Continue sewing until all the squares are added to the rows.
If you look closely at the photo below you will see all the threads in-between the rows. At this stage I like to cut the threads and then iron the rows in opposite directions so when you piece the rows the seams will nest nicely together.
Then you need to sew the rows together.
Ta Da, a finished block!
PRIZES
Each week I will pick a winner from the posts using the hashtag #kissgoodnightquiltSAL to win a bundle of my patterns. That's three PDF's patterns, your choice!
With so much of Australia in some stage of lockdown I hope you are finding a little joy with this sew along because I sure am. It gives me something to look forward to each week and I love looking through the #kissgoodnightquiltSAL hashtag to see all the beautiful quilts that are geting created.
So once again thank you so much for coming on this sewing journey with me, it means the world to me. If you are feeling isolated, reply to this email, I would love a chat. Or comment on one of the Kiss Goodnight sew along posts, you just might make a friend!
Emma x
Week 2 - Kiss Goodnight Sew Along
Feb 3, 2022 - 8:15pm
Kiss Goodnight Quilt Sew Along
Week 2
Welcome to Week 2 of the Kiss Goodnight Stars Sew Along.This week is all about cutting your fabrics, making half square triangles and getting organised to sew the blocks.If you have just joined the SAL, welcome! Be sure to grab the pattern, read up on all the details and choose your fabrics soon so you can catch up and join in the fun!
SHARE ON INSTAGRAMDon’t forget to post a pic of your cut fabrics to IG and be sure to the use the #kissgoodnightquiltSAL and #kissgoodnightquilt hashtags to make it easier for others to find your photos.Don't worry if you’re ahead, or you see other people sewing blocks already, this is supposed to be fun. If you feel like sewing, go for it. This sew along is all about enjoyment so there are no rules, stick to the schedule or move ahead, do what's right for you.There have been some fabulous fabric combos popping up on Instagram and in the Facebook group and I'm excited to watch these quilts come to life. Check out some inspiring fabric pulls below.
CUTTING TIPS This quilt is made up of squares and HST's, so you’re basically cutting out heaps of squares! Make sure that blade is sharp and get those fabrics ironed, then brace yourself for lots of cutting. Follow the cutting out instructions for the size quilt you are planning to make in the pattern. To speed up cutting I like to cut 4 layers at a time. I know this can be a bit daunting but I promise if you have a nice sharp blade it's easy. Just remember to concentrate because if you make a mistake, you will make it 4 times!!
ORGANISATION Once the cutting has been completed it's time to get organised. With my first quilt I sorted all the cut squares into blocks and decided on the layout once the blocks were pieced. With my second, I also planned the layout before any piecing was started. This ensured that I had an even balance of colours and prints throughout my quilt. The photo below shows all my fabrics sorted and ready to go.
HALF SQUARE TRIANGLES
Next up we need to make Half Square Triangles or HSTs. If you have your own way of making HSTs, go for it, just make sure you trim your blocks to 3.5".If you participated in any of my sew alongs you will notice I have used the same step by step photos. I hope you don't mind, but running around after a toddler and organising a sew along can fill my days pretty quickly. This was a little shortcut that gave me heaps more time!! I usually like to make all my HSTs at the beginning of my quilt but with this one I did a block of a time. I found it much easier to keep track of which fabrics go with which block, however do whatever feels right for you.
PREPARATIONOnce you’ve paired up your squares, the next thing you need to do is mark the back of half of your squares. I marked the back of my “C” fabric squares.One of the best ways to get a straight line on the back of your fabric is to use a sandpaper board underneath. The sandpaper stops the fabric moving, which makes it so much easier to draw the line. How cool is that! I have a fancy sandpaper board but you can just use a sheet of sandpaper from your local hardware store.I like to use a mechanical pencil with a chaco lead to mark my fabrics. The chaco lead marks the fabric easily and is erasable later on.Take one of the fabric squares and mark a diagonal line on the wrong side of the fabric. Repeat for all your pairs!
SEWING TIMETake one pair of squares with the marked square on top.Sew either side of the marked line with a ¼” seam.Repeat for all the pairs.
CUTTING TIMENow take your rotary cutter, ruler and mat.Cut down the centre of all the blocks on the drawn line from before.Press the blocks. I like to press to the dark fabric, AKA the dark side!
TRIMMING TIMEThe blocks you have just made will be a little big, they also might be a little wonky. I suppose it will depend on how much quarantine wine you’ve been drinking! Don't worry, that's where the trimming comes in.Using a square ruler (or a bloc loc ruler if you have one), line up the 45 degree line on your ruler with the seam through the middle of the block. Trim the block down to 3.5" square.Check out the pics below for a visual on how to trim your HSTs.• Please note these blocks were trimmed to 4" for another quilt, just remember yours need to by 3.5" trimmed.
LABEL YOUR BLOCKSAn extra tip for keeping organised to is to label your blocks if you decide on a layout before piecing. My technique was not very fancy, just a scrap of paper with the row and position noted and pinned to the top left coner of the block.EG: 1A, 3DIf you don't have space to keep your blocks laid out you might want to look in other options for storing them. Stacked up paper plates work really well, just put all the pieces for each block on a seperate plate and then stack them. It's a great space saver and an excellent way to store your blocks before sewing.
PRIZES
Each week I will pick a winner from the posts using the hashtag #kissgoodnightquiltSAL to win a bundle of my patterns.That's three PDF's patterns, your choice!
Next week we will be sewing blocks, yay! I've actually started sewing a scrappy version of this quilt and can't wait to show you more.If you have any questions, you can always email me!Once again thank you so much for joining me on this sew along. I hope you are enjoying the process and meeting some other sewers from around the world.
Emma x
Week 1 - Kiss Goodnight Sew Along
Feb 3, 2022 - 7:42pm
Kiss Goodnight Quilt Sew Along
Week 1
Welcome to Week 1 of the Kiss Goodnight Stars Sew Along.
This week is all about choosing your fabrics.
GETTING STARTED:
Make sure you’ve purchased your Kiss Goodnight Pattern
The Kiss Goodnight SAL will be taking place on Instagram, so be sure your account is set to public so we can all see your posts using the #kissgoodnightquiltsal and #kissgoodnightquilt hashtags.
Let’s start off with introductions! We’d love to see a picture of you in your sewing room or space and hear a bit about you. If you are still working from home, I know many of you are, I hope this sew along will help you feel a little less isolated and a little more connected.
Post a photo of your fabric pull – in this newsletter we’ll talk a bit about fabric choices. If you’ve already decided on your fabric, posting a picture may help to inspire others.
Go shopping if nothing in the stash works – Why not support a small business? Most patchwork shops are selling online and they could all really do with our support right now.
PLANNING YOUR QUILT:
Your first step is to decide what size quilt you are making. The Kiss Goodnight Quilt comes in 6 sizes, Baby, Small Throw, Large Throw, Twin, Queen and King. Hopefully there's a size to suit everyone!
CHOOSING YOUR COLOURS:
This week we are concentrating on choosing fabrics.
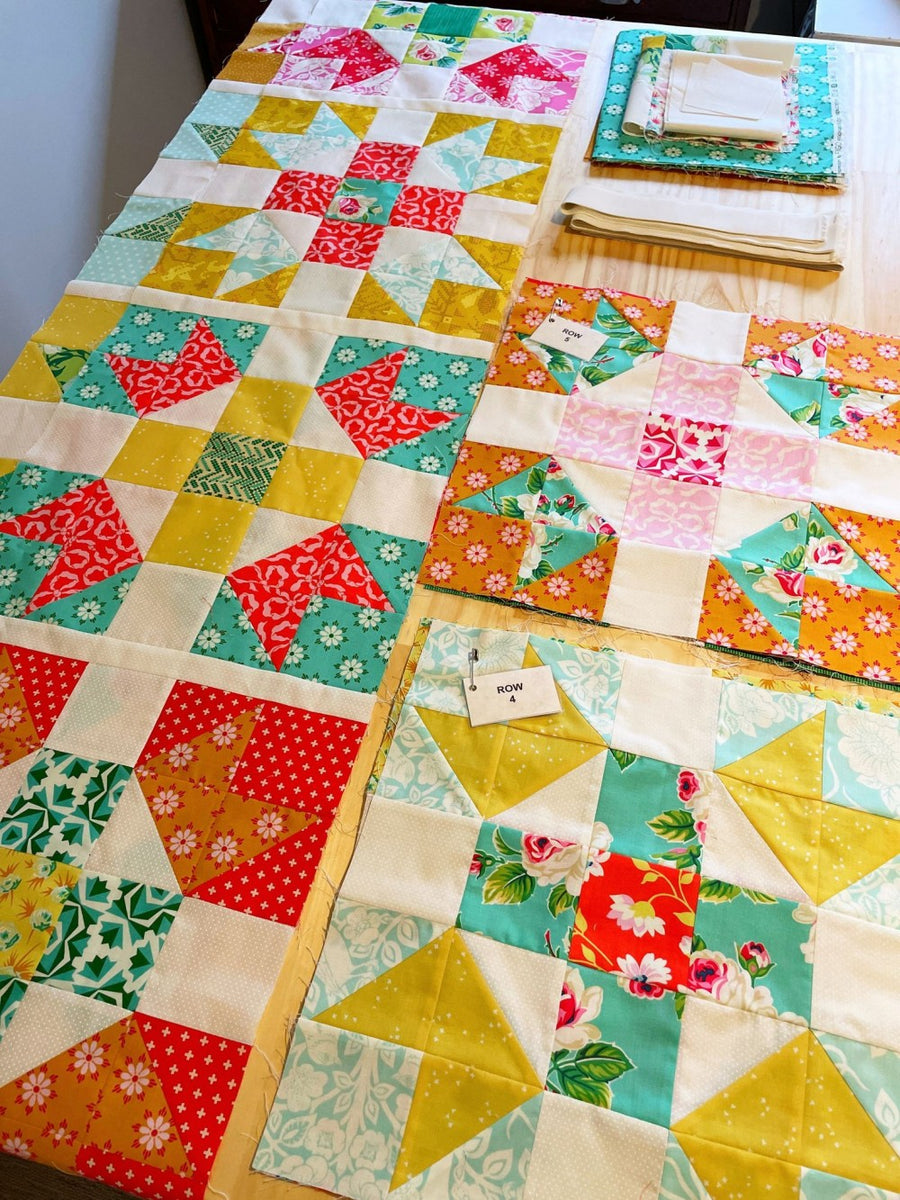
The original quilt was made up using Heather Bailey's range of fabric, True Kisses for Figo Fabrics. I fell in love with the beautiful colours and stunning florals and it was actually the inspiration for the quilt! The large florals from the range were not included in the final selection, they were just too big for the size of the squares. This is something I always take into consideration when choosing fabrics for a quilt. As much as I loved the large florals I knew that they just wouldn't work with the block and I would be disappointed with the finished look of the quilt.
The background fabric is a small dot in a cream shade which I thought would be the perfect compliment to the bright colours.
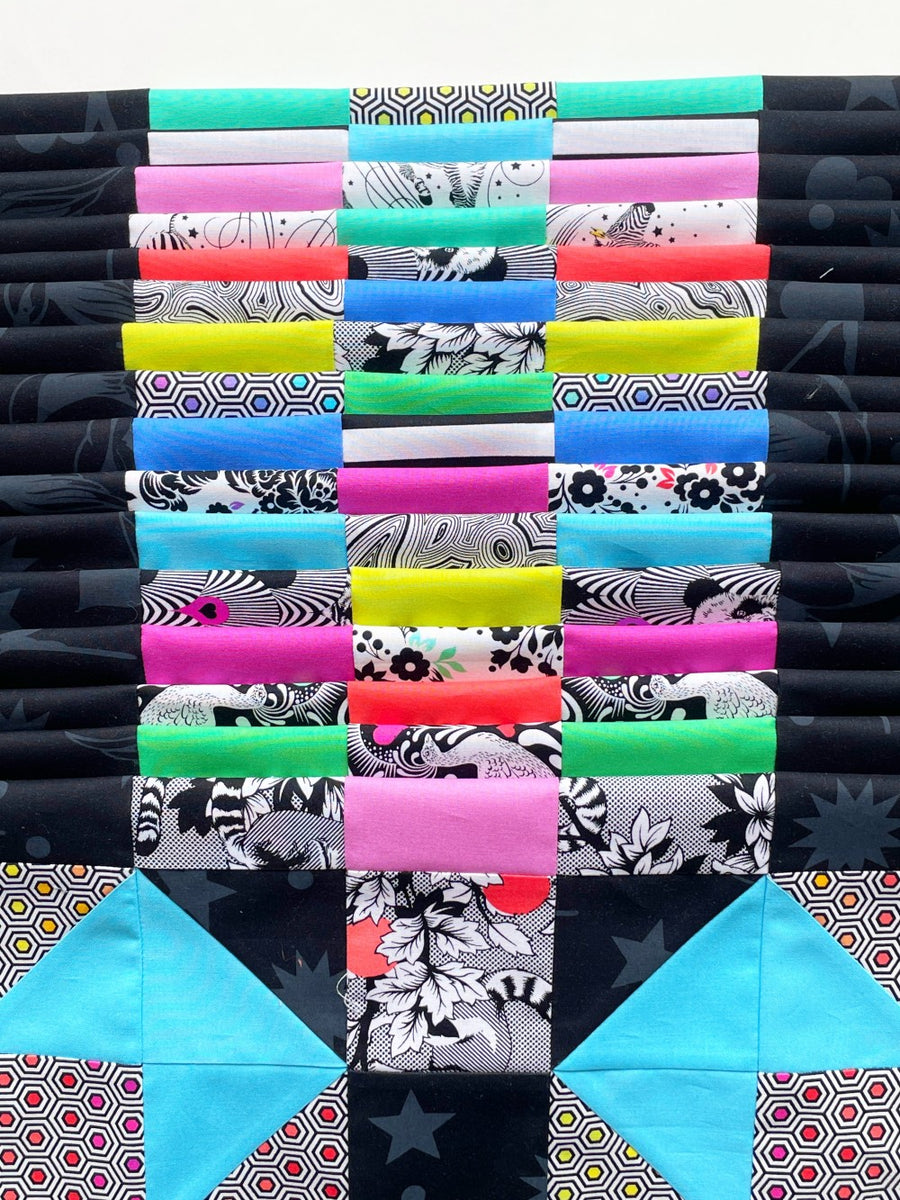
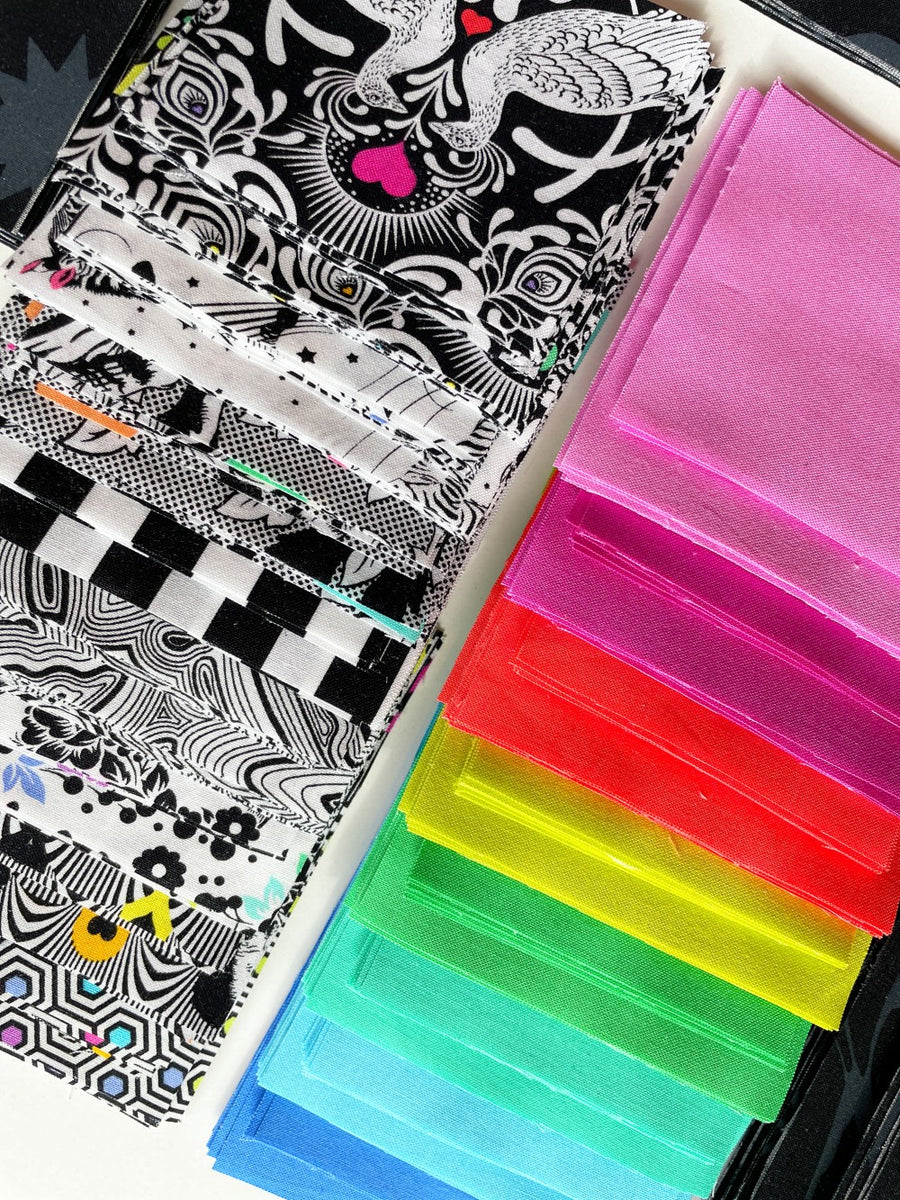
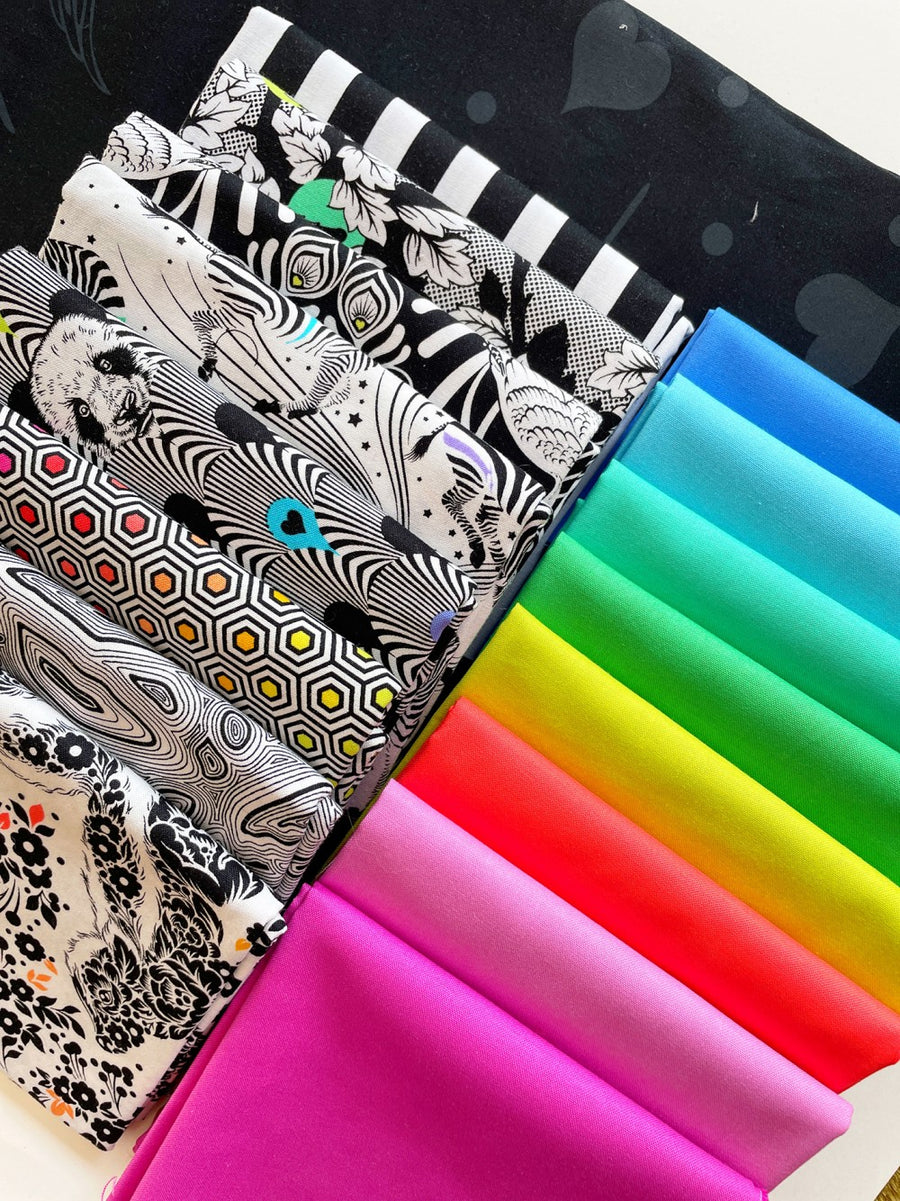
For this sew along I'll be making the large throw size using Tula Pink's Linework range of fabrics paired with a selection of designer solids. Then to make the colours pop I'm using the tone on tone black from the linework range as the background fabric. I've already made a couple of blocks and I love the way it looks.
For anyone that is interested, these are the Tula Pink solids that I decided to use. The fabrics had to be ordered online as we were in lockdown and I'm happy with my selection, however there are so many fabulous colours to choose from that so many other combinations would work too.
Next up I had some fun playing with the layout of the fabrics and colours and I wanted to share them with you. The plan was always to use the black as the background, but I also wanted to see what it might look like with white too.
The next two images are where I had a play with the position of the white and black. I found it really interesting how much the block changed and also the possibilities for future Kiss Goodnight quilts. How many is too many, just asking for a friend?
Need some more inspiration? Well here you go! I had lots of fun putting these mock-ups together and I hope they help you with your fabric selection.
Summer Days.
I'm calling this one Summer Nights. It's amazing the difference a dark background makes.
Moody Blues.
Emerald Forest.
Springtime.
I'm not sure what this one reminds me of but I really like the grey background.
And finally my favourite, made using only solids and this is totally on my to do list.
Hopefully you found some inspiration with these colour combinations. If you are still stuck, ring your local quilt shop and ask them to put together a fat quater bundle for you, easy peasy! There is also the option of a scrap quilt. One of my fabulous testers made one using all different fabrics and it looks awesome. Check it out below. She worked on one block at a time and raided all of her stash. Would you believe she's only been quilting for 2 years?You can also check out the hashtag #kissgoodnightquilt for even more inspiration from my talented pattern testers.
Each week I will pick a winner from the posts using the hashtag #kissgoodnightquiltSAL to win a bundle of my patterns. That's three PDF's patterns, your choice!I'm am still finalising some prizes for the last week, so stay tuned. If you have any questions, you can always email me!
Next week we will be cutting our fabric and making all those half square triangles, so clean up your work space and change those rotary cutter blades!Thanks so much for joining me on this patchwork adventure. Whether it's your first or 20th sew along, I hope you get some joy from creating alongside fellow creatives.
Emma x