
Week 4 - Mixed Lollies Quilt Sew Along
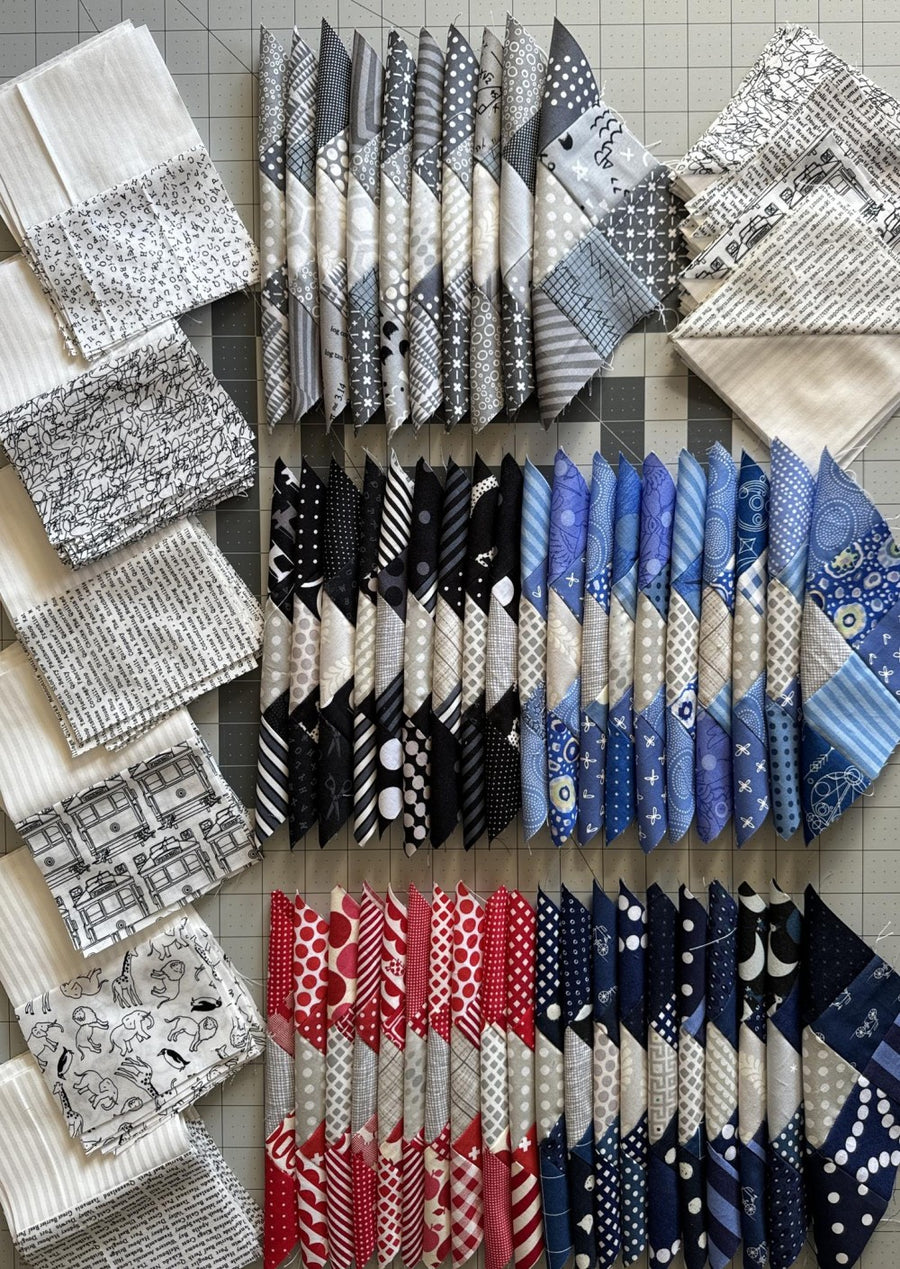
Mixed Lollies Quilt Sew Along Week 4 Welcome to Week 4, the final Week of the Mixed Lollies Quilt Sew Along. It's time to get these quilt tops pieced! If you have just joined the SAL, thanks for joini
Mixed Lollies Quilt Sew Along Week 4 Welcome to Week 4, the final Week of the Mixed Lollies Quilt Sew Along. It's time to get these quilt tops pieced! If you have just joined the SAL, thanks for joini
Mixed Lollies Quilt Sew Along Week 3 Welcome to Week 3 of the Mixed Lollies Quilt Sew Along. This week we are making the two Background Blocks, Block A and Block B. If you have just joined the SAL, we
Mixed Lollies Quilt Sew Along Week 2 Welcome to Week 2 of the Mixed Lollies Quilt Sew Along. This week we are making all of our Nine Patch blocks. If you have just joined the SAL, welcome! Make sure t
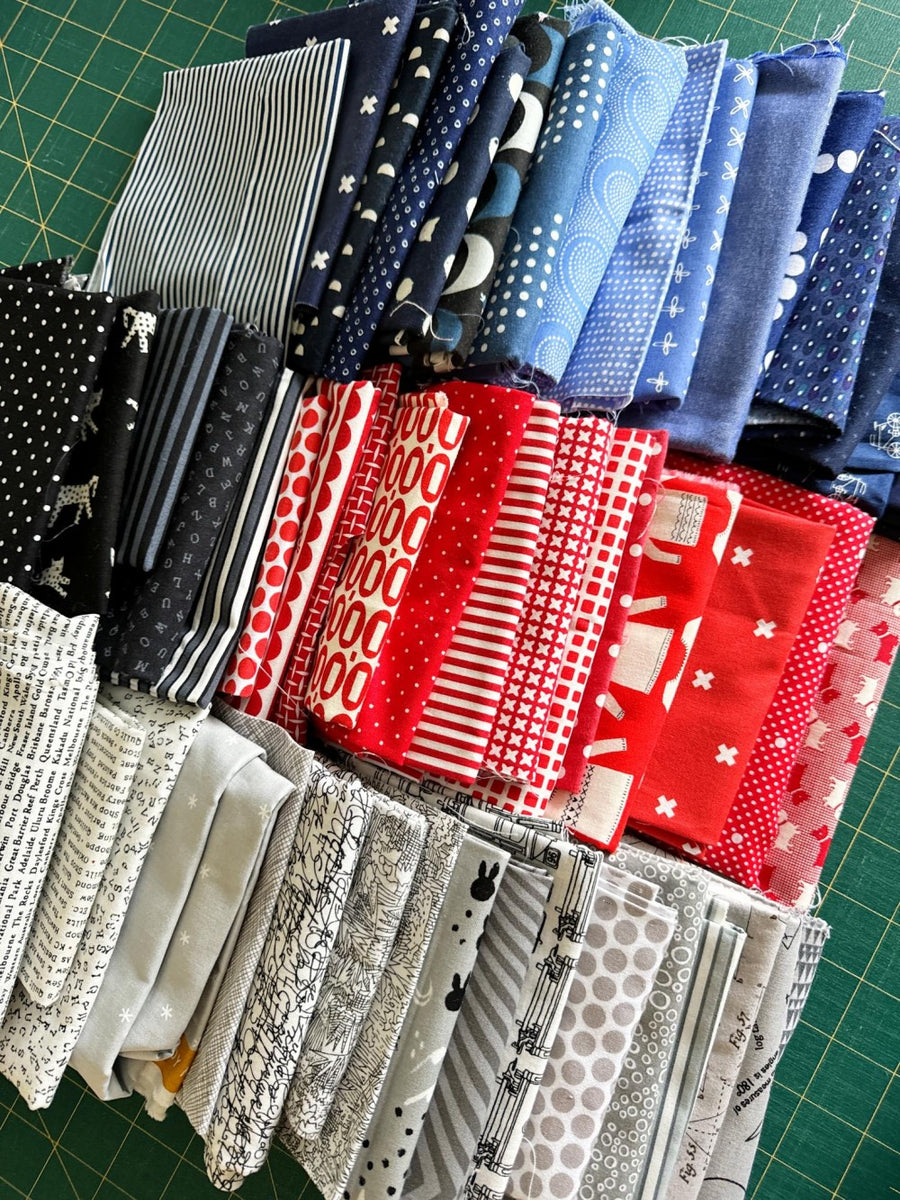
Mixed Lollies Quilt Sew Along Week 1 Welcome to Week 1 of the Mixed Lollies Quilt Sew Along. This week we are concentrating on the planning of our quilt and the cutting of all the fabrics. If you have

Mixed Lollies Quilt Sew Along Welcome and thank you for joining the Mixed Lollies Sew Along. Time to have some fun! To give you more time to pick your fabrics this welcome email is arriving two weeks