Week 2 - Around The Lake Sew Along
Mar 30, 2022 - 11:13am

1

0
Welcome to Week 2 of Around The Lake Sew Along.
I've been loving all the fabulous combinations popping up on Instagram and in the private facebook group. They are so inspiring and I can't wait to watch them grow into quilts.
This week it's all about cutting, so sharpen your blades and lets get cutting!
If you have just joined the sew along, make sure you’ve purchased your copy of the Around The Lake Pattern.
The Around The Lake Sew Along will be taking place on Instagram, so be sure your account is set to public so we can all see your posts using the #aroundthelakeSAL and #aroundthelakequilt hashtags.
You can also join the Private Facebook Group here.
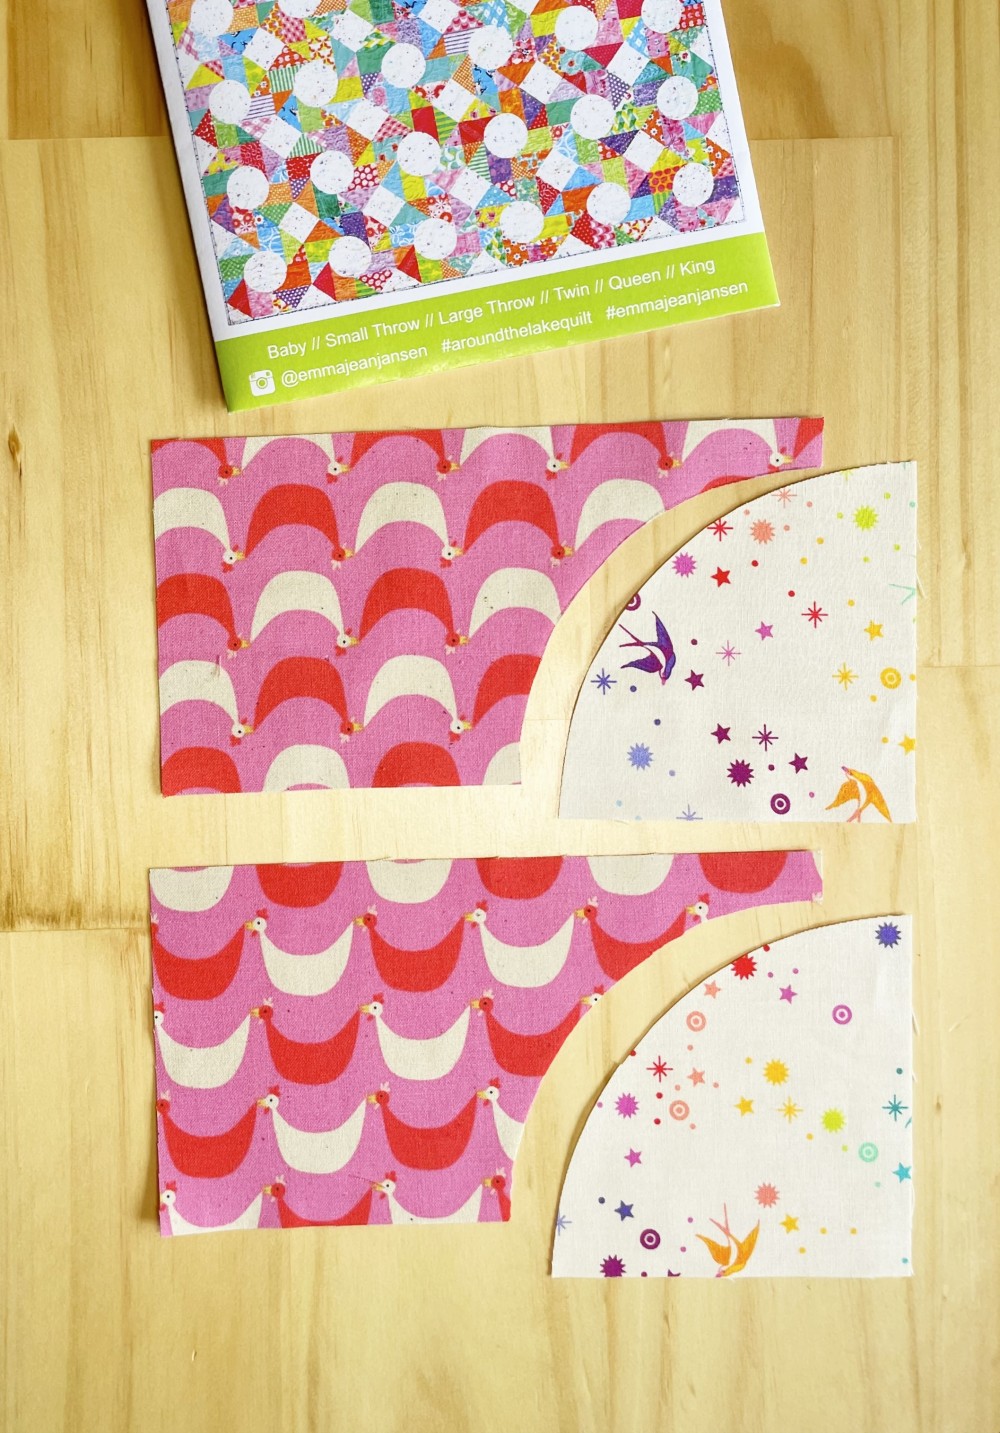
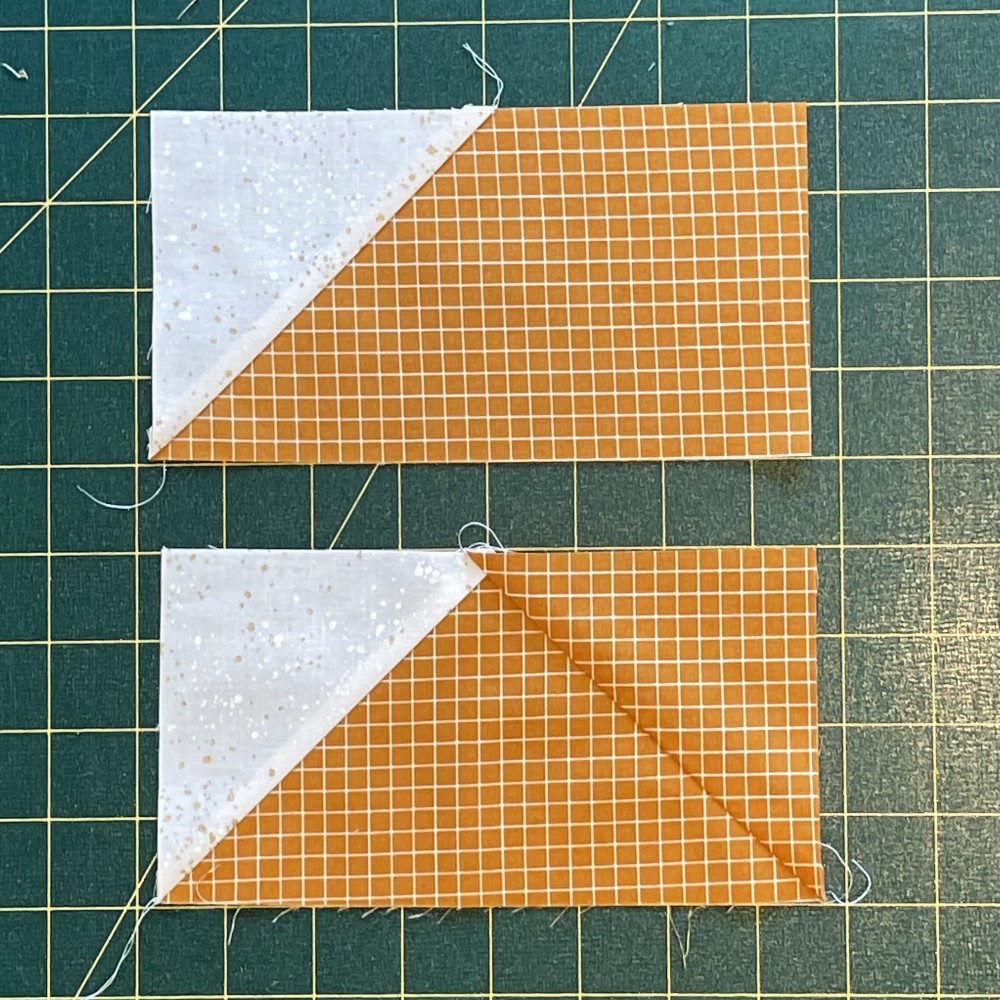
The Around The Lake pattern is designed to be cut with the fabric right side up.
This means if you are tracing Template A, trace it on the right side of the fabric with the template right side up. (writing right side up)
On a side note you don't have to be as careful with Template B.
Just make sure your cut fabric pieces look like the photo below.
If you would like to trace the template onto the reverse of the fabric, just make sure you flip the template, easy!
If you have already purchase a set of the Around The Lake acrylic templates you can skip this step. If you would like to purchase a template set, please click here.
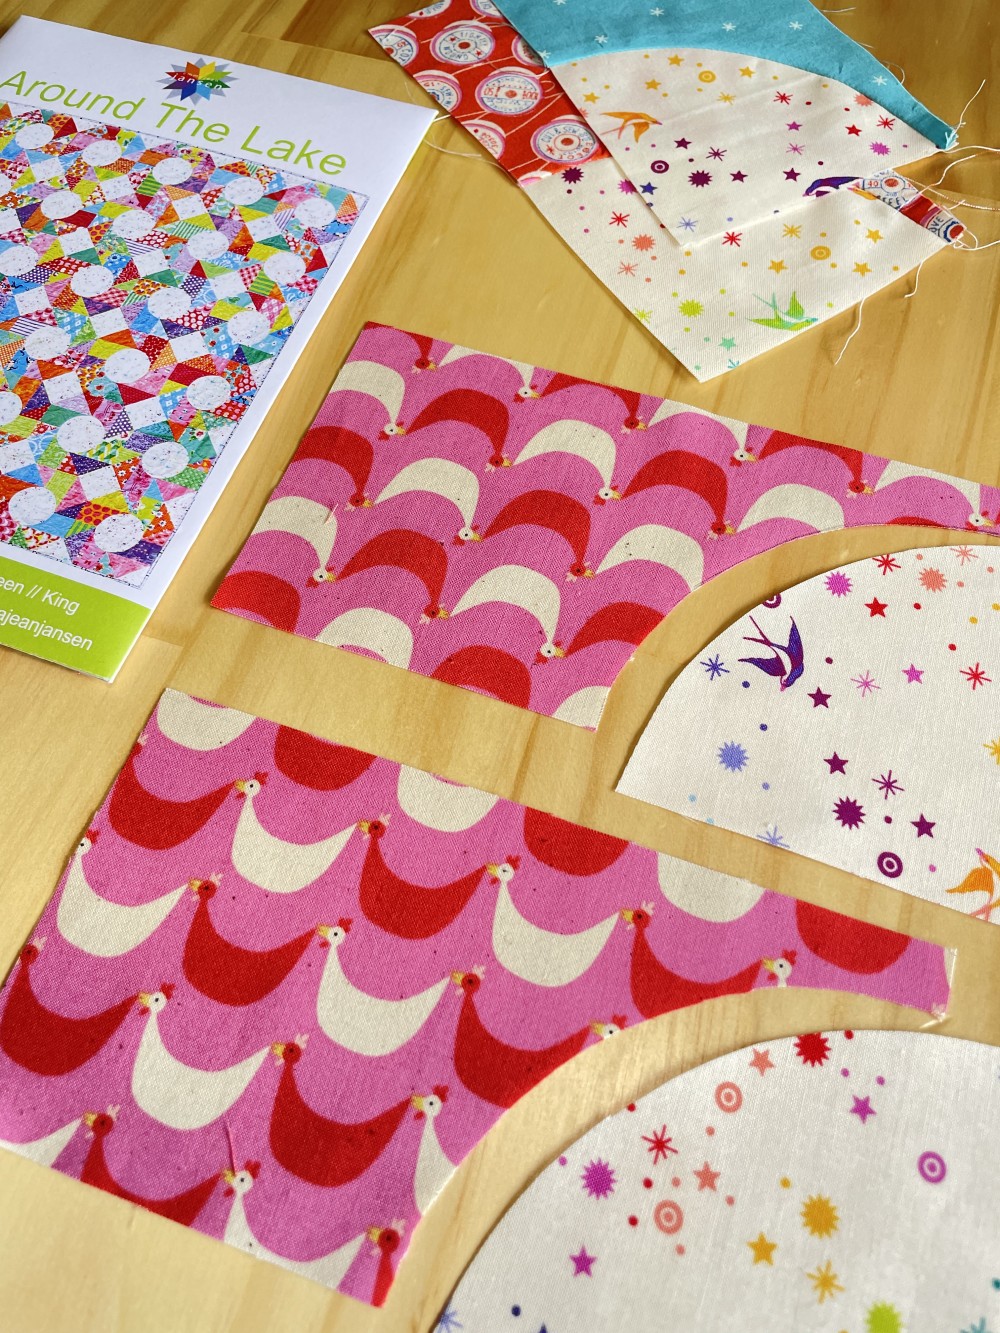
There are a couple of ways to make make the templates and cut the curves on template A and B. The acrylic templates obviously make it heaps faster because you can cut with a rotary cutter but there are other options too.
The reason the fabric for both of these templates is cut into a rectangle first, is so the only part that needs to be cut, is the curve. Easy. If you have the acrylic templates then use a smaller roatary cutter (I prefer a 28mm) to quickly cut around the curve. I like to do this standing at a cutting table (or kitchen bench) as the extra pressure gained stops the template moving when cutting.
No templates, no problems!
1. Print out your templates from the PDF pattern or photocopy if you have bought the printed version.
Cut out accurately with scissors.
Pin the paper template right side up on the front of the fabric. Trace the curve using a water soluble pencil or marking tool of choice, and then cut on the line.
Alternatively you can just cut the curve with the paper template still pinned to the fabric. Just like in dressmaking.
2. Trace the template shapes onto templastic using a fine permanent marker. Cut out accurately using scissors.
Place the templates on the fabric and carefully cut with a rotary cutter. Take your time, if you go too fast you can cut the templastic.
I created a little timelaspe video on instagram that shows the different techniques. You can check it out here.
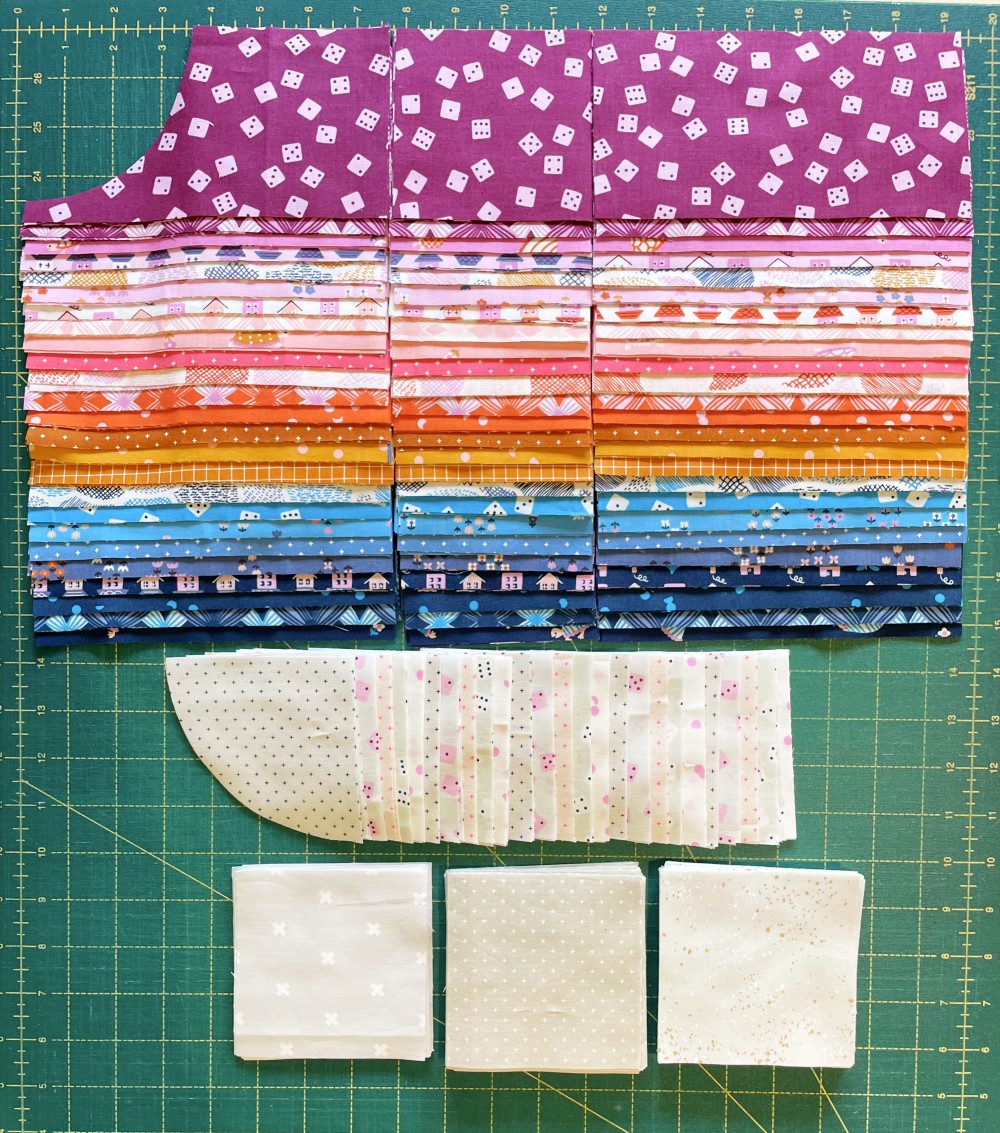
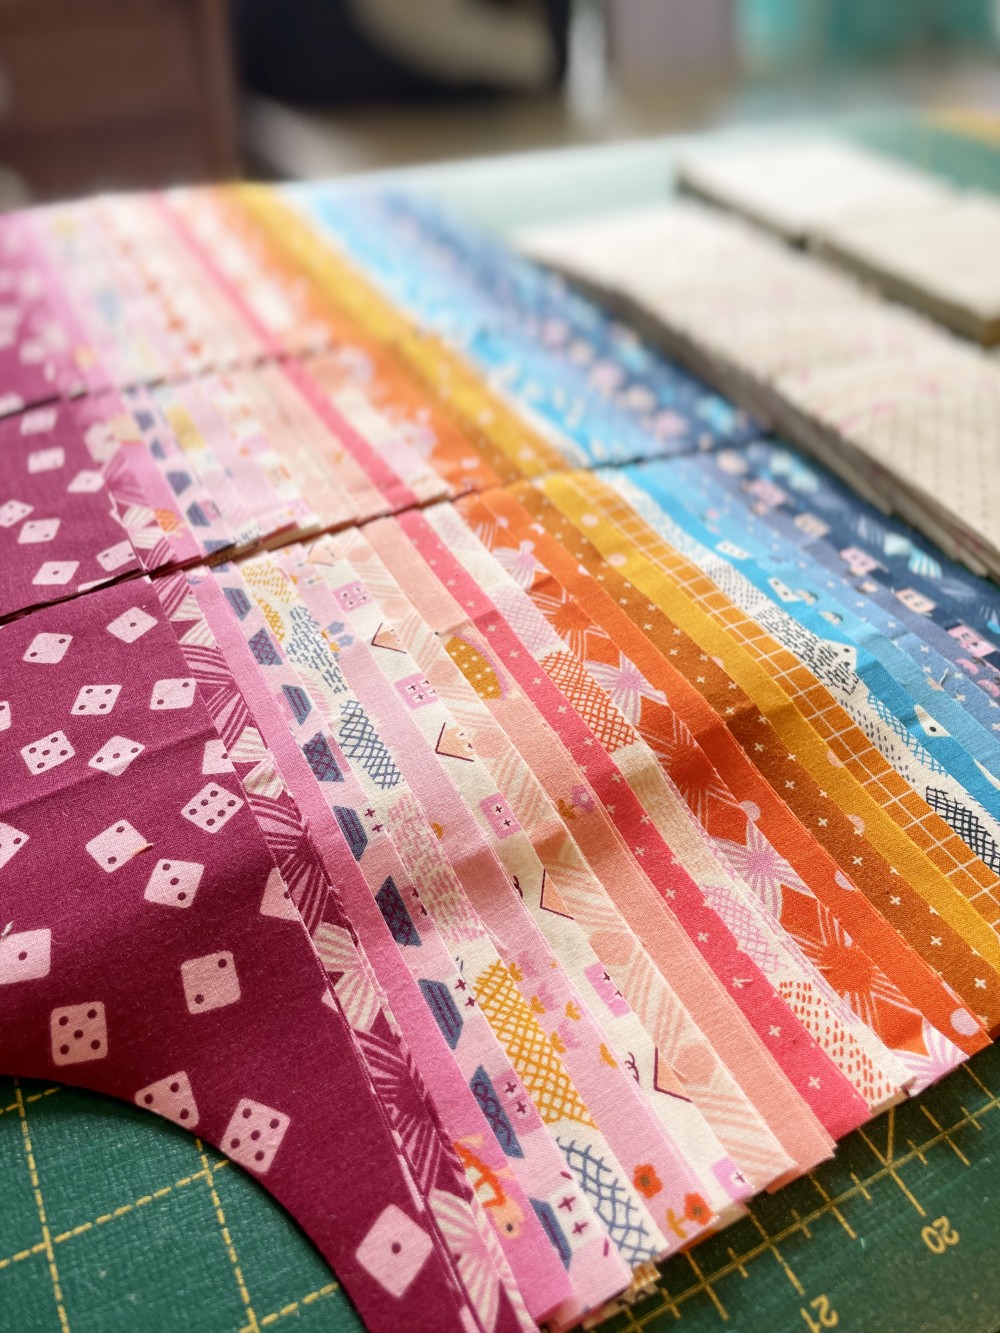
CUTTING FAT QUARTERS:
My best tip for cutting fat quarters is to follow the cutting diagram in the pattern.
Once you get your head around what you need to cut you will discover that it's just as easy to cut the fabric into 4 x 4" strips. Then cross cutting them to take make the squares and rectangles needed for the quilt.
To speed things up, I cut 4 fat quarters at a time. Just remember if you do choose to cut multiple layers at once, pay attention.
If you make a mistake you will do it x 4.
CUTTING FAT EIGHTHS:
If you decide to use scraps, fat eighths are a great guide. That's how I made the original quilt using my stash. I didn't cut multiple layers at once becuase I was using different sized fabrics, from lengths to scraps so I found it easier to tackle one fabric at a time.
SOLID FABRIC QUILT:
If you are cuting large pieces of fabric I have made a nifty little video showing how I like to do it. Here.
It involves cutting the fabric strips required and keeping them in place on the cutting board and then cross cutting them into the squares or rectangles required.
By not moving the first lot of cut strips means I save lots of time and makew the whole cutting proces so much quicker. It takes practice but it is totally worth it for time saving.
Juat a little reminder from last week about cutting. I mentioned that the version I am making requires the layout to have all the same fabrics in each quarter block unit, like the photo below.
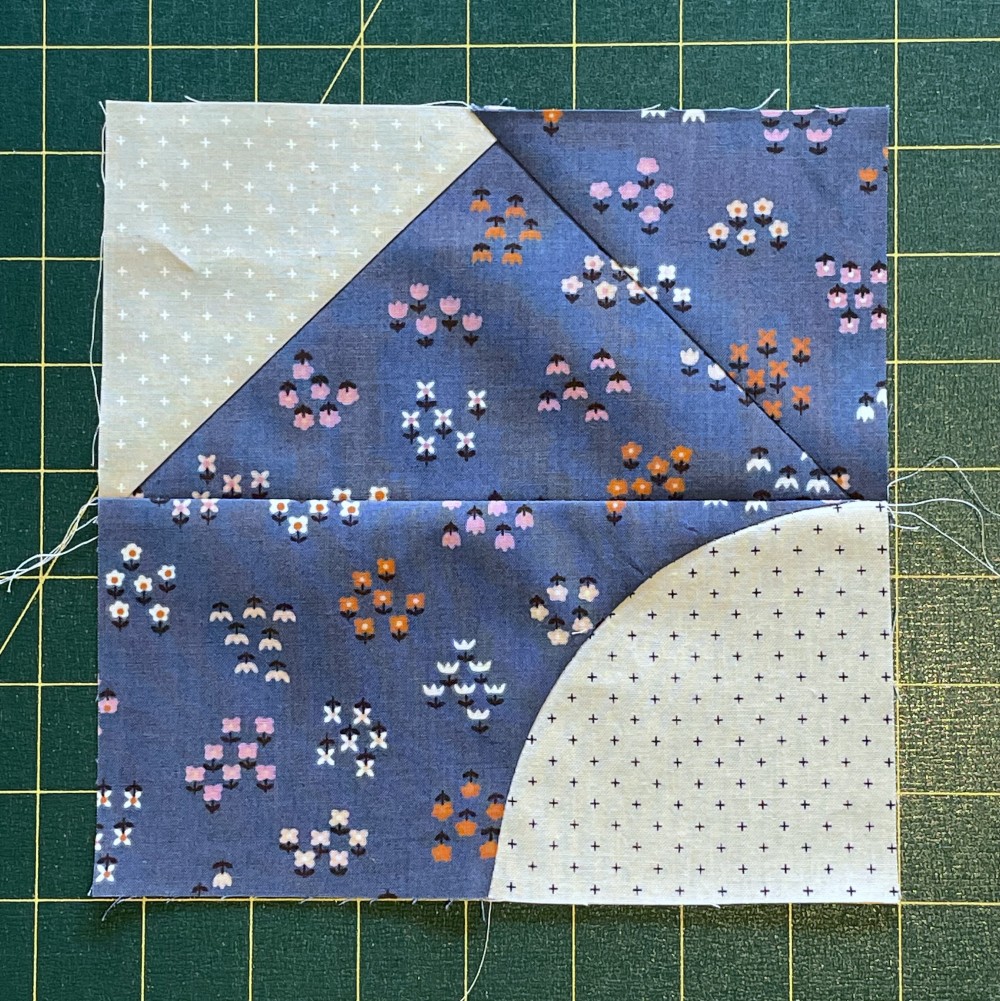
As you can see in the photo below there is actually no need to cut and sew the C square onto the Flying Geese Unit. So if you want to save time and fabric just completely skip this step.
In the end I still decided to use the C square for two reasons, one because I had already cut them and two, I really like the texture the extra piece created.
So it's up to you, I just wanted to give you another option.
PREPARATION FOR WEEK 3:
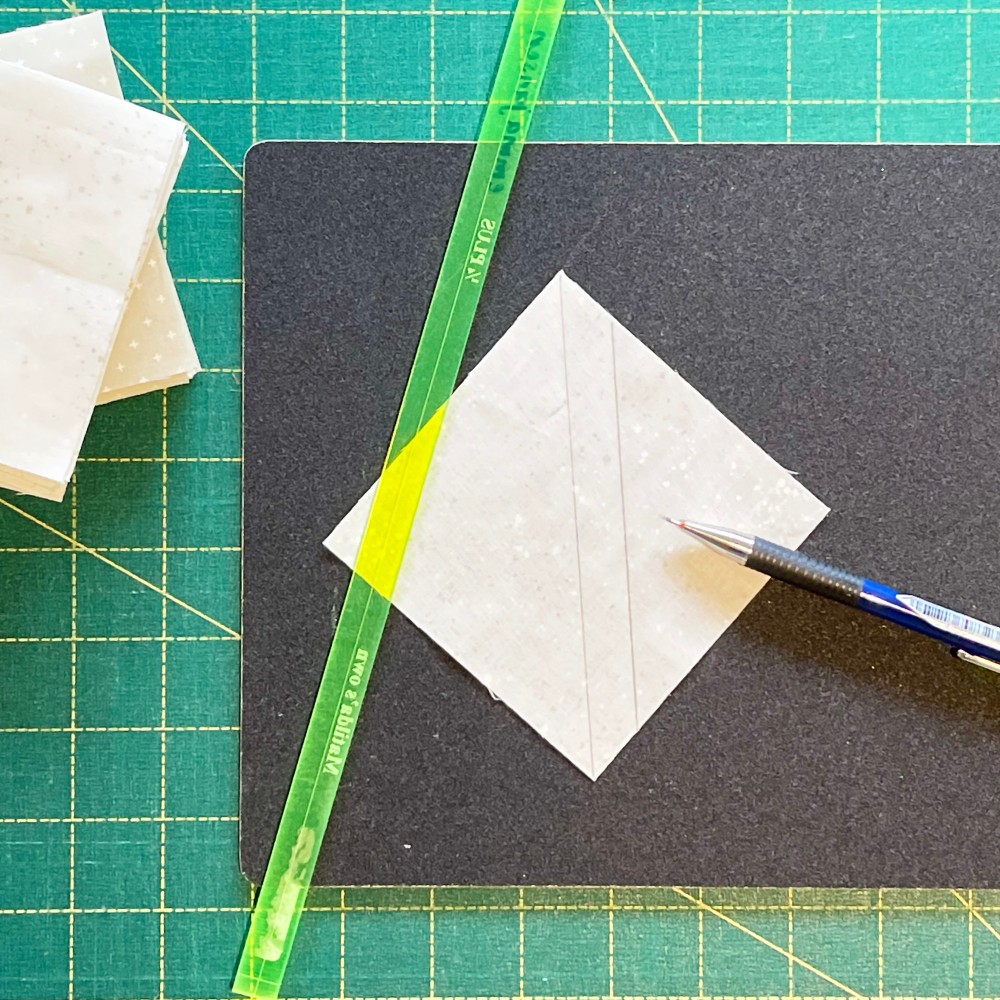
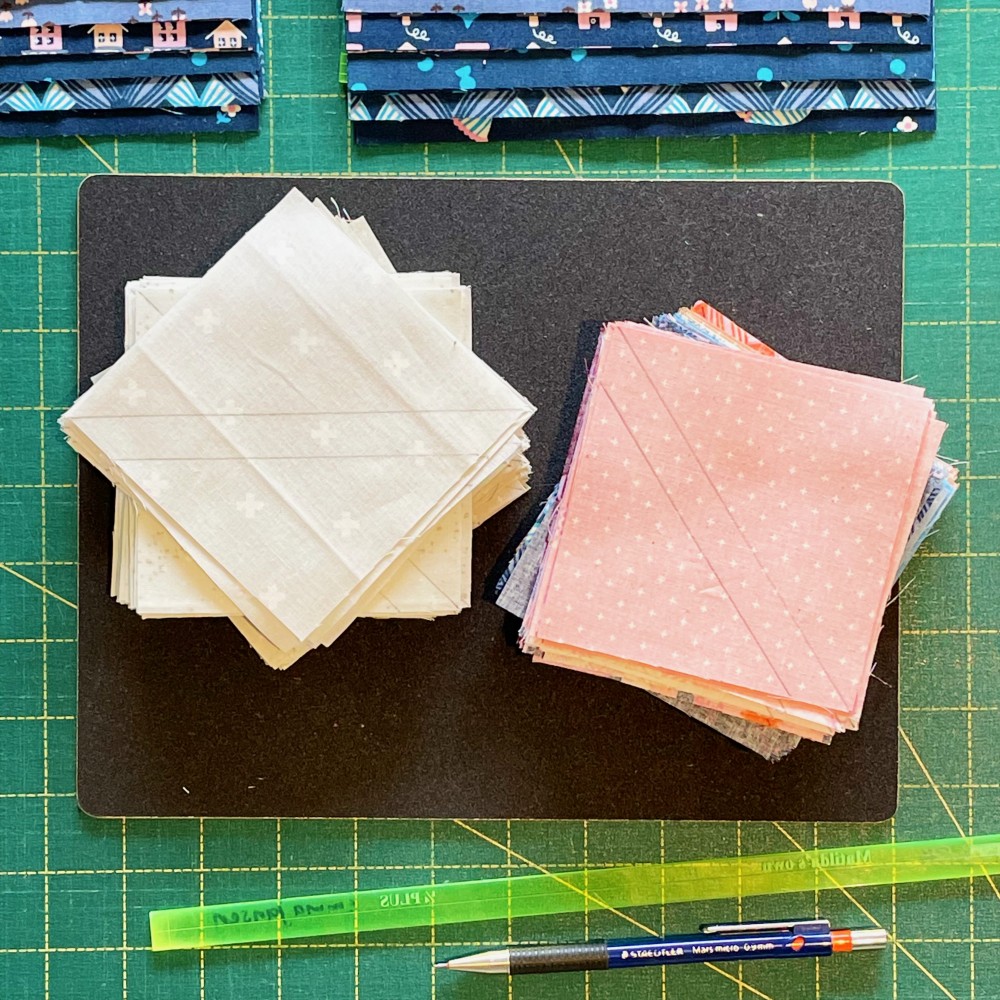
If you are keen to get going for next week you can mark up the back of your C and F Squares.
I like to do this using a water erasable pencil and a sandpaper board.
The centre line creates the Flying Geese Unit once sewn and the line to the side creates the bonus Half Square Triangle. I mention these in the pattern but I will also talk about these a bit more next week. You can use them to create cushions, a baby quilt or even use them to make a pieced back. However if you don't want to make these squares you can just skip the step and add the leftover triangles to your scrap box.
This is a great task to do on the couch in front of the tv. I'm watching Mad Men at the moment and yes I'm a bit late to the party but I am loving it sooooooo much.
Do you have any favourite tv shows that you like to watch when sewing?
That's it for Week 2. Next up we will be making all the Flying Geese Units.
I hope you are enjoying the sew along because I sure am.
Keep sharing your photos and you could be in the running to win 3 of my PDF patterns, your choice each week.
I already have so many new ideas for version of this quilt, stay tuned. It really is one of the most versatile patterns I have designed!
Happy Patching,
Emma
Apr 9, 2022 - 10:04pm
Niki:Hi Emma, this is great! Super excited to sew along. I’m making the solid version and wanted to make the drunkards path 3.5 squares instead of the rectangles. I couldn’t find the measurement for the other square that would complete that rectangle. Can you help?
Not quite sure what you are after but if you want to email your question and explain it in a bit more I will be happy to help!