Week 6 - Balderdash Quilt Sew Along
Oct 4, 2023 - 10:02pm

1

0
Balderdash Quilt Sew Along
Week 6
Welcome to Week 6 of the Balderdash Quilt Sew Along.
I know there wasn't meant to be a week 6 but I wanted to announce the Week 6 winners and also share my quilting tips.
Buy the Balderdash PDF Pattern Here.
Buy the Balderdash Printed Pattern Here.
Before I get into my quilting tips I just wanted to say WOW to everyone that participated in the sew along, your quilts are amazing! Thank you so much for joining in the fun and making this my most successful sew along. I am so happy that you loved the pattern and that many of you said you would make more.
If you haven't already, do yourself a favour and check out the hashtag #balderdashquiltSAL. You will see so many stunning quilts made from so many different styles of fabrics. Your quilts are truly inspiring!
QUILTING
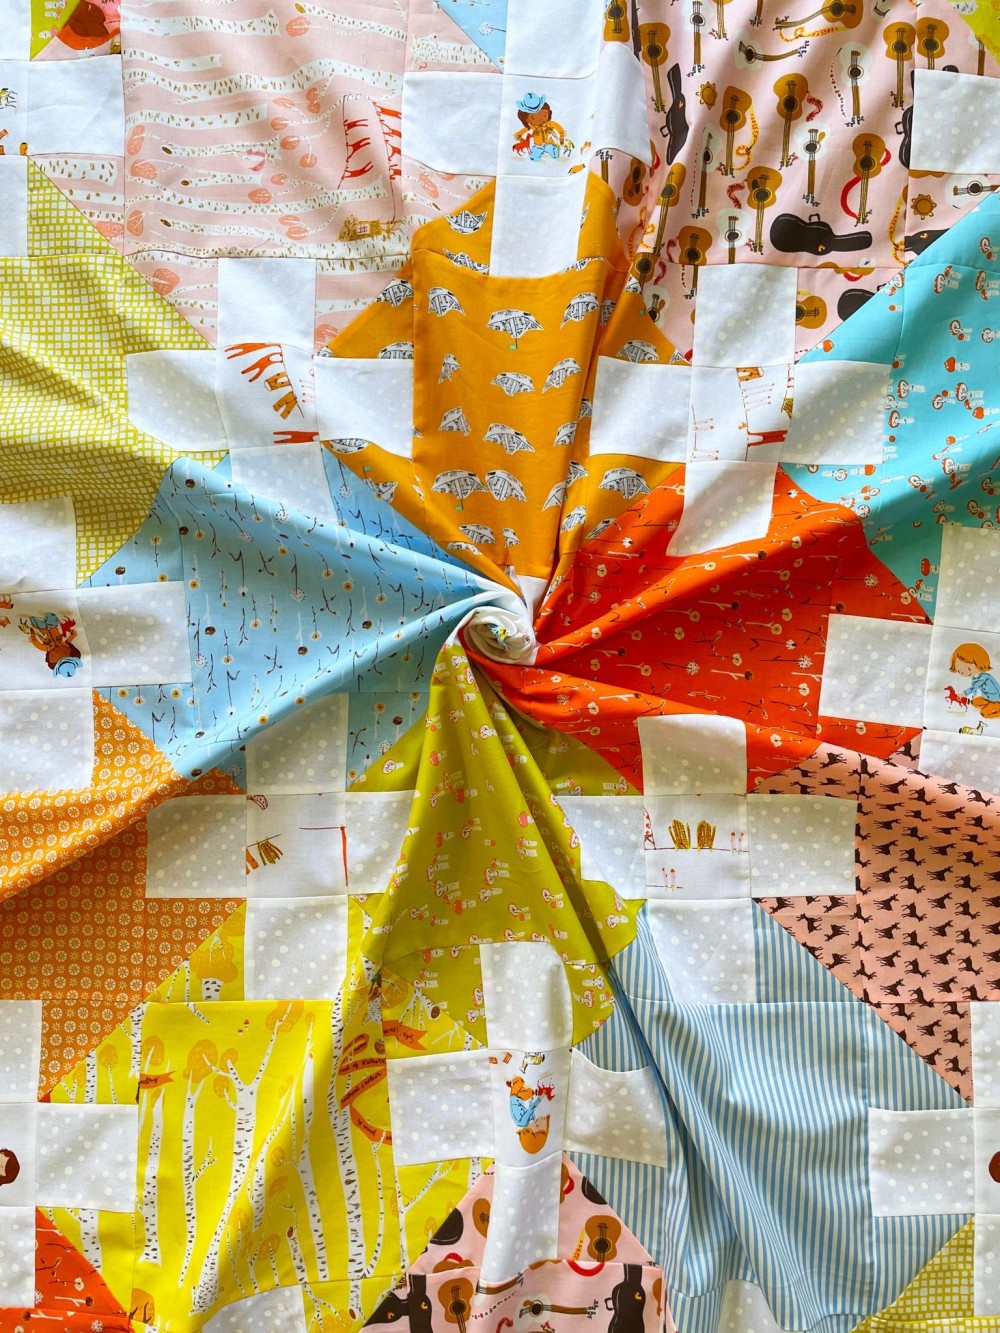
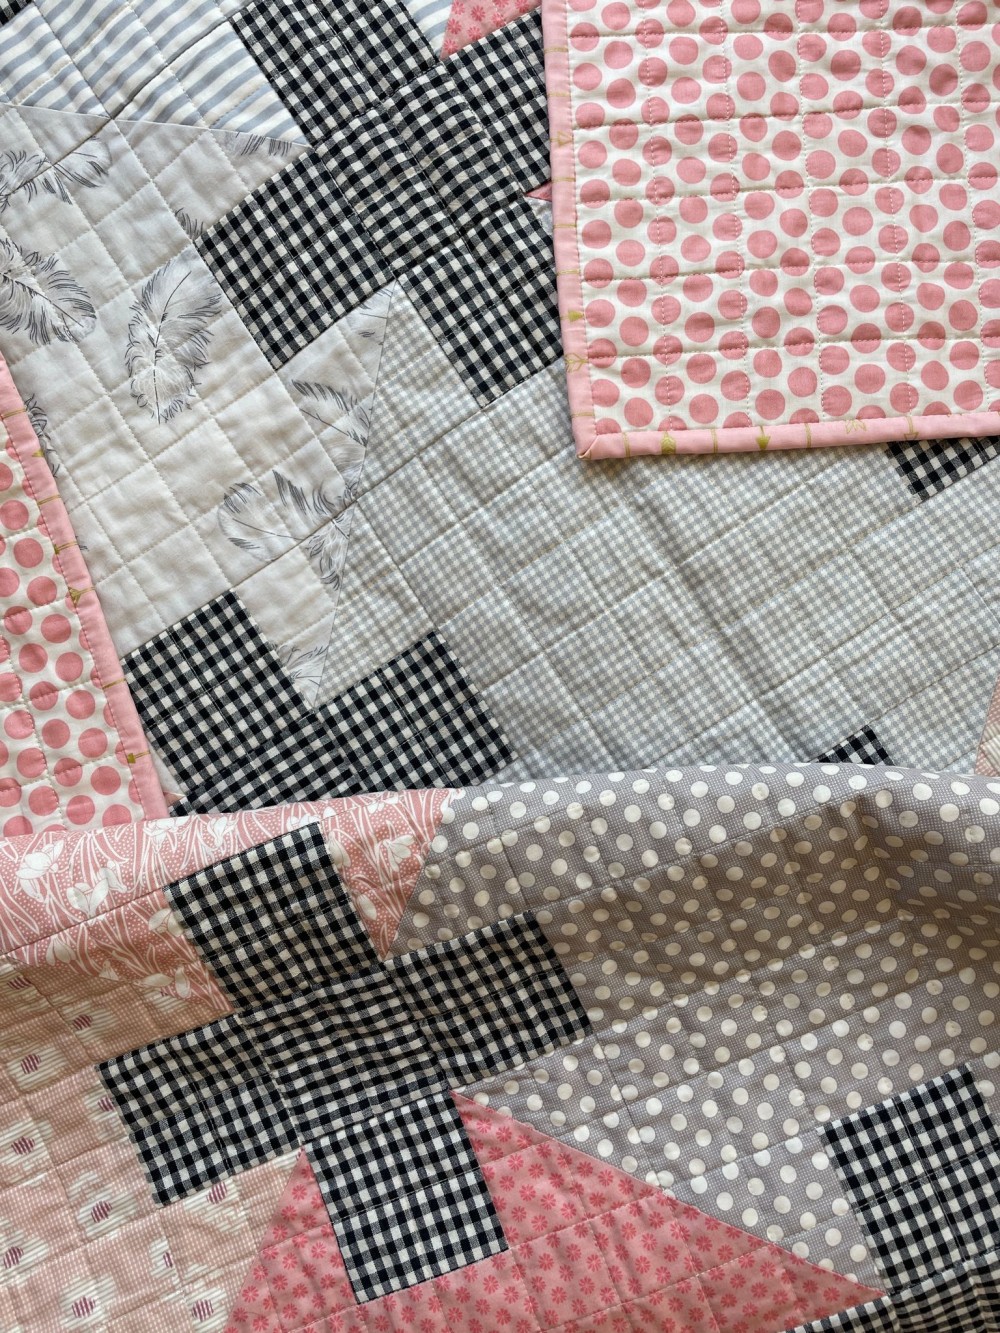
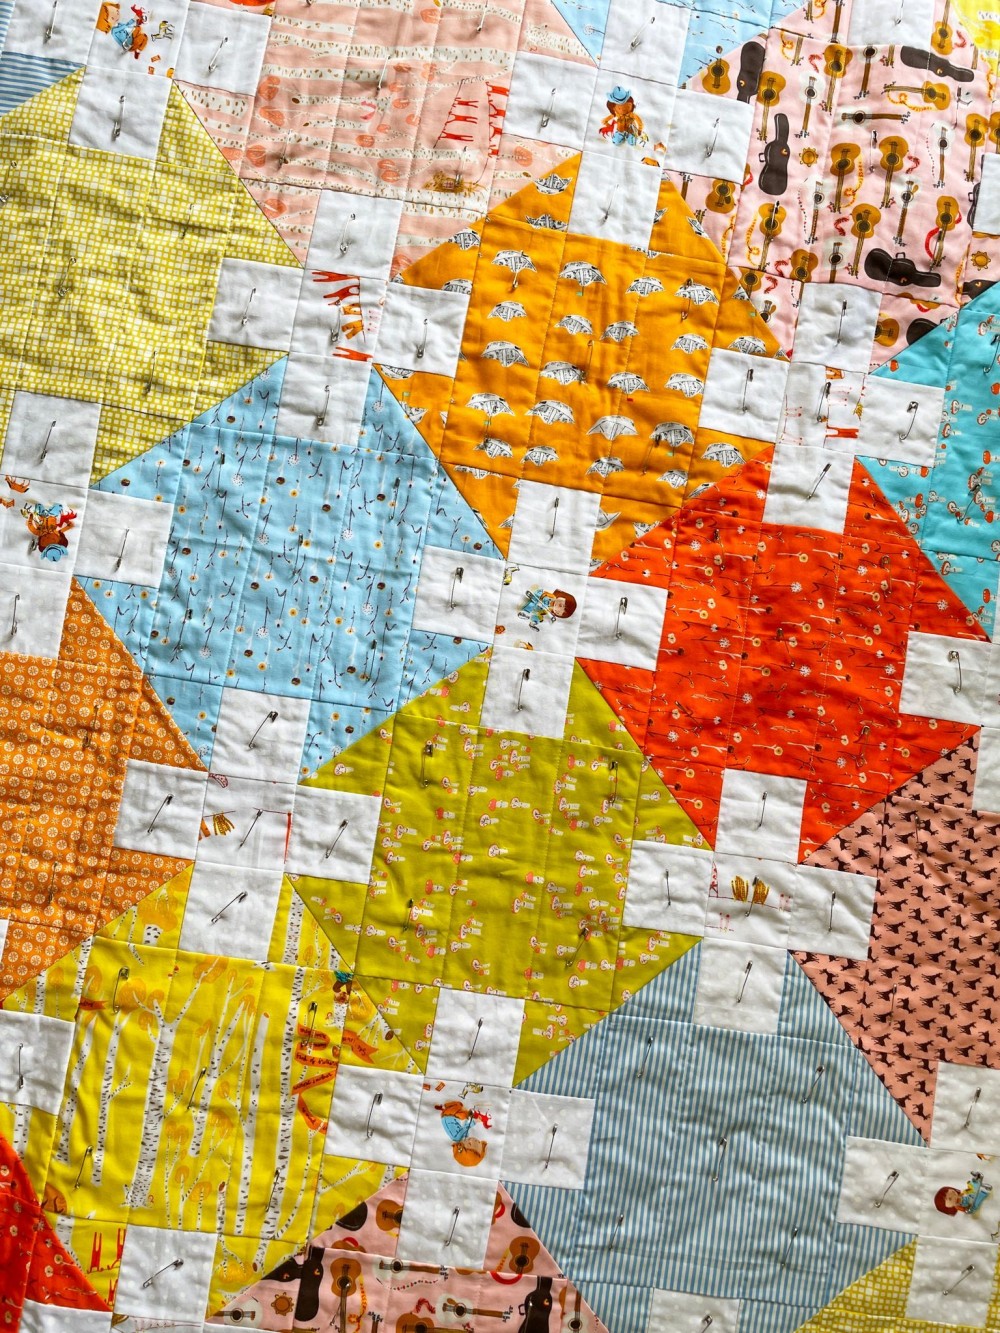
I have quilted my Balderdash quilts in a couple of different ways. The first quilt I made was done using diagonal lines, creating a cross hatching pattern. I think this looks really modern and suits the style of the quilt.
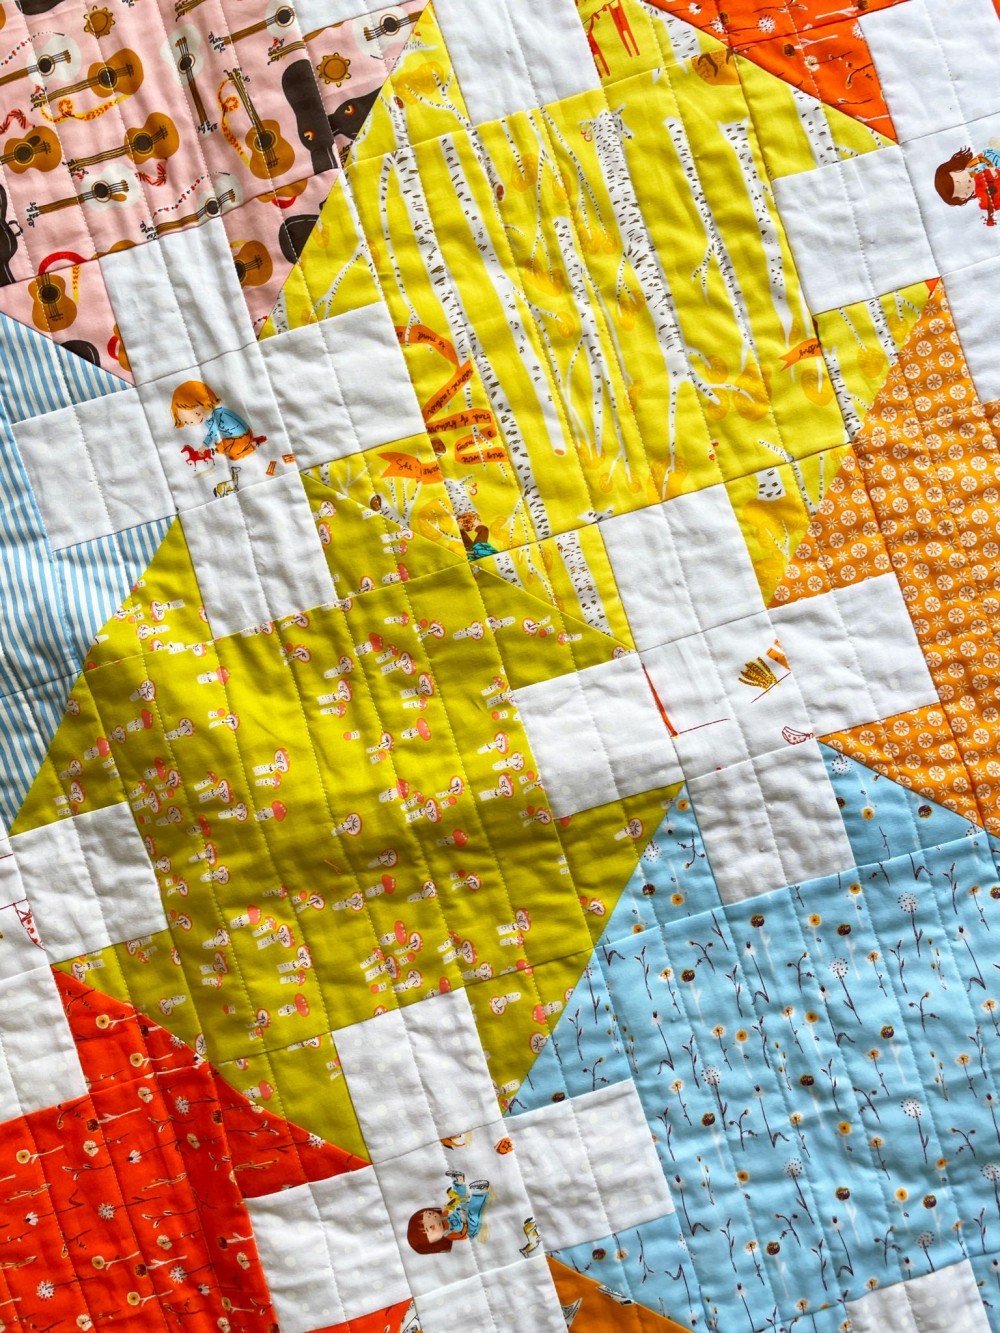
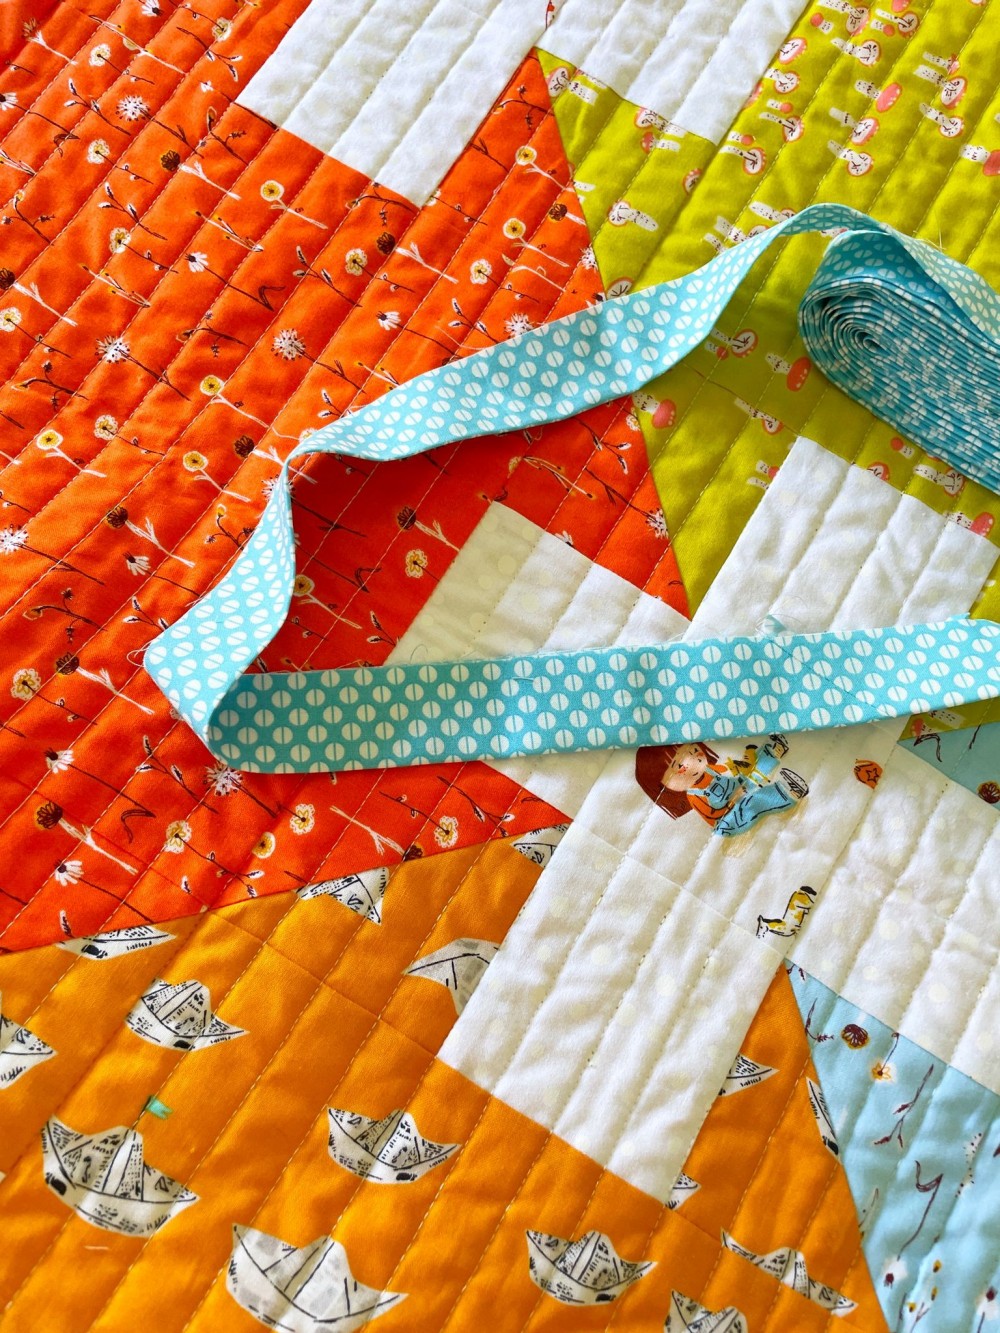
For this version I just did horizontal lines. There is a trick to getting the lines straight and with no distortion of the quilt. I'll share my tips shortly.
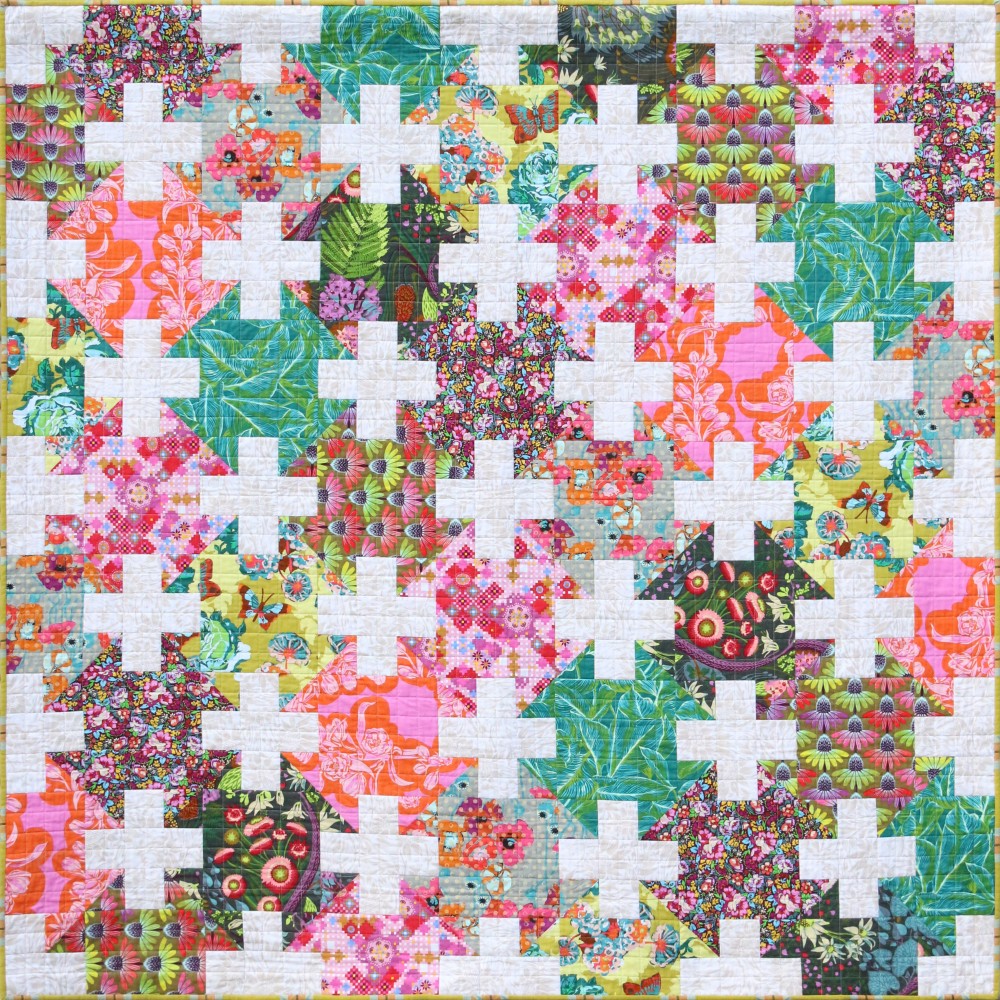
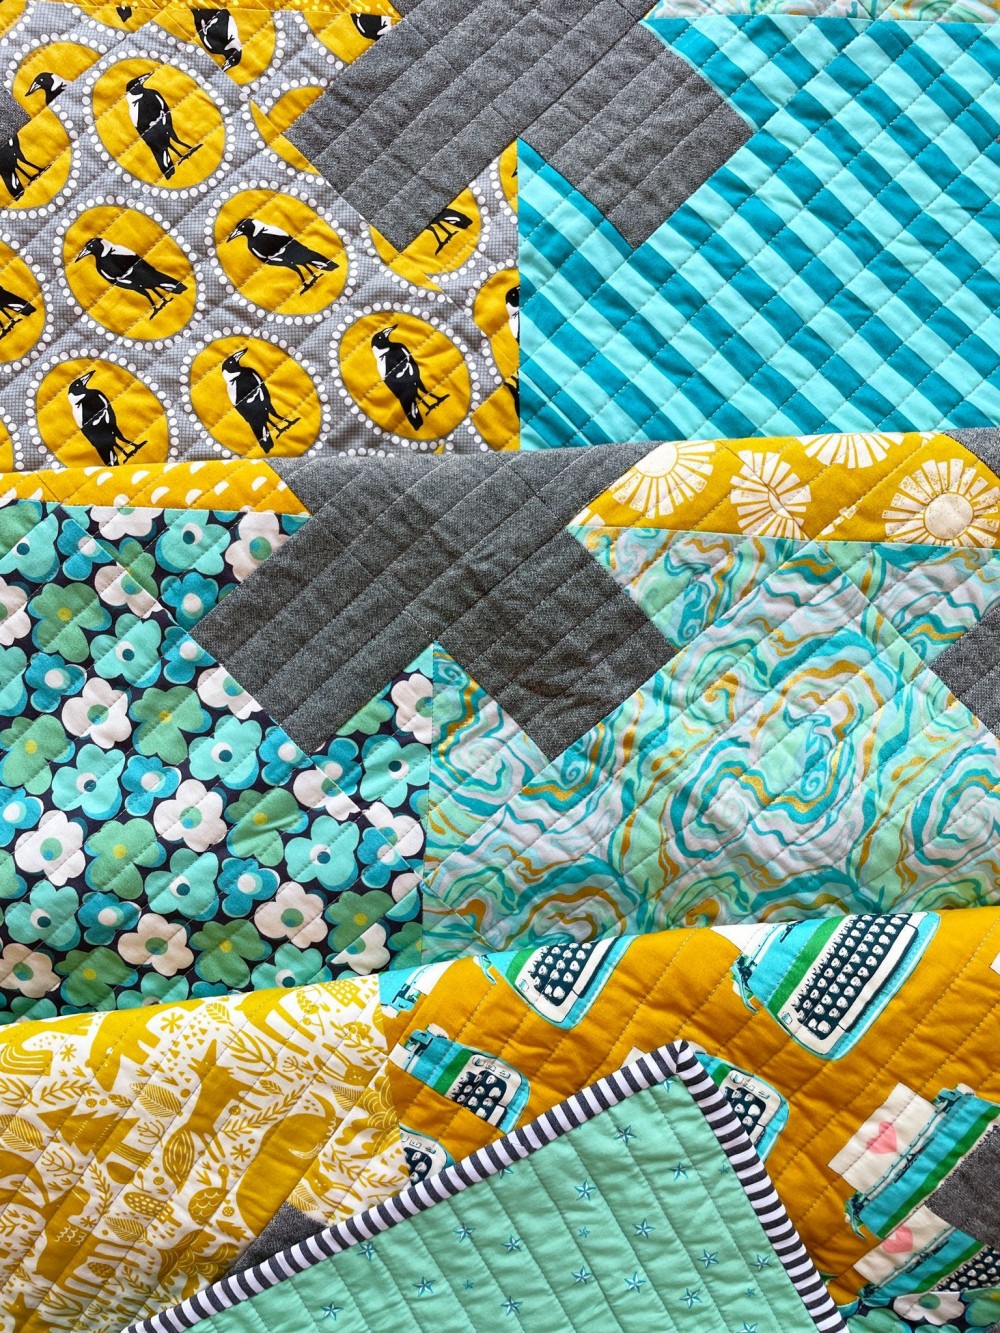
For my Anna Maria Horner version I just quilting it with straight lines going horizontally and verticaly, creating a grid. It's simple, easy and really effective.
As this is the last newsletter, I thought I might talk a little about quilting. I love to use straight lines in all my quilts and I have discovered a few things that might help you too!
Firstly, what you'll need:
Walking Foot for your machine - you may have to purchase this separately as most machines don't come with one, unless you’re a lucky duck and have bought a quilting edition - sometimes they include these as part of the package.
A walking food basically does the same thing as the feed dogs on your machine, except from above. It helps to feed the three layers of your quilt through evenly so that the fabric doesn’t bunch up.
40wt Thread - now this is just what I like to quilt with, so if you prefer something else, go for it! I like it because it's a little stronger and it also makes the quilting a bit more of a feature. I like to use Aurifil Thread, 100% cotton.
Basting Spray and/or Safety Pins for basting - I like to use both. I don't have a large sewing table to work on so all the help I can get, I take!
The safety pins are stainless steel, size 2. There are some fancy curved pins on the market which are great too. The basting spray is called 505 Temporary Adhesive. I like this brand as it has hardly any smell and stays stuck!
Hera Marker - A Hera marker is an awesome piece of plastic that allows you to mark your quilt without using a pencil/washout marker. The Hera marker places a fold in the fabric when your quilt top is basted that stays for a good amount of time. I love it because there is no need to wash out line markings afterwards. Just use your quilting ruler to get lovely straight lines.

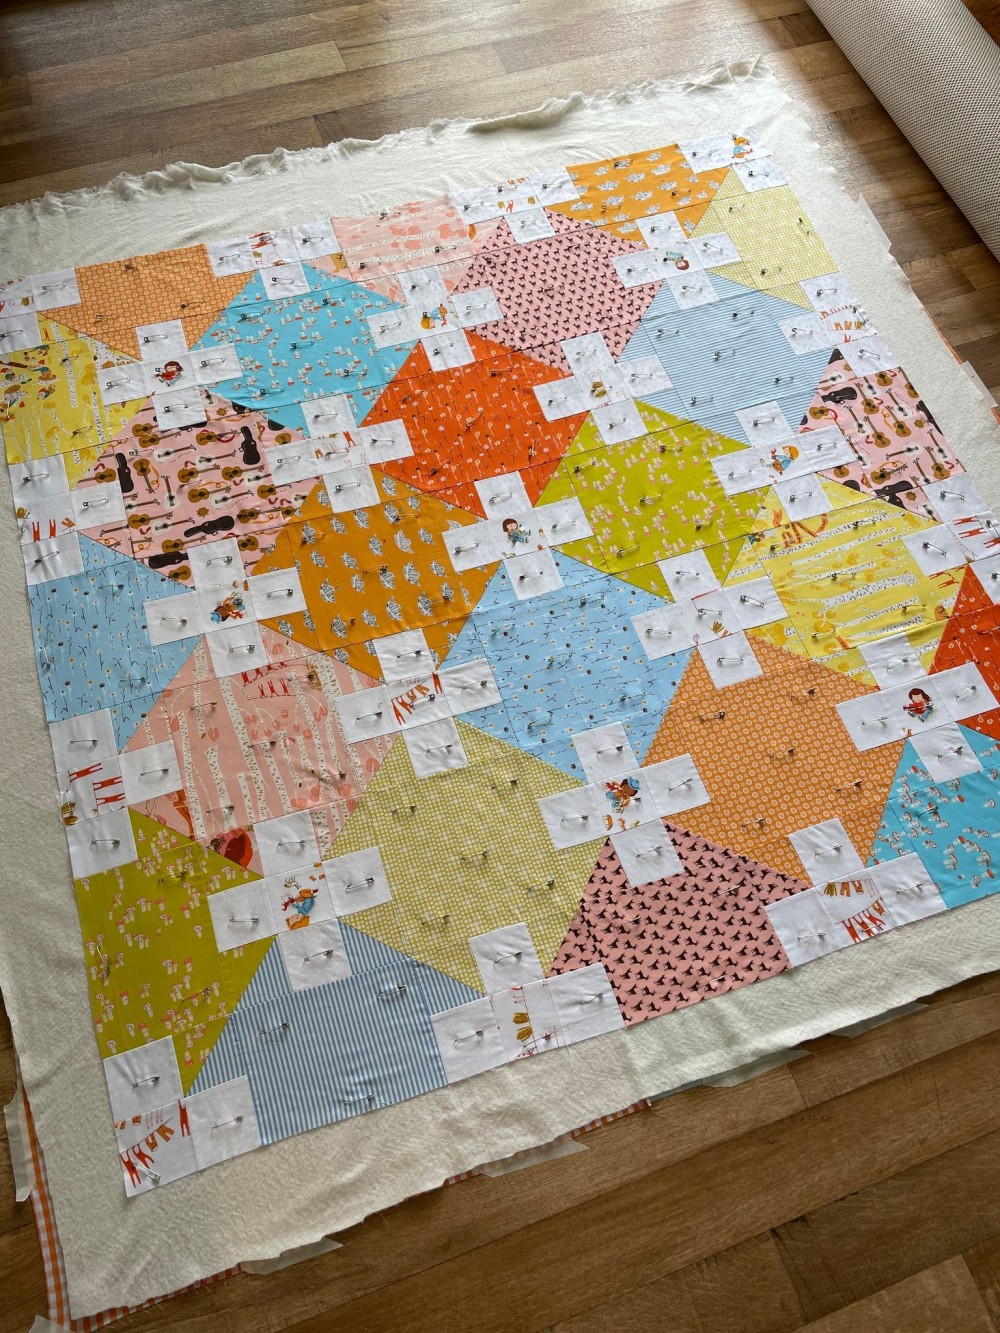
BASTING
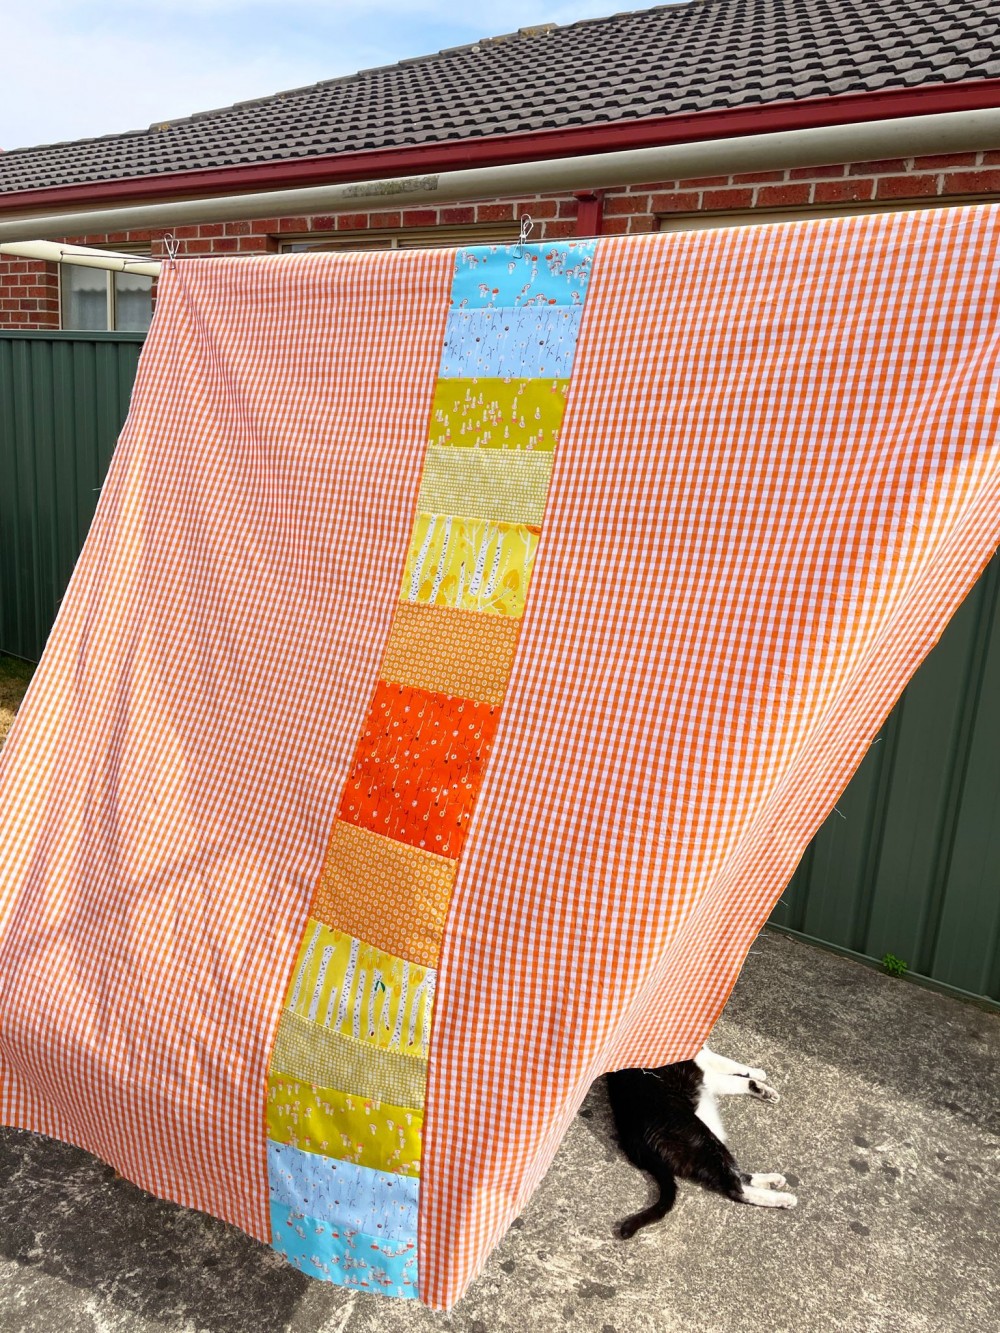
The first thing you’ll need to do is baste your quilt. Once you have pieced your backing, lay it down with the right side to the floor. Some people baste on their kitchen table, some on the wall and others on their dining room or lounge room floor. It’s totally up to you!
I lay my quilt backing on my lounge room floor and tape down the edges to keep the backing taut. Then I layer the batting on top and baste it to the backing using the basting spray. Next, I layer the quilt top, right side up and baste it to the batting and backing.
Finally, I plonk myself down in the middle of the quilt and start pinning from the centre out, every 3 inches of so!
After you’ve basted your quilt, you need to do is increase the stitch length on your machine. I usually sew using a 2.5 length and then up it to 2.8 when quilting. My machine is a Bernina, so check yours as every machine is different.

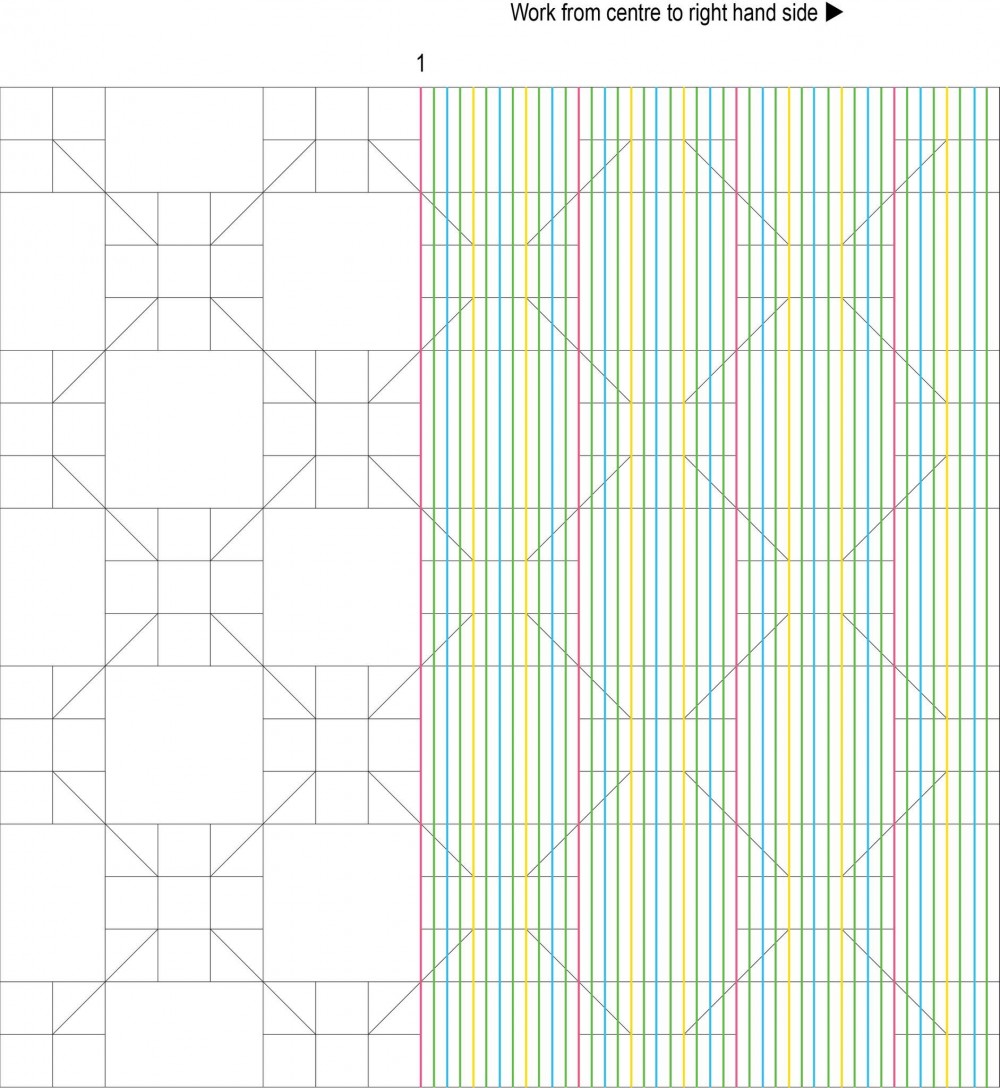
The best way to explain how I do this is with a diagram.
My approach for this quilt was to begin in the middle of the quilt. I quilted the first red line (marked with 1 on the diagram) and then continued sewing the rest of the red lines to the right hand side of the quilt.
Then I went back and quilted all of the yellow lines in between the red lines. Once all the yellow lines were done I went back and did the blue lines.
Then I went back again and did the green lines.
The idea is that the red lines anchor the quilt. Then you go back and fill in the gaps. If you tried to do the ¾" quilting from the first row, your quilt would end up distorted and no-one wants that!
Just remember, after you’ve completed all the red lines, you need to flip the quilt around, so you’re quilting from the other side and working from the middle to the right, before you go back and do the yellow, blue and green lines.
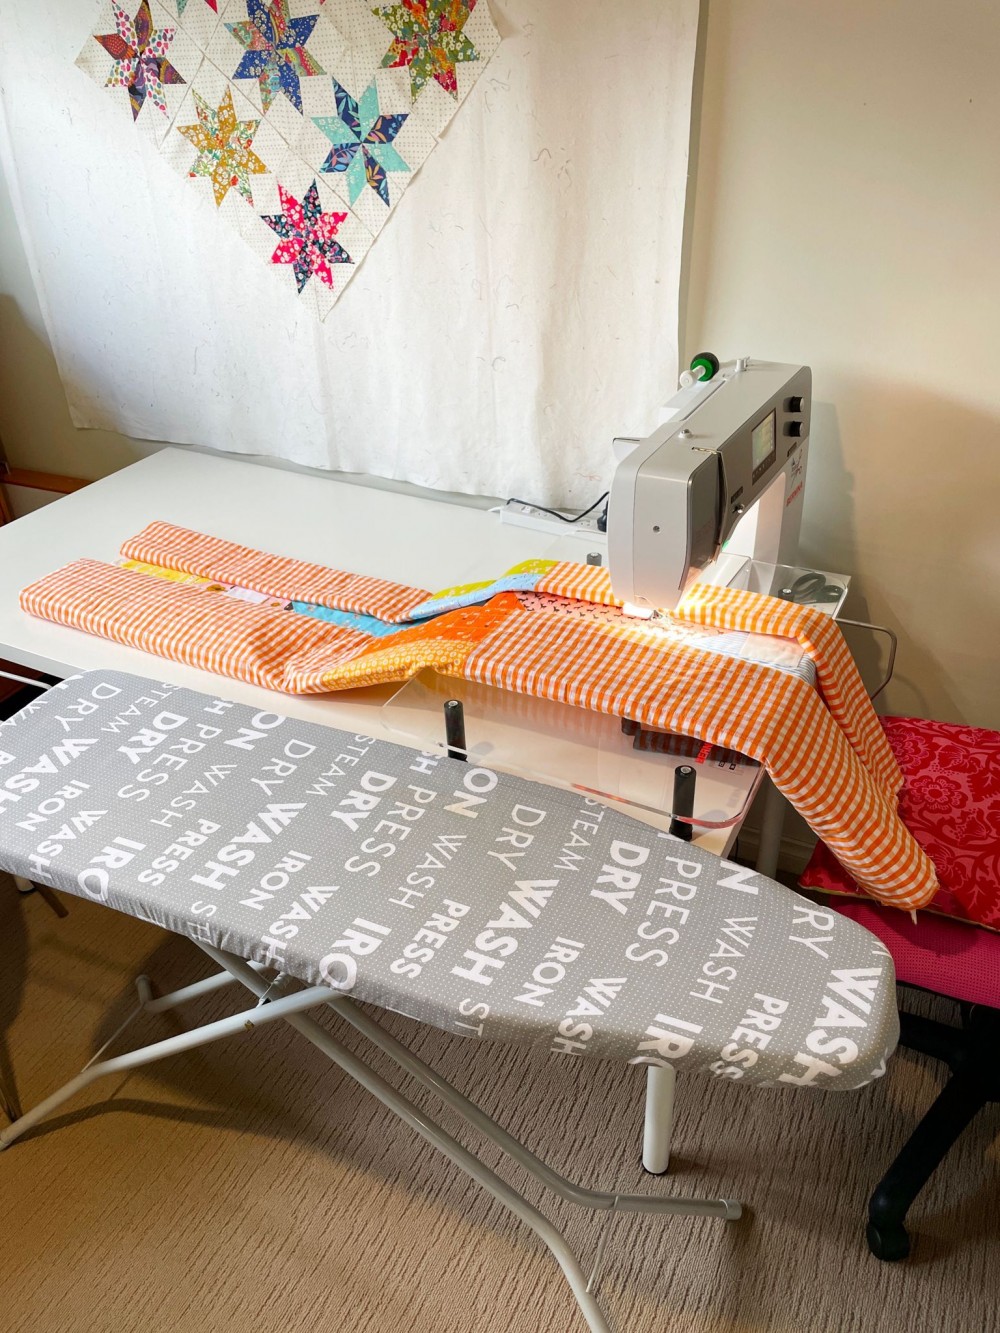
To get the quilt into position to feed through the sewing machine you need to roll it up. It makes it must easier to handle and to fit through the throat of your sewing machine. See the pictures below.
Please note the space at the end of the table, this allows the quilt to hang off the end as it passes through rather than getting bunched up.
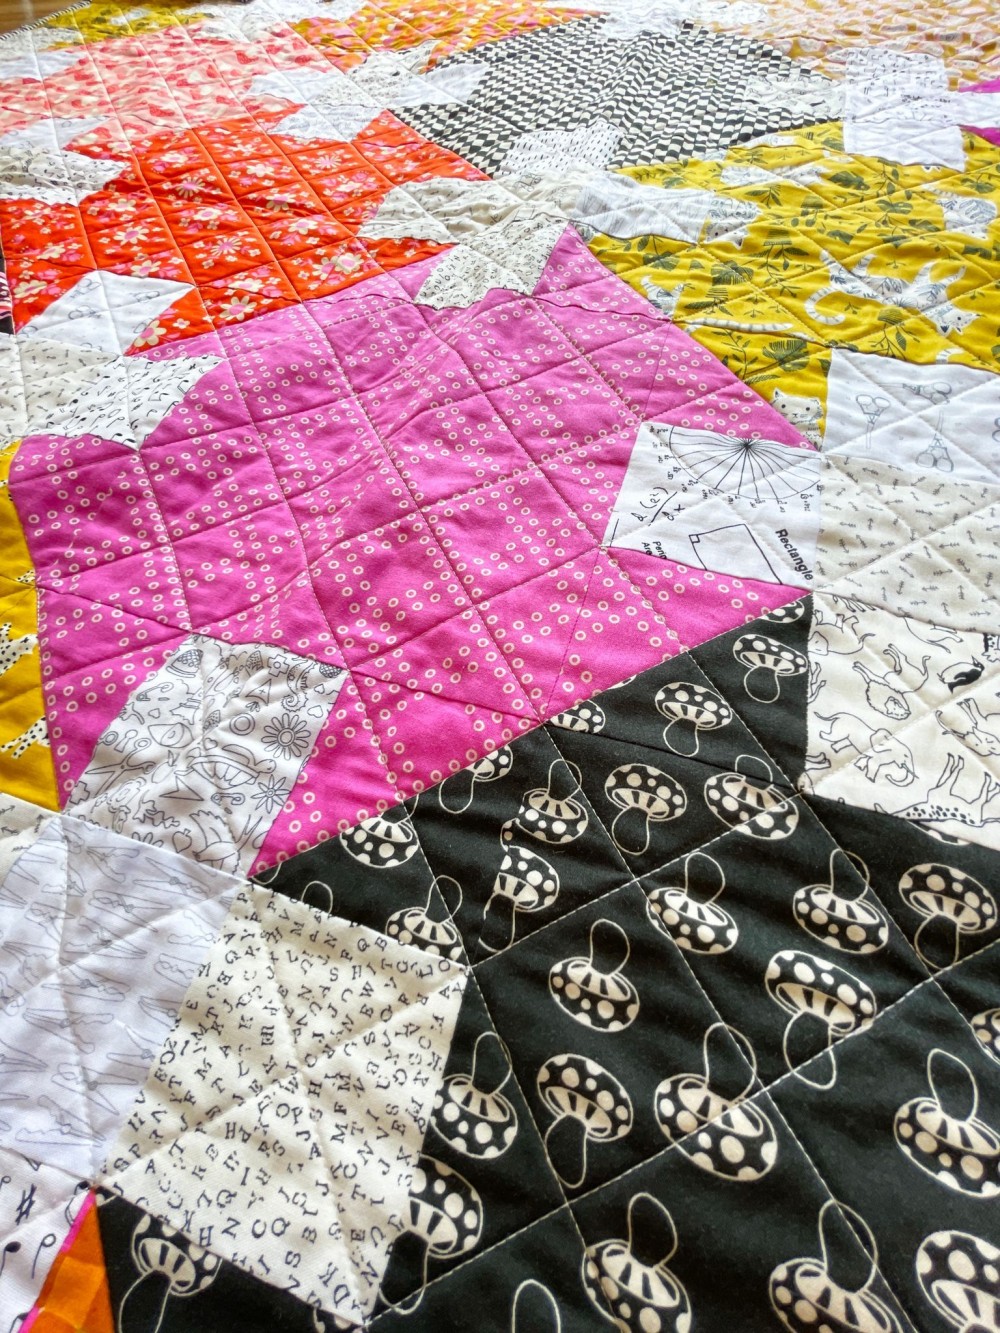
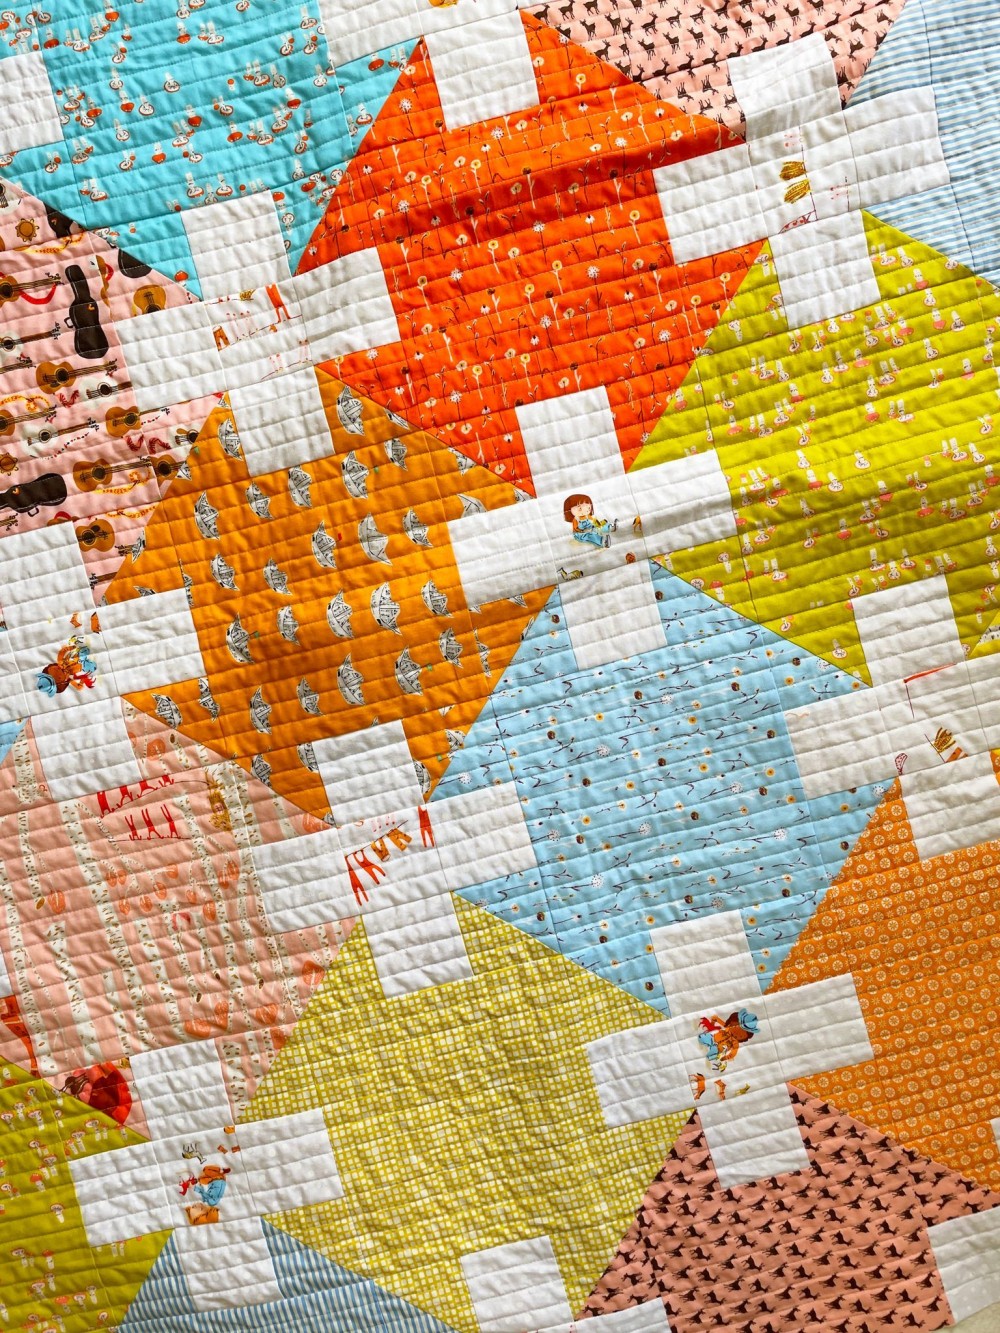
The other style of straight line quilting I like to do is cross hatching like on my first Balderdash quilt. This is done in the same way as the previous quilt. Start with your anchor lines of quilting and then go back and slowly fill in the gaps.
Please note that my lines are not perfect, they never are. I wobble and move around with the best of them, but the wonderful thing about this style of quilting is it doesn't matter. Once it’s all done you notice the effect - not how straight the lines are.
If you’re not comfortable quilting using just the force, that's where the fabulous Hera Marker comes in handy. This white piece of plastic creates a fold or indentation on the fabric that lasts for ages.
Using your quilting ruler to keep the lines straight, run the Hera Marker along the fabric pushing down firmly. You’ll see that it leaves an indentation on your quilt which you can use as your guide for when you’re quilting. I used it in the quilt below.
Just note, I did all the anchor lines first so I could then remove the pins. It makes it much easier to place a ruler on the quilt once the pins are gone. I also mark up with the Hera Marker on the floor. It's a bit hard on the back but unless you have a large table (I don't) the floor is the best option.
So that's it my fellow Dashers!
I’ve had an amazing time sharing my quilt with you all and a few tips and tricks along the way. I also love this little community we have created and I hope you keep sharing your EJJ creations on Instagram and in the Facebook group.
I would like to say a big thank you to you all. Obviously this would not have been possible without you purchasing the pattern and sharing your photos on Instagram. I am so grateful for all the support and I’m hoping you got just as much as I did out of the sew-along.
Until next Sew Along,
Emma
Oct 11, 2023 - 2:18am
Shaunne: Thank you for sharing your straight line quilting technique! When I zoom in it looks like you have changed thread color to match each change of fabric choice. Is that the case or do you use a neutral color throughout and if so, what is the color? Many Thanks! I love your show of quilts in the cupboard and all of your designs and tutorials and helpful tips!