
Week 5 - Whirligig Sew Along
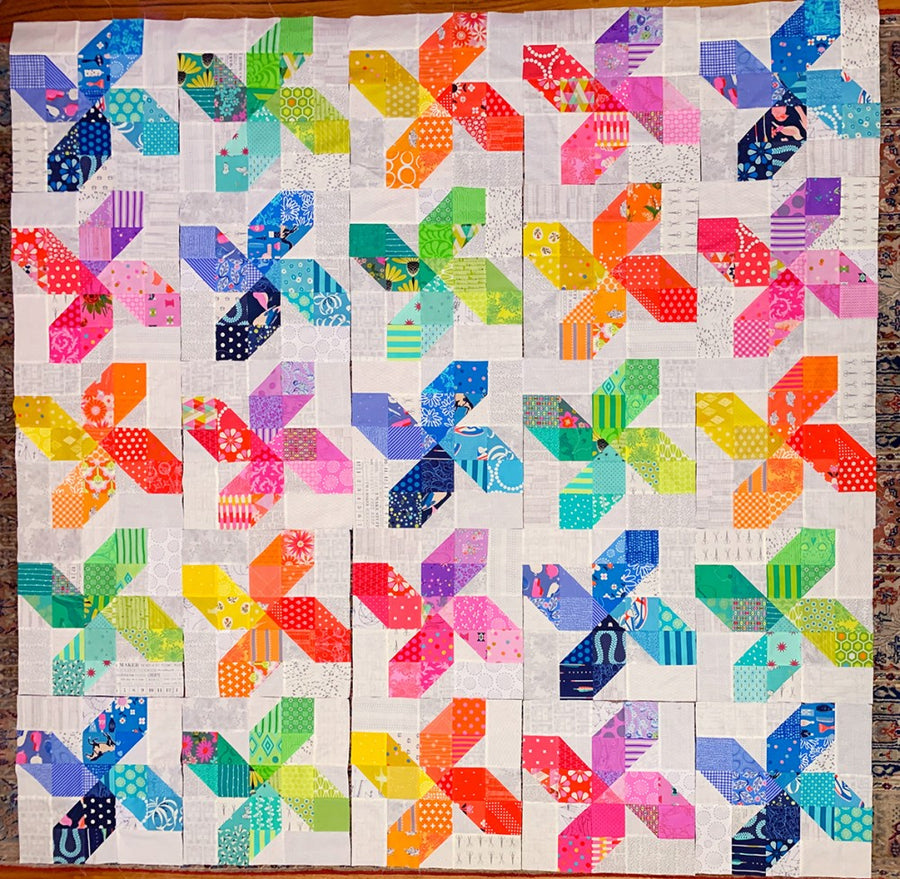
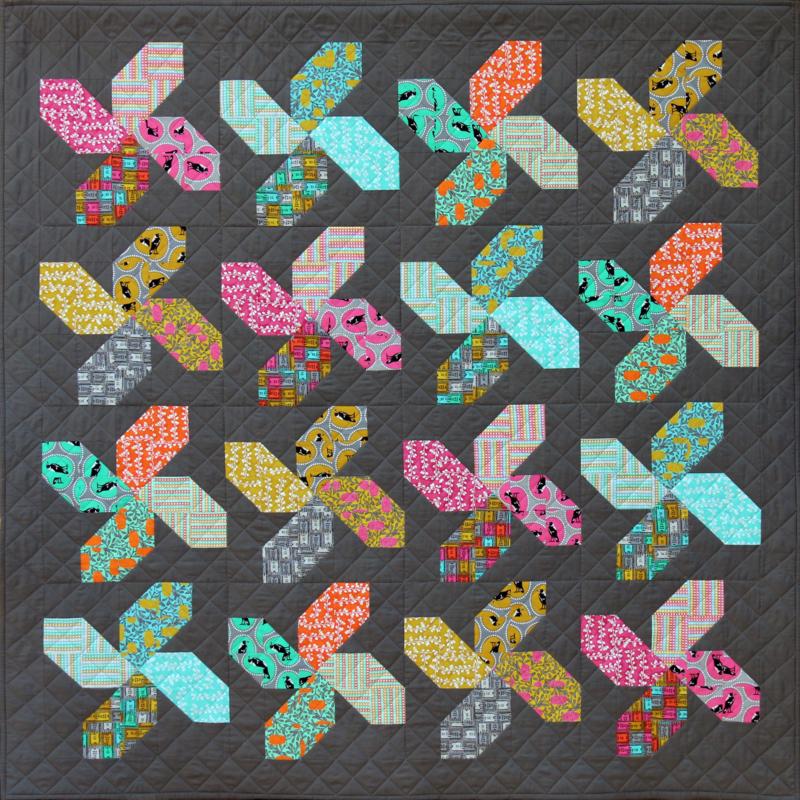
Welcome to Week 5 of the Whirligig sew-along. Are you ready to sew this quilt together? This week we’ll be piecing your quilt top using all your fabulous blocks and adding the border. If you have just
Welcome to Week 5 of the Whirligig sew-along. Are you ready to sew this quilt together? This week we’ll be piecing your quilt top using all your fabulous blocks and adding the border. If you have just
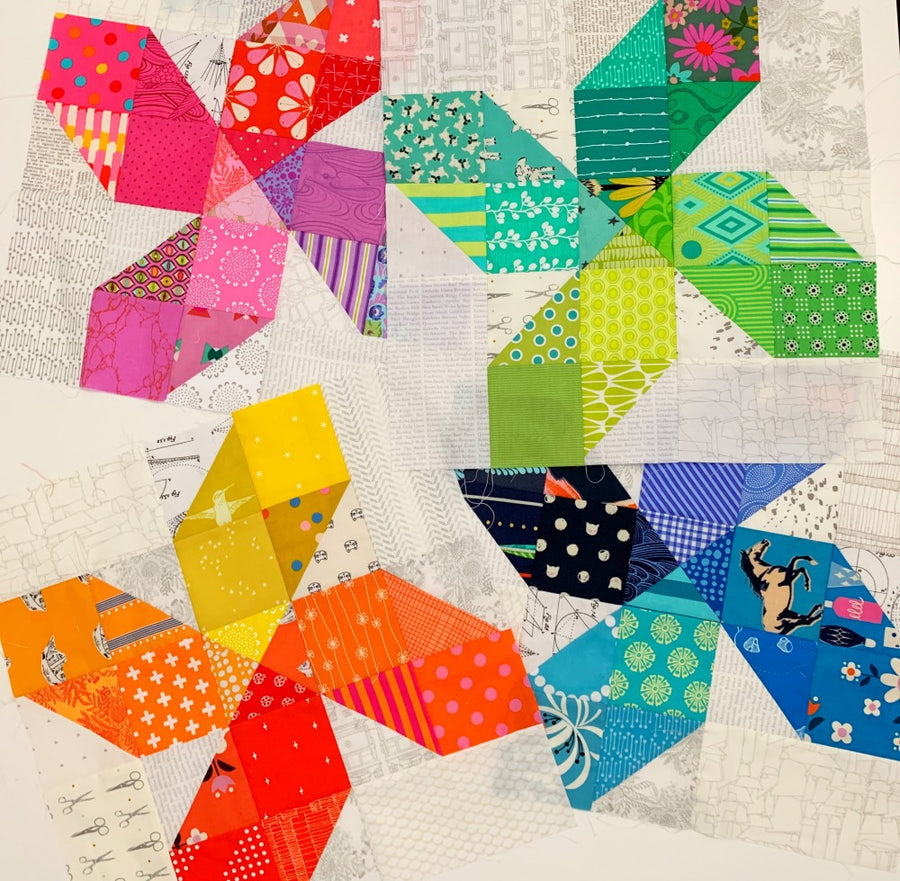
Whirligig Quilt Sew-Along Week 4 Welcome to Week 4 of the Whirligig sew-along. This week it's time to sew the rest of your blocks but from what I’ve seen in the Facebook Group and on Instagram, some o

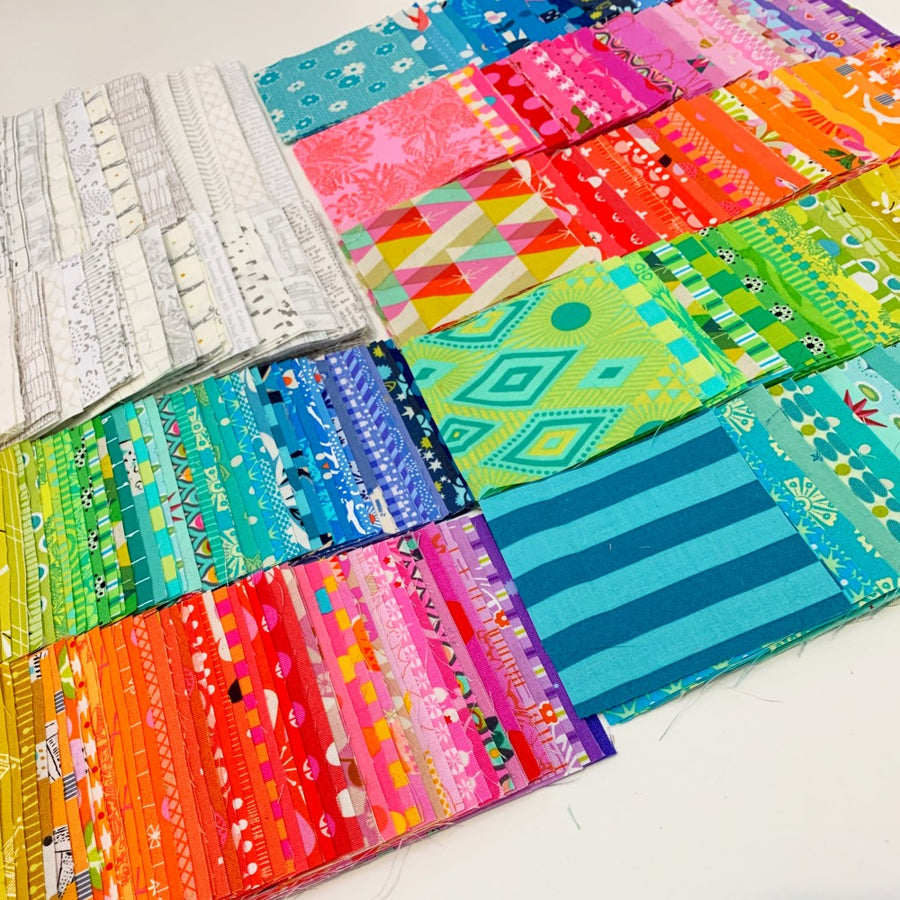
Whirligig Quilt Sew-Along Week 3 Welcome to Week 3 of the Whirligig sew-along. I hope you guys are having fun making your Half Square Triangles and that you’re ready to get stuck into making these blo
Whirligig Quilt Sew-Along Week 2 Welcome to Week 2 of the Whirligig sew-along. How much fun has it been meeting all the Whirligiggers and seeing all the awesome fabric choices! If you have just joined
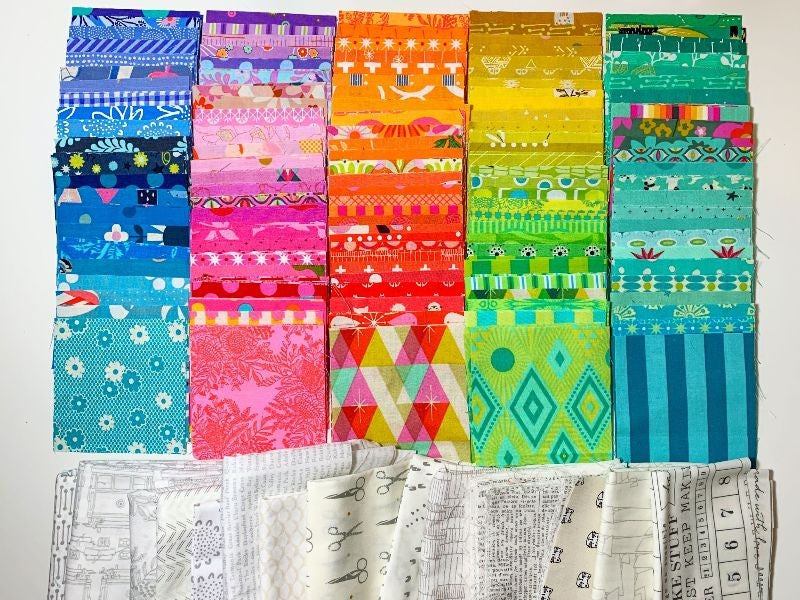
Whirligig Quilt Sew Along Week 1 Welcome to Week 1 of the Whirligig sew along. This week is all about choosing your fabrics and completing the cutting. If you don't have a big fabric stash to dive int
Welcome Welcome to the Whirligig Quilt Sew Along! I’m so glad you have decided to join me for my second ever sew along. I had so much fun with the Wake Me Up sew along that I couldn't wait to...