Around The Lake Sew Along
Week 6 - Around The Lake Sew Along
Apr 4, 2022 - 8:59pm
Around The Lake Sew Along
Welcome to Week 6 of Around The Lake Sew Along.This week we are sewing our quilt tops together. This is the quick bit of the quilt!If you have just joined the sew along, make sure you’ve purchased your copy of the Around The Lake Pattern.The Around The Lake Sew Along will be taking place on Instagram, so be sure your account is set to public so we can all see your posts using the #aroundthelakeSAL and #aroundthelakequilt hashtags.You can also join the Private Facebook Group here.
This stage of the quilt is pretty simple. Lay out your quilt blocks. I like to do this on the floor but if I'm really honest I would love a really big design wall but in our current house that's not going to happen. Lucky you if you have one. Anyway back to crawling all over the floor.Once you have decided on your layout, start to sew the blocks together in rows.Then sew the rows together.My only tip is to make sure you iron the seams in each row in alternate directions. This helps the seams nest nicely together.
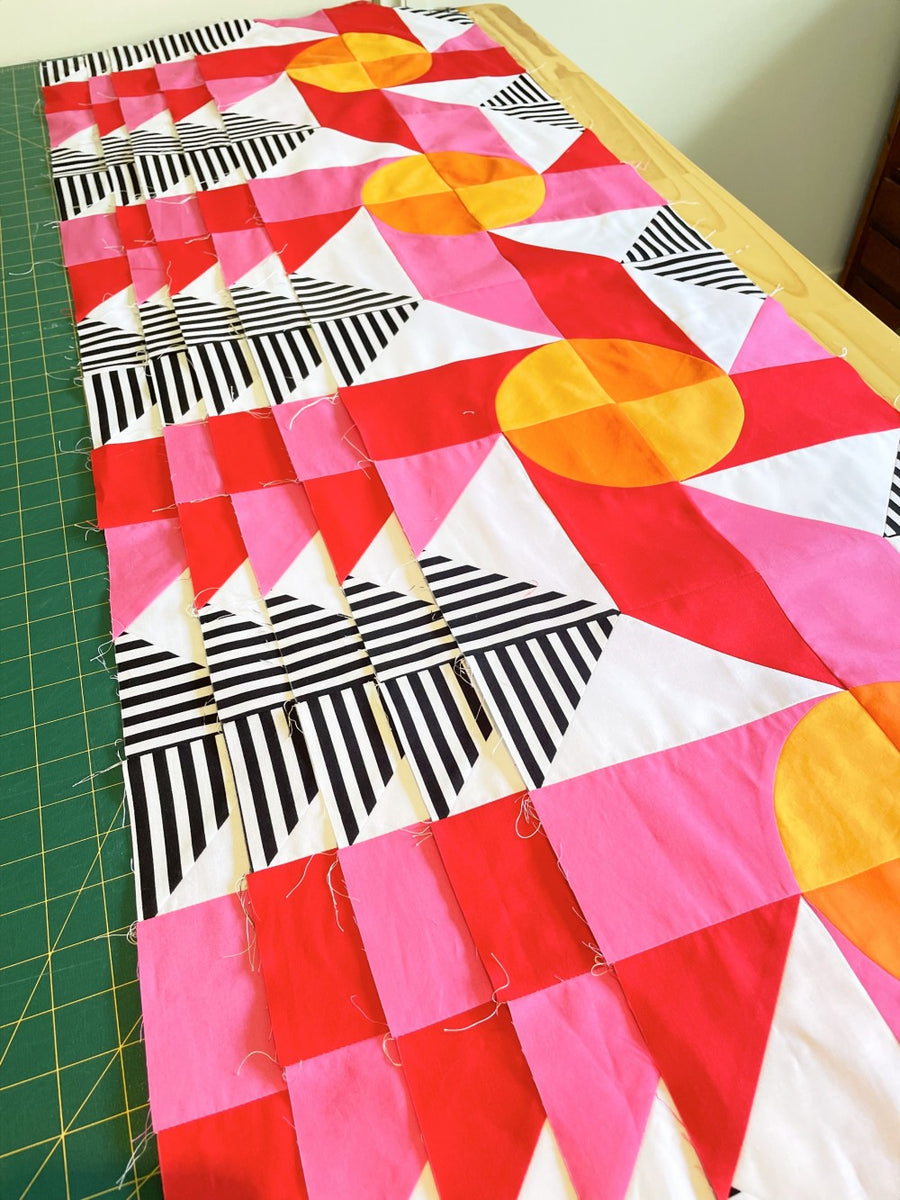
and Ta Da, a finished quilt top!
I thought I might now share some tips on quilting. I have written them in a previous sew along so you can check them out here.
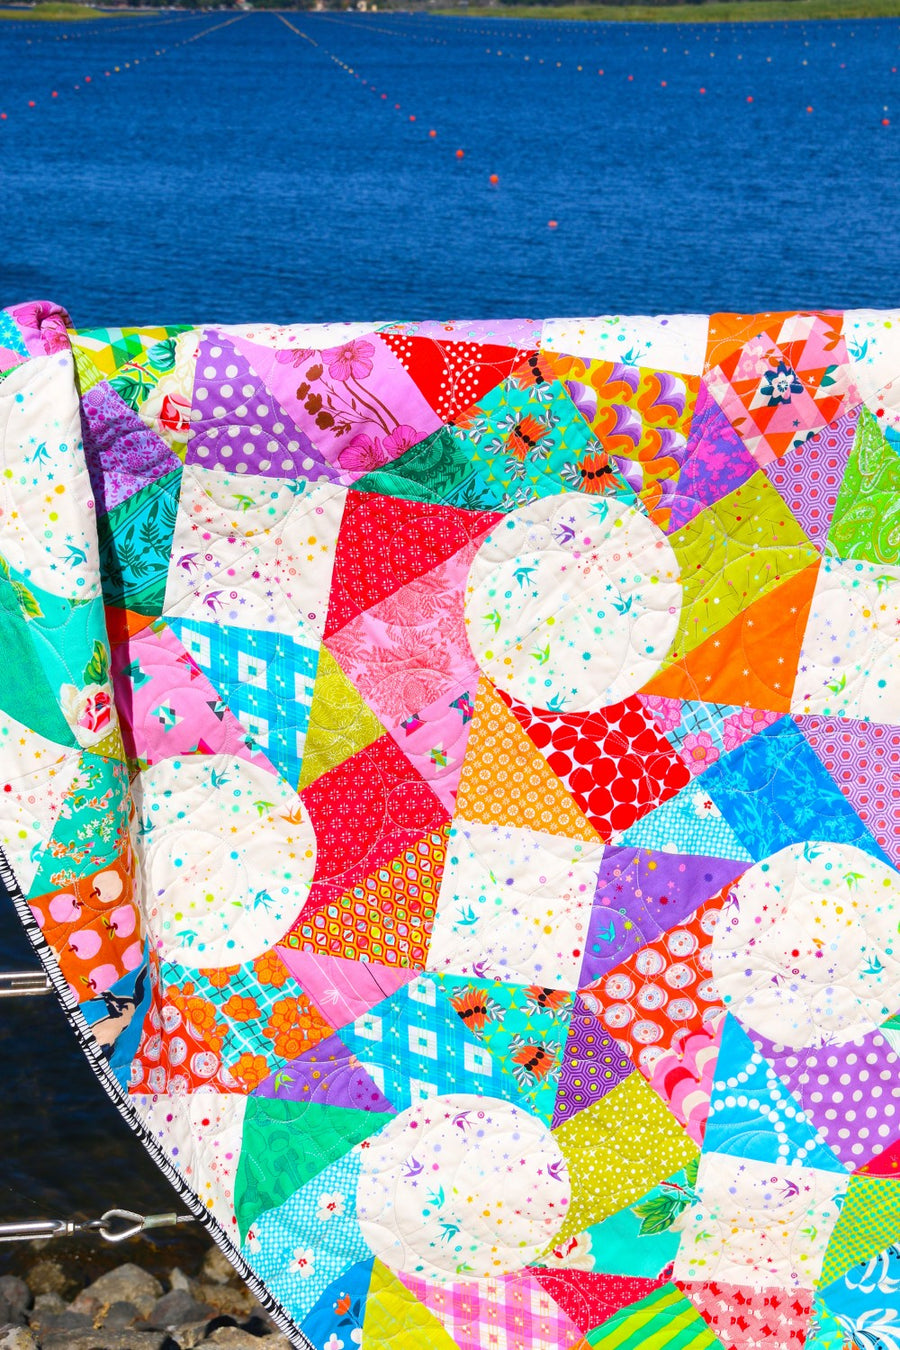
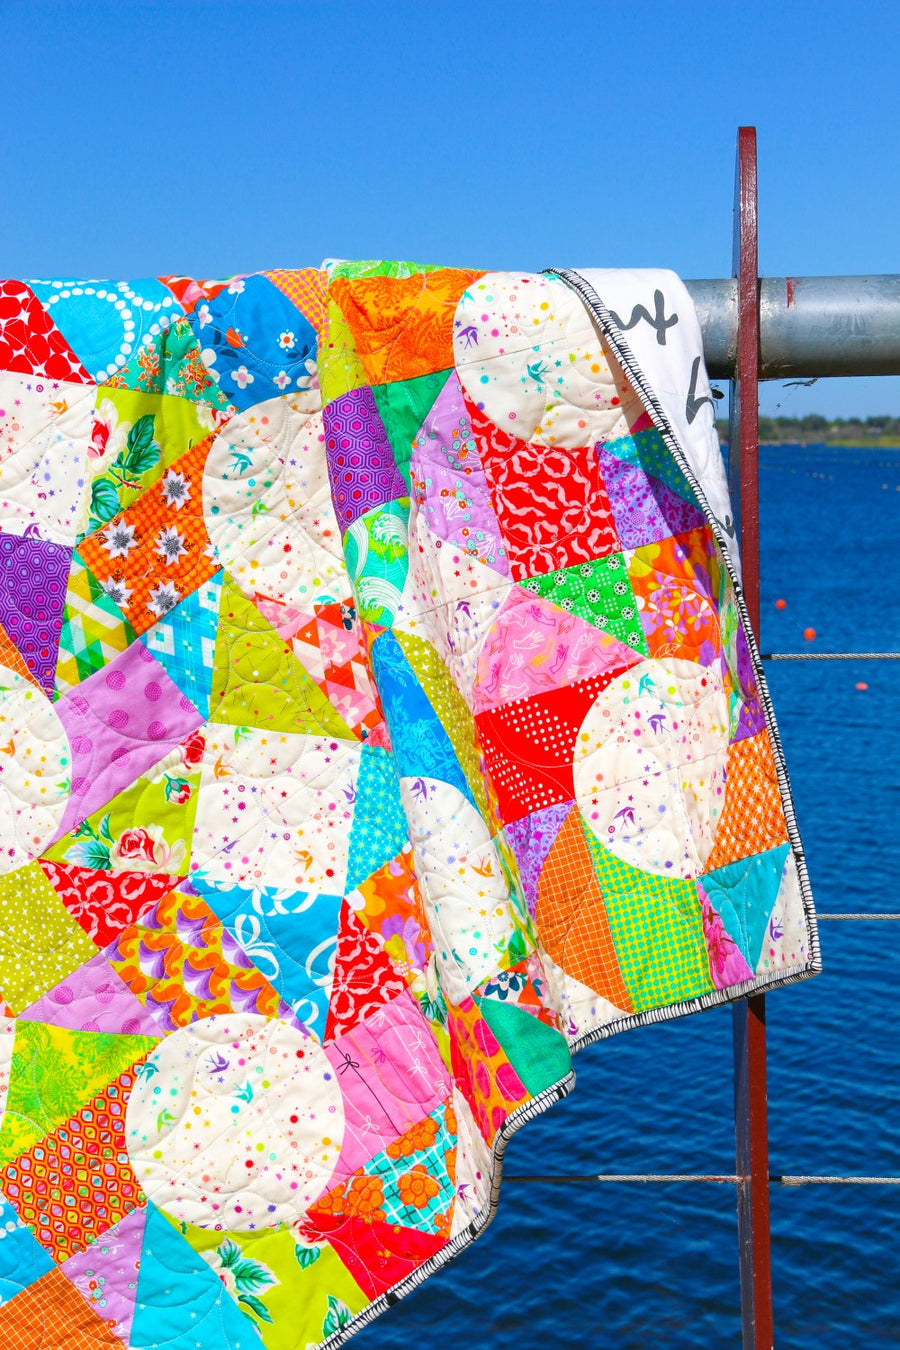
All three of my Around The Lake quilts have been quilted very differently.The first was done on a longarm and has a swirly quilting pattern design.Longarm quilting by Jackie from The Quilt Rookery.
The 2nd quilt was done with horizontal lines. I think this one is my favourite.
I decided to quilt the 3rd version with diagonal cross hatching. How good is that texture!
So that's a wrap on this sew along. Did you have fun? I most definitely did.Thanks to everyone that joined in the fun, it always brings me so much joy to see the quilts that you make from my patterns.Stay tuned for the next sew along!Happy Patching,Emma
Week 5 - Around The Lake Sew Along
Apr 4, 2022 - 8:57pm
Around The Lake Sew Along
Welcome to Week 5 of Around The Lake Sew Along.This week we are getting our blocks together. It's also a great week to catch up if you have fallen a little behind.If you have just joined the sew along, make sure you’ve purchased your copy of the Around The Lake Pattern.The Around The Lake Sew Along will be taking place on Instagram, so be sure your account is set to public so we can all see your posts using the #aroundthelakeSAL and #aroundthelakequilt hashtags.You can also join the Private Facebook Group here.
Let's get these blocks sewn together!First up, grab a Drunkard's Path Unit and a Flying Geese Unit.
Place right sides together with the Drunkard's Path unit on top.
I like to pin my blocks by putting one in each end.
The reason for putting the Drunkard's Path Unit on top is to get a perfect seam allowance on your circle. Start stitching right on the sewing line for the Drunkard's Path unit and your circle edge will be spot on.
Once sewn, press the seams towards the Drunkard's Path Unit. If you have followed all my other pressing guides in the pattern this will make all you seams nest together nicely.
At this stage you have two choices. You can either keep this quarter blocks as is and then sew these together or you can make a full block.To make the full block, grab 4 quarter blocks and sew them together, easy peasy.
Complete all you blocks for the size of quilt you are making.Next week we will be assembling our quilt tops, yay!I hope you have been enjoying this sew along becuase I sure have. The colour combos popping up on instagram are inspiring.Happy Patching,Emma
Week 4 - Around The Lake Sew Along
Apr 4, 2022 - 8:45pm
Around The Lake Sew Along
Welcome to Week 4 of Around The Lake Sew Along.Put your hand up if you are afraid of curves? Don't worry I've got you.It's all about finding the right technique for you. Hopefully my tips will make you love sewing all the curves!If you have just joined the sew along, make sure you’ve purchased your copy of the Around The Lake Pattern.The Around The Lake Sew Along will be taking place on Instagram, so be sure your account is set to public so we can all see your posts using the #aroundthelakeSAL and #aroundthelakequilt hashtags.You can also join the Private Facebook Group here.
When I sew curves, especially Drunkard's Path blocks I always put the convex curve on the bottom.This makes it much easier to keep an eye out for fabric tucks and gathers.First up, find the centres of both template A and B. I do this by folding the fabric in half and giving it a little finger press.
Grab your pins. Now I prefer Clover Fine Patchwork pins because they are exactly as the name says, nice and fine and perfect to sew over without damaging your machine. Occasionally I may break a needle but mostly the pins just bend.The trick with getting this block to work is to make sure you line up the edges so they are parallel. If you don't it will definitely skew.
When I make mine I only use 3 pins. One in the centre and then one at each end.In the photograph below, I put in the extra pins so it will sit flatter for the photo. However if you feel more comfortable using more pins, go for it. You need to find what works best for you.
You can check out my little video tutorial on instagram here.Remember to press towards the Template A piece. It will make the block sit beautifully flat.
Another method which might suit you is to glue baste. My friend Jackie has done a tutorial on instagram using this method. You can check it out here.
Now hopefully that helps anyone who has been struggling with curves!I also wanted to share a little tip for those that might be wanting to get this quilt top pieced.When I made the original scrappy version I sewed each of the quarter units into blocks first. It's much easier to tackle a block at a time and then sew those larger blocks together.
However for my TarryTown quilt I decided to sew the quarter blocks into rows. This was because of the layout I had choosen and the fact I don't have a big enough design wall to keep it all in the right positions as I sewed. So rows it was.
I'm pretty happy with the way this quilt top turned out, because of how different it is to the other two versions I have made. I still have plans to make many more of these quilts. They are very addictive and so much fun!
Next week we will be assembling the blocks. I am so excited to see your quilts come together.Happy Patching,Emma
Week 3 - Around The Lake Sew Along
Apr 4, 2022 - 8:40pm
Around The Lake Sew Along
Welcome to Week 3 of Around The Lake Sew Along.Now that we have finished all our cutting it's time to get our machines out and start sewing.I am very much a person who likes to completely finish each stage before moving onto the next. What's your sewing style? One block at a time or chain piece each stage?If you have just joined the sew along, make sure you’ve purchased your copy of the Around The Lake Pattern.The Around The Lake Sew Along will be taking place on Instagram, so be sure your account is set to public so we can all see your posts using the #aroundthelakeSAL and #aroundthelakequilt hashtags.You can also join the Private Facebook Group here.
FLYING GEESE UNITS:This week we are going to be making the Flying Geese Units.I decided to make these units using squares and rectangles. It's much easier than sewing with triangles and lessens the risk of the block being skewed.The bonus with this method is you get a bunch of half square triangles to play with. I made a whole new set of cushions for my lounge room but more about that later.
I like to sew on the F square on first. Place the D rectangle right side up then place your F square on top so the right sides are together. The lines you marked the back of the F square should be visable.Sew on both the drawn lines.
Grab your rotary cutter and cut through the middle of your sewing lines.
To help the block sit flat, press towards the F square.With the bonus blocks I pressed towards the dark fabric. I then trimmed these to 3" square.
Repeat the process for the C square.Please note: I sewed both sewing lines for the purpose of this tutorial but I didn't sew the rest of them, becuase that would just be sewing two of the same fabrics together to make a square. A bit of a waste of time don't you think? I ended up matching these two triangle off cuts with some background fabric to make more Half Square Triangles.
Cut though the middle as before.
Press this seam toward the C square and your're done!
Repeat for the rest of the Flying Geese Units.
Now I wanted to share with you my plans for my Half Square Triangles.
I made the large thow size and ended up with 12 Half Square Triangles for each of the 25 fabrics.Then a grabbed some of the leftover fabric and made 4 more, making a total of 16 Half Square Triangles from each fabric.My plan is to sew them together in blocks and sash them like the mock up below. I'm not sure of the layout but I'll work that out once the blocks are completed.I have some friend's getting married in May and I'm hoping to get it finished in time!
With the original quilt I used all the Half Square Triangles to make new cushions for our lounge room.Don't worry, we don't have them on the couch like this, it was just a good way to photograph them all together.I shared the different layouts I used for these in the pattern, but there also so many other options.
So that's it for this week.Next week we will be tackling the Drunkard's Path Rectangle Units.I have made a video with all my tips and I can't wait to share it with you next week.Happy Patching,Emma
Week 2 - Around The Lake Sew Along
Mar 30, 2022 - 11:13am
Around The Lake Sew Along
Welcome to Week 2 of Around The Lake Sew Along.I've been loving all the fabulous combinations popping up on Instagram and in the private facebook group. They are so inspiring and I can't wait to watch them grow into quilts.This week it's all about cutting, so sharpen your blades and lets get cutting!If you have just joined the sew along, make sure you’ve purchased your copy of the Around The Lake Pattern.The Around The Lake Sew Along will be taking place on Instagram, so be sure your account is set to public so we can all see your posts using the #aroundthelakeSAL and #aroundthelakequilt hashtags.You can also join the Private Facebook Group here.
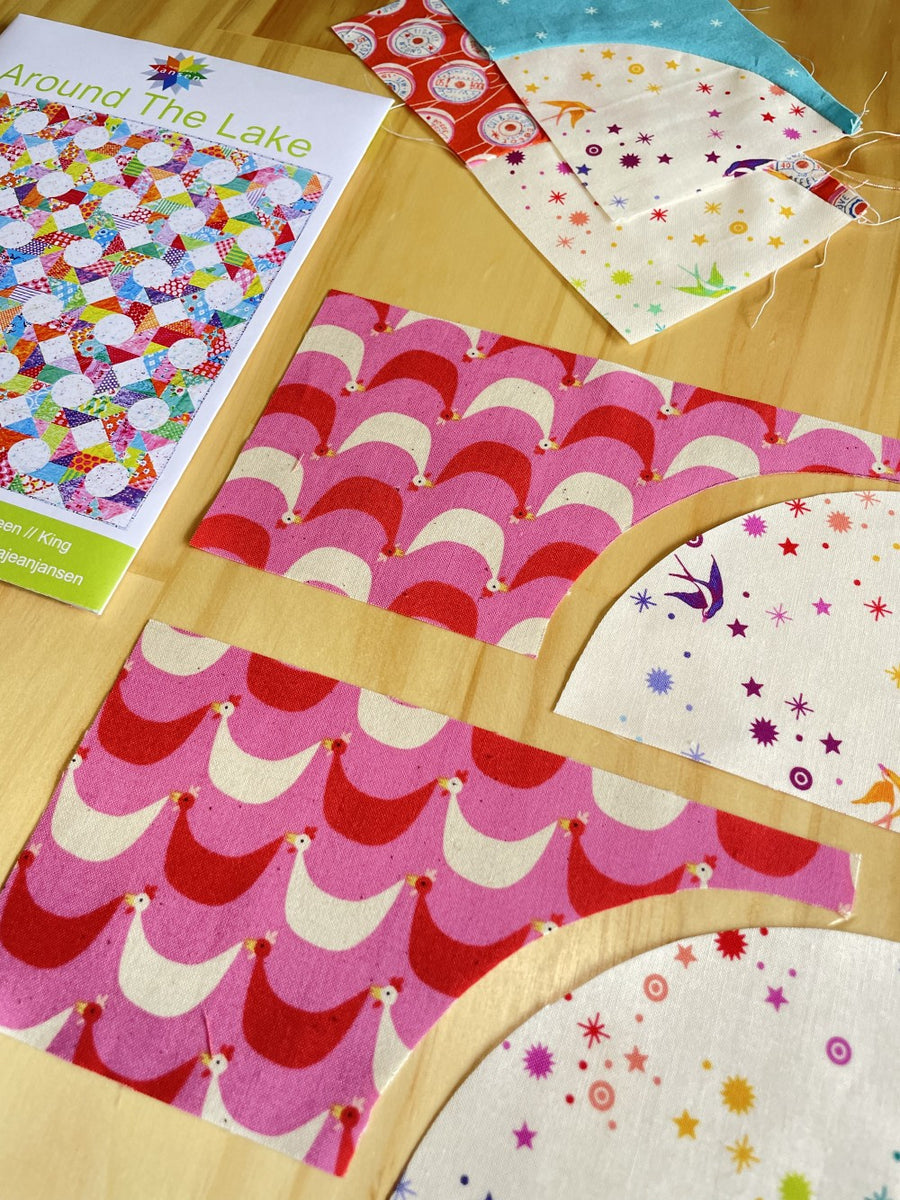
Before we get started I wanted to share this again from the Week 1 Blog Post. It's very important to keep your Template A piece the right way up when cutting,The Around The Lake pattern is designed to be cut with the fabric right side up. This means if you are tracing Template A, trace it on the right side of the fabric with the template right side up. (writing right side up) On a side note you don't have to be as careful with Template B.Just make sure your cut fabric pieces look like the photo below.If you would like to trace the template onto the reverse of the fabric, just make sure you flip the template, easy!
MAKING TEMPLATES:If you have already purchase a set of the Around The Lake acrylic templates you can skip this step. If you would like to purchase a template set, please click here.There are a couple of ways to make make the templates and cut the curves on template A and B. The acrylic templates obviously make it heaps faster because you can cut with a rotary cutter but there are other options too.The reason the fabric for both of these templates is cut into a rectangle first, is so the only part that needs to be cut, is the curve. Easy. If you have the acrylic templates then use a smaller roatary cutter (I prefer a 28mm) to quickly cut around the curve. I like to do this standing at a cutting table (or kitchen bench) as the extra pressure gained stops the template moving when cutting.No templates, no problems!1. Print out your templates from the PDF pattern or photocopy if you have bought the printed version. Cut out accurately with scissors. Pin the paper template right side up on the front of the fabric. Trace the curve using a water soluble pencil or marking tool of choice, and then cut on the line. Alternatively you can just cut the curve with the paper template still pinned to the fabric. Just like in dressmaking. 2. Trace the template shapes onto templastic using a fine permanent marker. Cut out accurately using scissors. Place the templates on the fabric and carefully cut with a rotary cutter. Take your time, if you go too fast you can cut the templastic.I created a little timelaspe video on instagram that shows the different techniques. You can check it out here.
CUTTING FAT QUARTERS:My best tip for cutting fat quarters is to follow the cutting diagram in the pattern.Once you get your head around what you need to cut you will discover that it's just as easy to cut the fabric into 4 x 4" strips. Then cross cutting them to take make the squares and rectangles needed for the quilt.To speed things up, I cut 4 fat quarters at a time. Just remember if you do choose to cut multiple layers at once, pay attention. If you make a mistake you will do it x 4.
CUTTING FAT EIGHTHS:If you decide to use scraps, fat eighths are a great guide. That's how I made the original quilt using my stash. I didn't cut multiple layers at once becuase I was using different sized fabrics, from lengths to scraps so I found it easier to tackle one fabric at a time.
SOLID FABRIC QUILT:If you are cuting large pieces of fabric I have made a nifty little video showing how I like to do it. Here.It involves cutting the fabric strips required and keeping them in place on the cutting board and then cross cutting them into the squares or rectangles required.By not moving the first lot of cut strips means I save lots of time and makew the whole cutting proces so much quicker. It takes practice but it is totally worth it for time saving.
Juat a little reminder from last week about cutting. I mentioned that the version I am making requires the layout to have all the same fabrics in each quarter block unit, like the photo below.
As you can see in the photo below there is actually no need to cut and sew the C square onto the Flying Geese Unit. So if you want to save time and fabric just completely skip this step.In the end I still decided to use the C square for two reasons, one because I had already cut them and two, I really like the texture the extra piece created. So it's up to you, I just wanted to give you another option.
PREPARATION FOR WEEK 3:If you are keen to get going for next week you can mark up the back of your C and F Squares.I like to do this using a water erasable pencil and a sandpaper board. The centre line creates the Flying Geese Unit once sewn and the line to the side creates the bonus Half Square Triangle. I mention these in the pattern but I will also talk about these a bit more next week. You can use them to create cushions, a baby quilt or even use them to make a pieced back. However if you don't want to make these squares you can just skip the step and add the leftover triangles to your scrap box.
This is a great task to do on the couch in front of the tv. I'm watching Mad Men at the moment and yes I'm a bit late to the party but I am loving it sooooooo much.Do you have any favourite tv shows that you like to watch when sewing?
That's it for Week 2. Next up we will be making all the Flying Geese Units.I hope you are enjoying the sew along because I sure am.Keep sharing your photos and you could be in the running to win 3 of my PDF patterns, your choice each week.I already have so many new ideas for version of this quilt, stay tuned. It really is one of the most versatile patterns I have designed!Happy Patching,Emma
Week 1 - Around The Lake Sew Along
Mar 21, 2022 - 1:20pm
Around The Lake Sew Along
Welcome to the Around The Lake Sew Along.I've posted the first week of the sew along early but I think it takes more than a week to decide on fabrics, right! I might actually start all future sew alongs with all the colour suggestions in the welcome post. What do you think, is that a good idea?Anyhoo, lets get started on picking the perfect colour combination for your quilt.
GETTING STARTED:Make sure you’ve purchased your Around The Lake Pattern.The Around The Lake See Along will be taking place on Instagram, so be sure your account is set to public so we can all see your posts using the #aroundthelakeSAL and #aroundthelakequilt hashtags.There are lots of people participating in this sew along, so let’s start off with introductions! We’d love to see a picture of you in your sewing room or space and hear a bit about you. Post a photo of your fabric pull (if you have one yet!) – in this post we’ll talk a bit about fabric choices. If you’ve already decided on your fabric, posting a picture may help to inspire others. Start shopping or raid your stash – supporting your local patchwork shop is fabulous way to help small businesses but this quilt is also a perfect scrap quilt.PLANNING YOUR QUILT:Your first step is to decide what size quilt you are making. The Around The Lake Quilt comes in 6 sizes, Baby, Small Throw, Large Throw, Twin Size, Queen and King. Hopefully there's a size to suit everyone!The next step is to decide on colours! CHOOSING YOUR COLOURS:This week we are concentrating on choosing fabrics.The original quilt was made up using a mix of fabrics from my stash and Tula Pink's fairy dust fabric as the background.
The original quilt was designed to be scrappy and so it uses lots and lots of fabrics. If you are looking to make one similar by raiding you stash follow the requirements for fat eighths. Just use the guide below.
Fat Quarter - Makes one full blockFat Eighth - Makes 1/2 a blockFat 16th - Make 1/4 of a block
The really interesting thing about this quilt design is the secondary patterns that can be created just by changing up the colour positions. So grab the colouring sheet and your pencils and have some fun.
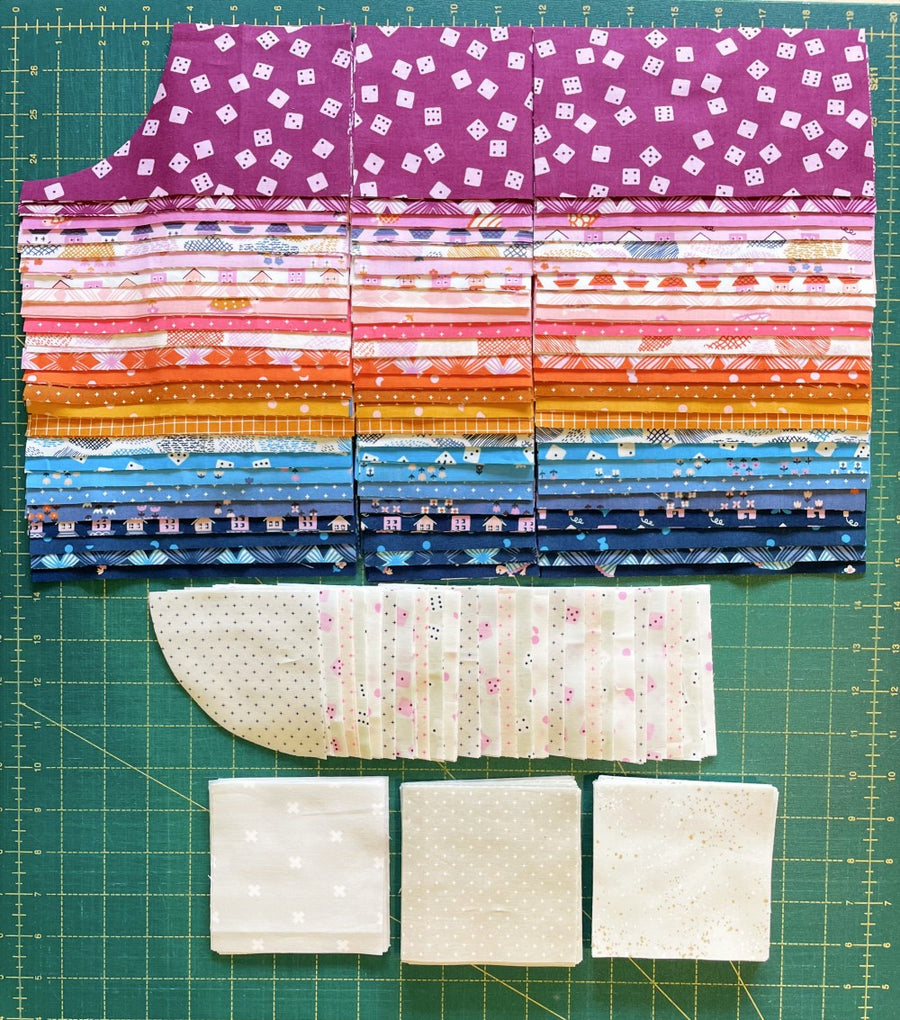
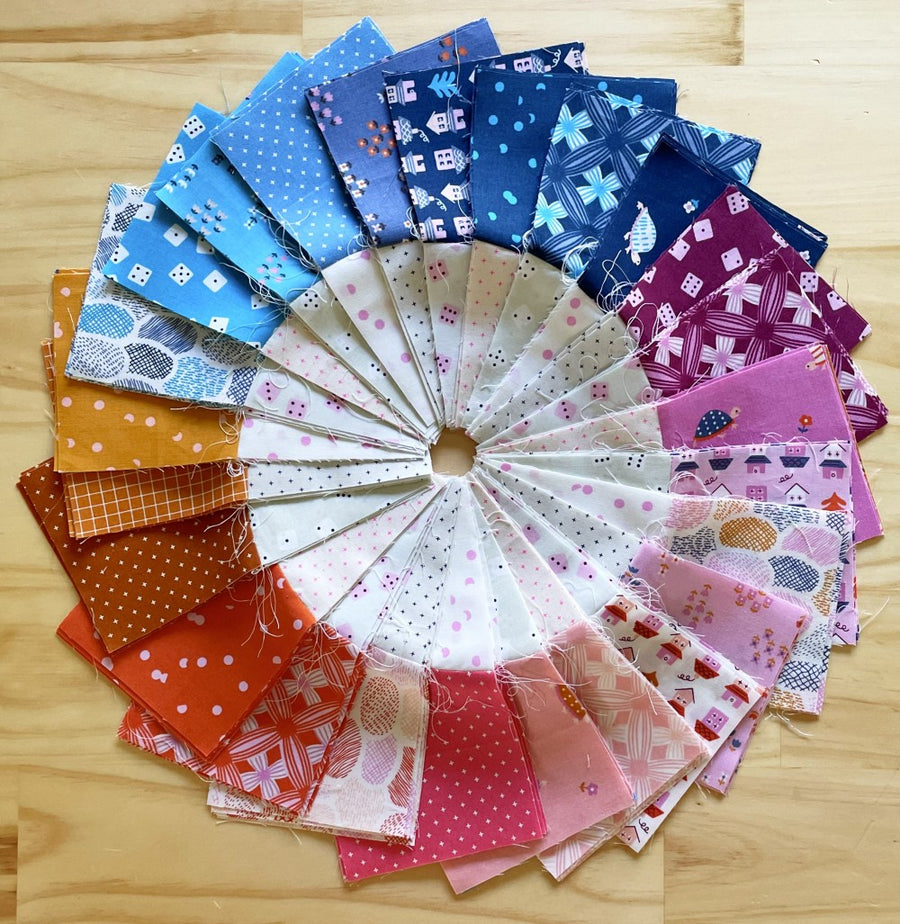
The quilt I'll be stitching up for the sew along will be made using TarryTown by Kimberly Kight for Ruby Star Society.I'm using fat quarters and a bunch of low volume prints for the background.
I had a play on my computer and came up with a number of layouts. I am defintely making version number one because I love the colour wash, however how good do the circles look being made out of one fabric. I could imagine it working with so many fabric ranges. They look like lifesavers or donuts don't you think?
Now I know many of you fell in love with the Around The Lake quilt after I made the one using bright solid fabrics. I have written a blog post which includes all the fabric requirements and cutting instructions for this quilt here. Check out the quilt below.
I thought I would also share all the mock ups that didn't make the cut. I must admit, there are a few in this lot that I still want to make. Maybe one of them will catch your eye and I'll get to see it as a real quilt and I won't have to make it. Win!
Then of course we have to talk about a rainbow version. My lovely friend Jackie actually made a stunning quilt top using Alison Glass fabric.You can see that she has used the same fabric for each quarter of the block and then put the colours together in a glorious rainbow.
I did a mock of this on my computer too so you could see the colour placement a little clearer.
This one is also rainbow but the layout is much simpler as you just make each corner out of one colour!
My fabulous pattern testers also made some pretty amazing quilts. I am always amazed at how others interpret my patterns and love seeing the different colour and fabric choices.
Vanessa @_vanessa.griffin_
Josephine @josephinek74
The next 3 quilts were all made by Emma @sewnbyelf. She had so much fun playing around with the colour positions and the results are so interesting. I really do feel that this pattern has so many possibilities!
One last bit of inspiration I wanted to share was the restricted colour pallette featuring cool colours. I really like the idea of making a companion quilt for my riot of hot pink and red version. We will have to see if it actually happens. Henry has started 3 year old kinder this year and after being in isolation for most of his life we are getting all the colds. It's been a learning curve trying to teach Henry about blocked noses and tissues and how to blow. Funny but not funny if you know what I mean.
* New Content*I just wanted to add a couple of cutting tips in case you are keen to start cutting.First up, the pattern is design to be cut with the fabric right side up. This means if you are tracing Template A, trace it on the right side of the fabric with the template right side up.(writing right side up) On a side note you don't have to be as careful with Template B.Just make sure your cut fabric pieces look like the photo below.If you would like to trace the template onto the reverse of the fabric, just make sure you flip the template!
The 2nd cutting tip is about saving a little time and fabric, that is if you choose to make a quilt like mine. My plan as I mentioned before is to make each corner of the block out of the same fabric like in the photo below.
This is something I discovered when I went to piece my version. I had unfortunately already cut my fabric because at the time of cutting I hadn't decided on a layout.As you can see in the photo below there is actually no need to cut and sew the C square onto the Flying Geese Unit. So if you want to save time and fabric just completely skip this step.In the end I still decided to use the C square for two reasons, one because I had already cut them and two, I really like the texture the extra piece created. So it's up to you, I just wanted to give you another option.
Well there you go, that's a whole heap of colour inspiration don't you think! I hope something tickled your fancy or you are inspired to create your own version of the Around The Lake quilt, and to be honest, I hope you do. All of your quilts are my favourite.Thanks so much for joining me on this fun ride, whether it's your first time or you're a sew along veteran, I really hope you have fun. If you have any questions you can always email me.Lets get sewing!Emma x